Easy Charcuterie Board
Equipment
- 1 Board, tray, or platter
- 1 cutting board
- 1 knife
- Small bowls
Ingredients
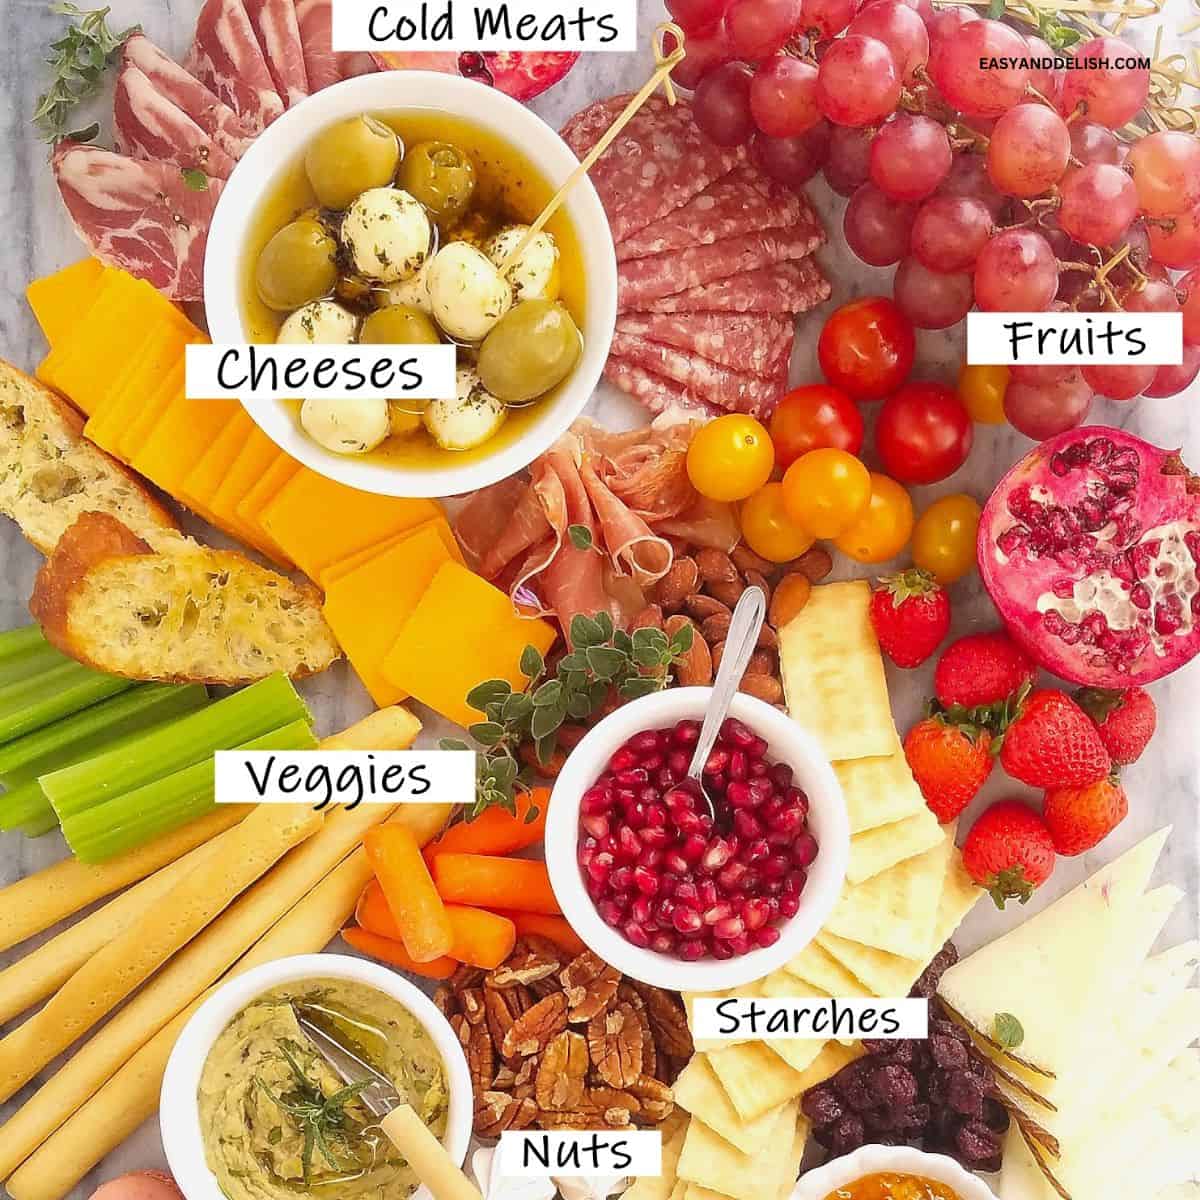
- 3 different types of cheese ideally a mix of hard, semi-soft, and soft (I used manchego, cheddar, mozzarella balls)
- 3 different types of cured meats thinly sliced (I used prosciutto, capocollo, and calabrese salami)
- 3 different kinds of fresh fruits , seasonal (grapes, berries, and pomegranate seeds)
- 3 different types of fresh veggies I used whatever was available in the store and had a good price: baby carrots, celery sticks, and mini tomatoes
- 2 different kinds of spreads I used hummus & marmalade
- 1 Marinated Spanish green olives
- 2 different types of crackers
- 1 Baguette toast
- Nuts I used only one type (pecans because nuts cost more and I wanted to save some money.
- Dried fruits I chose dried cranberries because it was winter time but you can pick others, depending on the season or your taste.
- Mini desserts You don’t have to serve them but I wanted to make a complete platter that would be a full meal. The meat and cheese board itself is an appetizer but it is so filling that you think you are having a complete meal. I used meringues, caramels, chocolate truffles, and macarons.
Instructions
- (Optional step): If you're using wood, spread a layer of parchment paper on your board so that the fatty foods like meats and cheeses don't leave grease stains. If you are using marble, like I did, or a metal sheet pan, no protection is required.
- Start by choosing one or more focal points. It can be anything! I placed a few bowls of jam, hummus, pomegranate seeds, and mozzarella balls with olives on the board first to establish my focal points. They are usually placed either in the center or in spots where you will place other items around.
- But in this case, since those bowls are not filled with the main items (meats and cheeses), you will have to leave enough space to layer the main items around those focal points. These small bowls make the board more visually appealing, especially if you choose some with different sizes/heights/shapes.
- Next, layer one ingredient at a time on the board, starting with the 2 key items: cured meats (like Calabrese, prosciutto, and capocollo) and cheeses (I chose a hard cheese like cheddar which is popular among kids, and some other hard cheeses like manchego, loved by adults).
- Then arrange the starches, such as crackers, breadsticks, and toast on the board, followed by the seasonal fruits and veggies on the board. Different colors of produce make for a bright, vivid, and beautiful board! I picked some that my kids would eat such as grapes and strawberries.
- Nestle in small bowls or tuck into tight spots small items like nuts and dried fruits.
- If you are serving mini desserts for a complete and modern charcuterie board, like I did, before you start to assemble the board reserve a corner just for them.
- Garnish with fresh herbs and edible flowers.
- Place mini spoons, mini skewers, toothpicks, or any other needed utensils close to the food items they will be used with.
- Serve with a sparkling drink, wine, or any other beverage of your choice. Cheers! Ours is a complete charcuterie or cured meat and cheese board – it has enough appetizers for a full meal plus desserts.
Recipe Video
Recipe Notes
Nutrition
** Nutrition labels on easyanddelish.com are for educational purposes only. This info is provided as a courtesy and is only an estimate, since the nutrition content of recipes can vary based on ingredient brand or source, portion sizes, recipe changes/variations, and other factors. We suggest making your own calculations using your preferred calculator, based on which ingredients you use, or consulting with a registered dietitian to determine nutritional values more precisely.
Please note that health-focused and diet information provided on easyanddelish.com is for educational purposes and does not constitute medical advice, nor is it intended to diagnose, treat, cure, or prevent disease. Consult with your doctor or other qualified health professional prior to initiating any significant change in your diet or exercise regimen, or for any other issue necessitating medical advice.