Creamy, homemade-style Banana Pudding combines vanilla wafers, ripe banana slices, instant vanilla pudding, and whipped topping in an easy no-bake dessert that takes 15 minutes to assemble.
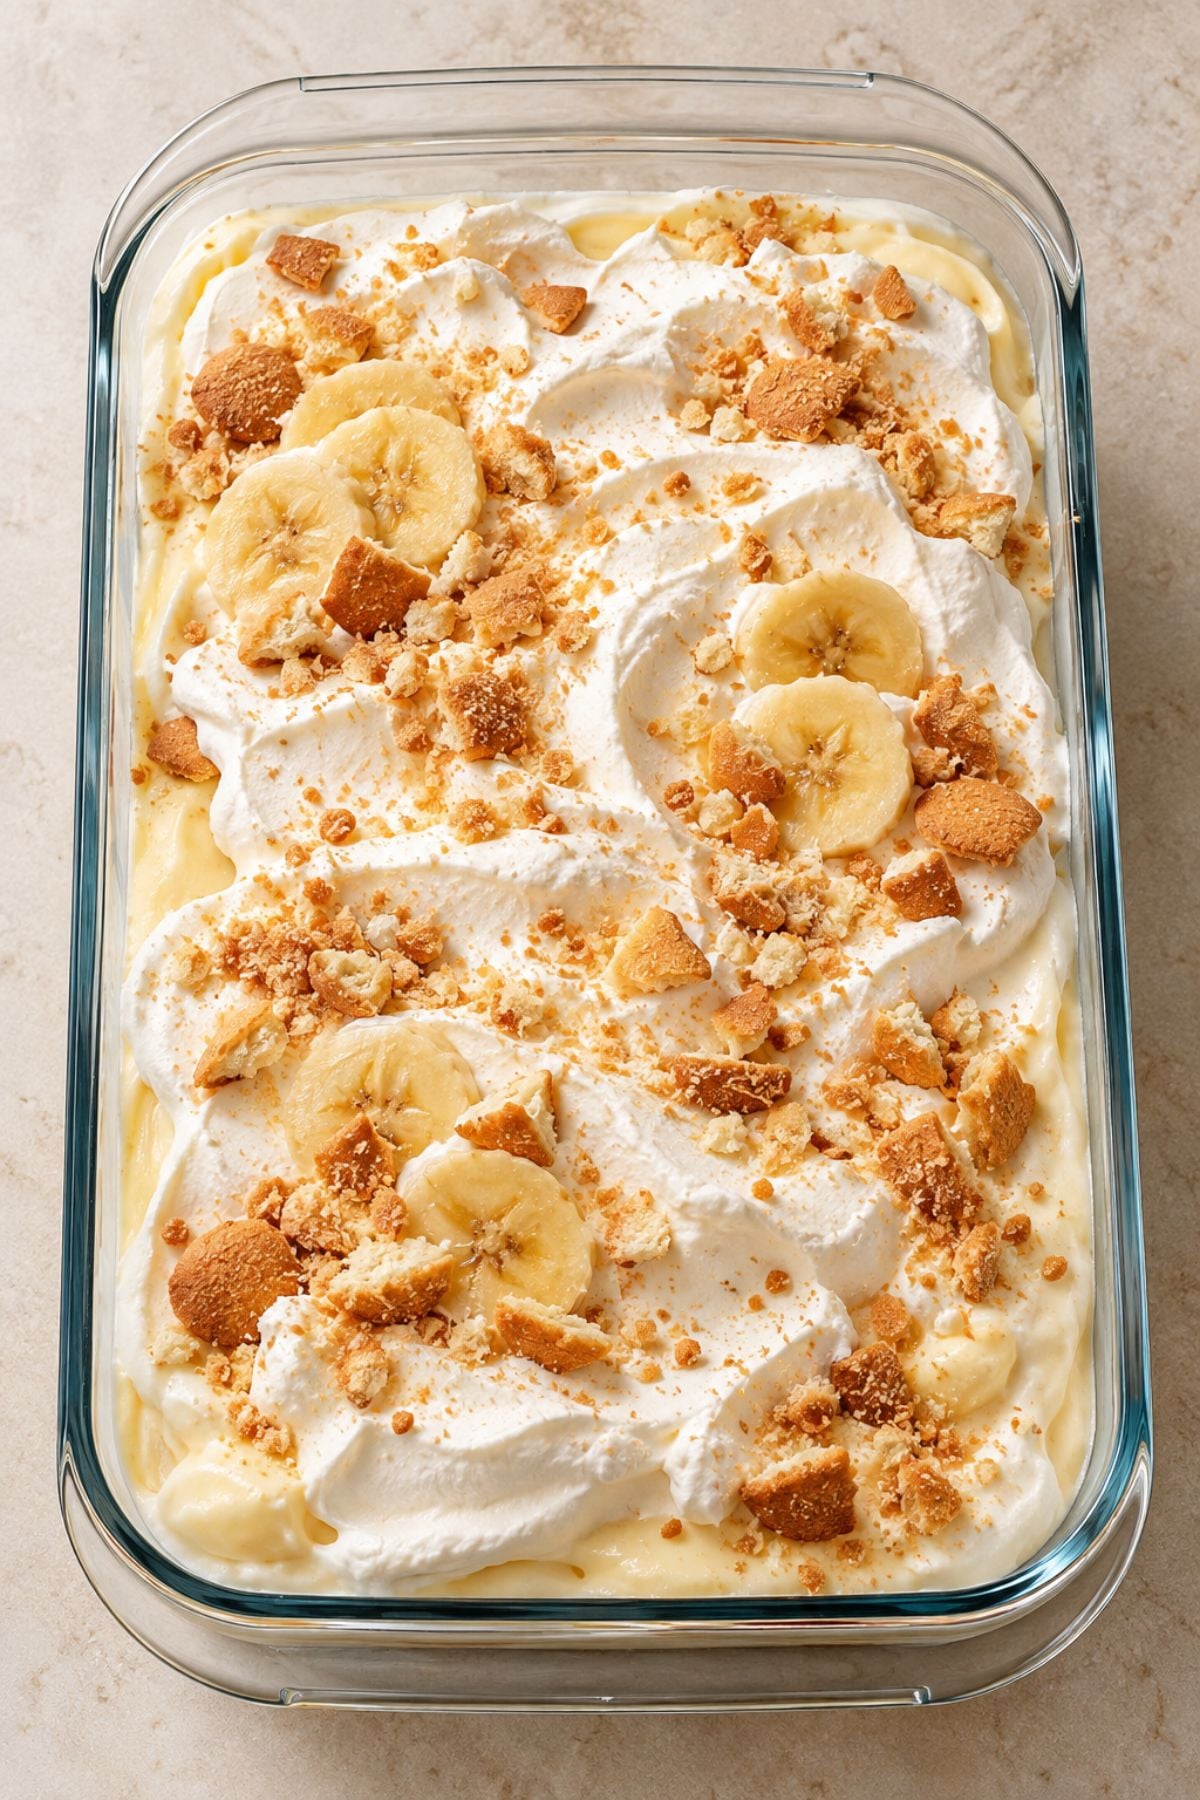
Traditional banana pudding recipes often use cooked custard, but this easy banana pudding uses instant vanilla pudding for a quicker, no-bake method. It takes just 15 minutes to prepare and can be made ahead for family gatherings, potlucks, or holidays. For more banana treats, try my Banana Pudding Cheesecake Bars, Banana Upside-Down Cake, or Fried Bananas.
Quick Look: Banana Pudding
- ⏱️ Prep Time: 15 minutes
- ❄️ Chill Time: 2 hours
- ⏲️ Total Time: 2 hours 15 minutes
- 🍽️ Servings: 5
- 🍌 Flavor Profile: Sweet vanilla and fresh banana
- 🥄 Texture: Creamy pudding, tender banana slices, and softened vanilla wafers
- 👌 Difficulty: Easy
- 🎉 Best For: Family desserts, potlucks, and make-ahead gatherings
- 🍳 Cooking Method: No-bake
- 🧁 Key Ingredients: Instant vanilla pudding, milk, bananas, vanilla wafers, and whipped topping
- Why This Recipe Works: Instant vanilla pudding makes the filling quick to prepare without cooking custard, and folding in whipped topping gives it a lighter, creamier texture. During refrigeration, the vanilla wafers soften, and the layers come together.
SUMMARIZE & SAVE THIS CONTENT ON
Jump to:
- Quick Look: Banana Pudding
- Chef's Notes from Valentina
- Ingredients
- Substitutions And Additions
- How to Make Banana Pudding with Vanilla Wafers
- Expert Tips for Banana Pudding
- FAQ About Homemade Banana Pudding
- What to Serve with Banana Pudding
- More Easy Banana Desserts
- Creamy Banana Pudding with Vanilla Wafers
- Make-Ahead and Storage
Ingredients
- Bananas – 3 medium, ripe but firm. Choose yellow bananas with a few brown speckles for the best balance of sweetness and texture. Avoid overly ripe bananas because they can become mushy between the layers. Slice just before assembling.
- Vanilla wafers – about 40 cookies. Their sweet vanilla flavor pairs well with the bananas and pudding. They start crisp but soften into tender, cake-like layers after chilling. Nilla Wafers or similar cookies work well.
- Instant vanilla pudding mix – 1 box (3.4 oz). Gives the dessert its sweet vanilla flavor and smooth, creamy consistency. Use instant pudding rather than cook-and-serve pudding.
- Cold whole milk – 2 cups. Adds richness and helps the instant pudding set properly. Reduced-fat milk also works, although the pudding may taste less rich.
- Thawed whipped topping – 2 cups, divided. Fold half into the pudding for a lighter, fluffier texture, then spread the rest on top for a creamy finish.
How to Make Banana Pudding with Vanilla Wafers
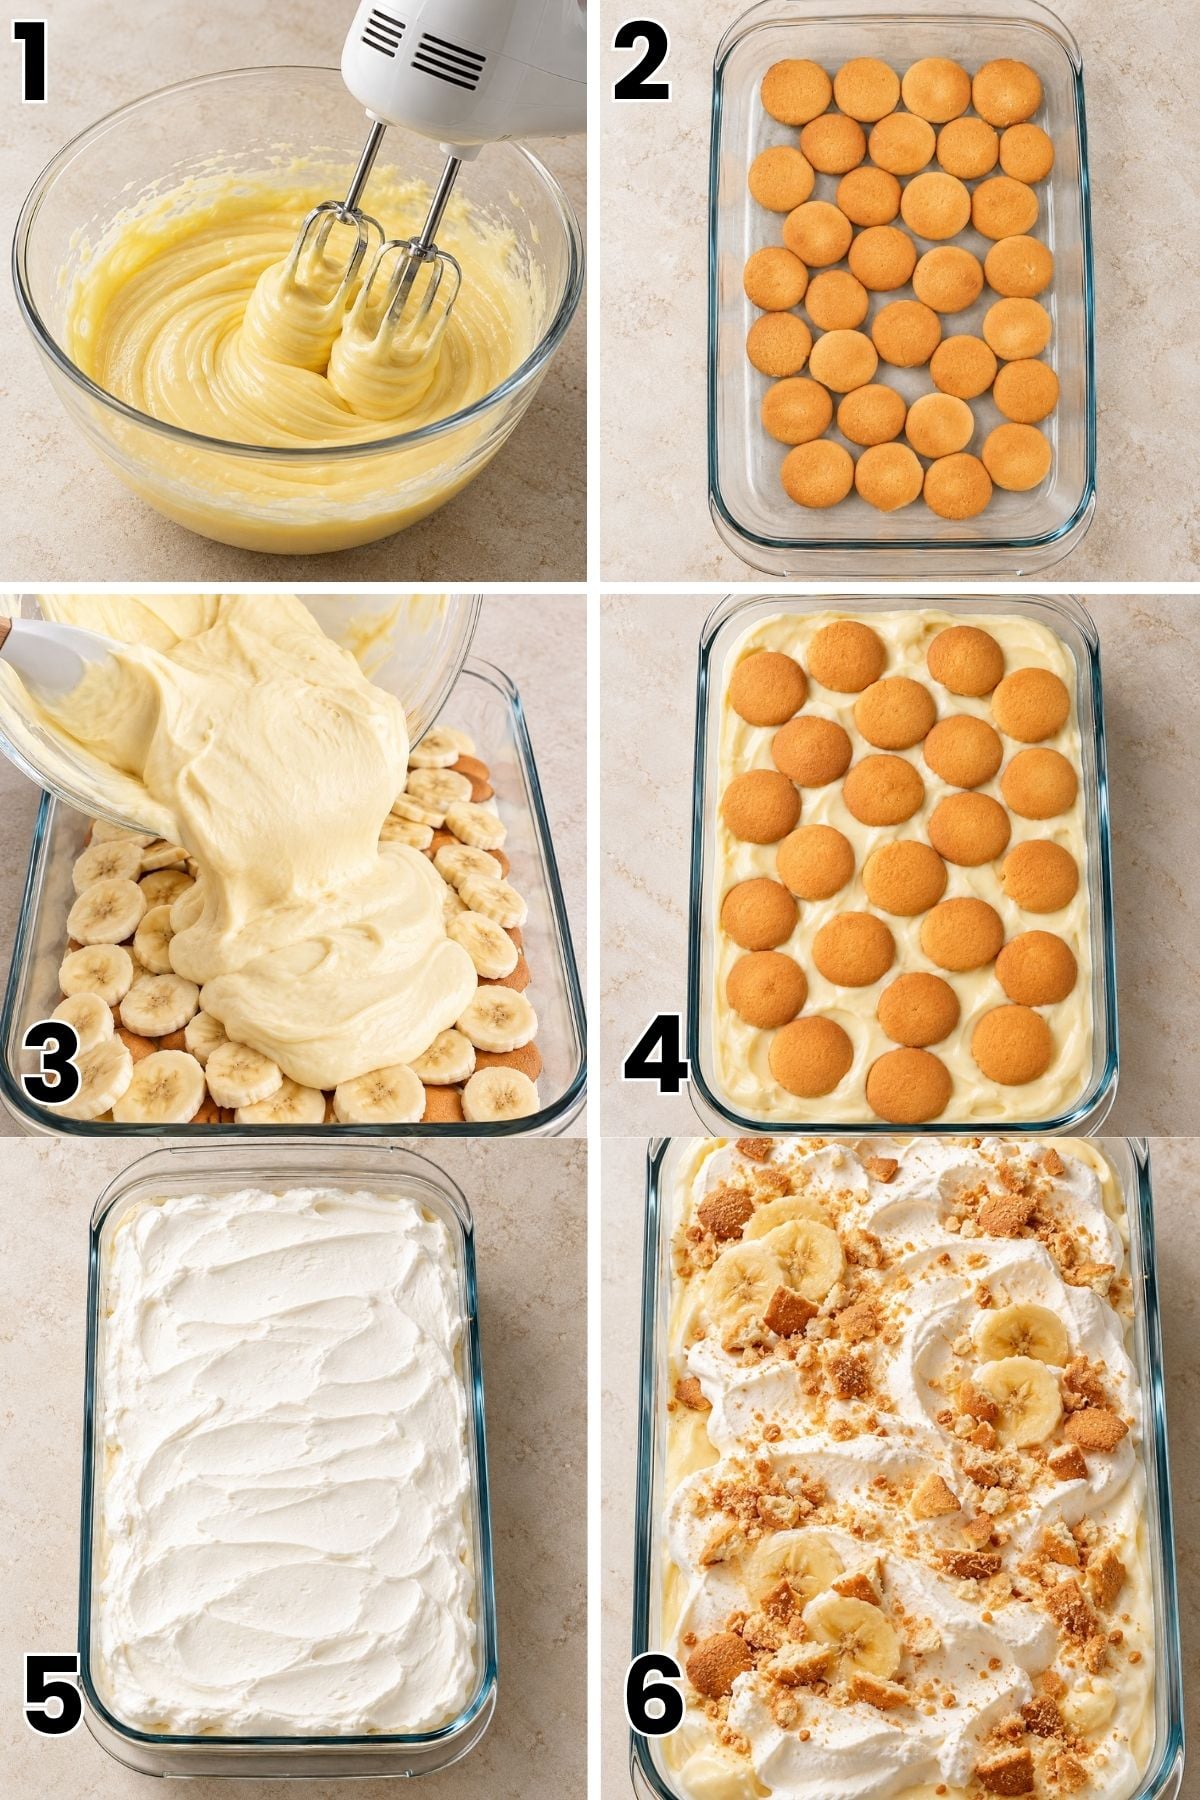
- Prepare the pudding: Pour 2 cups of cold whole milk into a large mixing bowl and add the 3.4-ounce package of instant vanilla pudding mix. Beat with an electric mixer for about 2 minutes, or according to the package directions, until smooth. Let the pudding thicken, then gently fold in 1 cup of thawed whipped topping. PIC. 1
- Arrange the first layer: Place about half of the vanilla wafers in a single layer across the bottom of a 7 × 11-inch rectangular baking dish. Slice the bananas into approximately ¼-inch rounds and arrange half of them evenly over the wafers. PIC. 2
- Add the pudding: Spoon half of the prepared pudding mixture over the bananas. Use a rubber spatula to gently spread it into an even layer that covers the banana slices. PIC. 3
- Repeat the layers: Arrange the remaining vanilla wafers over the pudding, followed by the rest of the banana slices. Spoon the remaining pudding mixture over the bananas and spread it evenly to cover the fruit. PIC. 4
- Add the whipped topping: Spoon the remaining 1 cup of whipped topping over the pudding and gently spread it across the surface in an even layer. PIC. 5
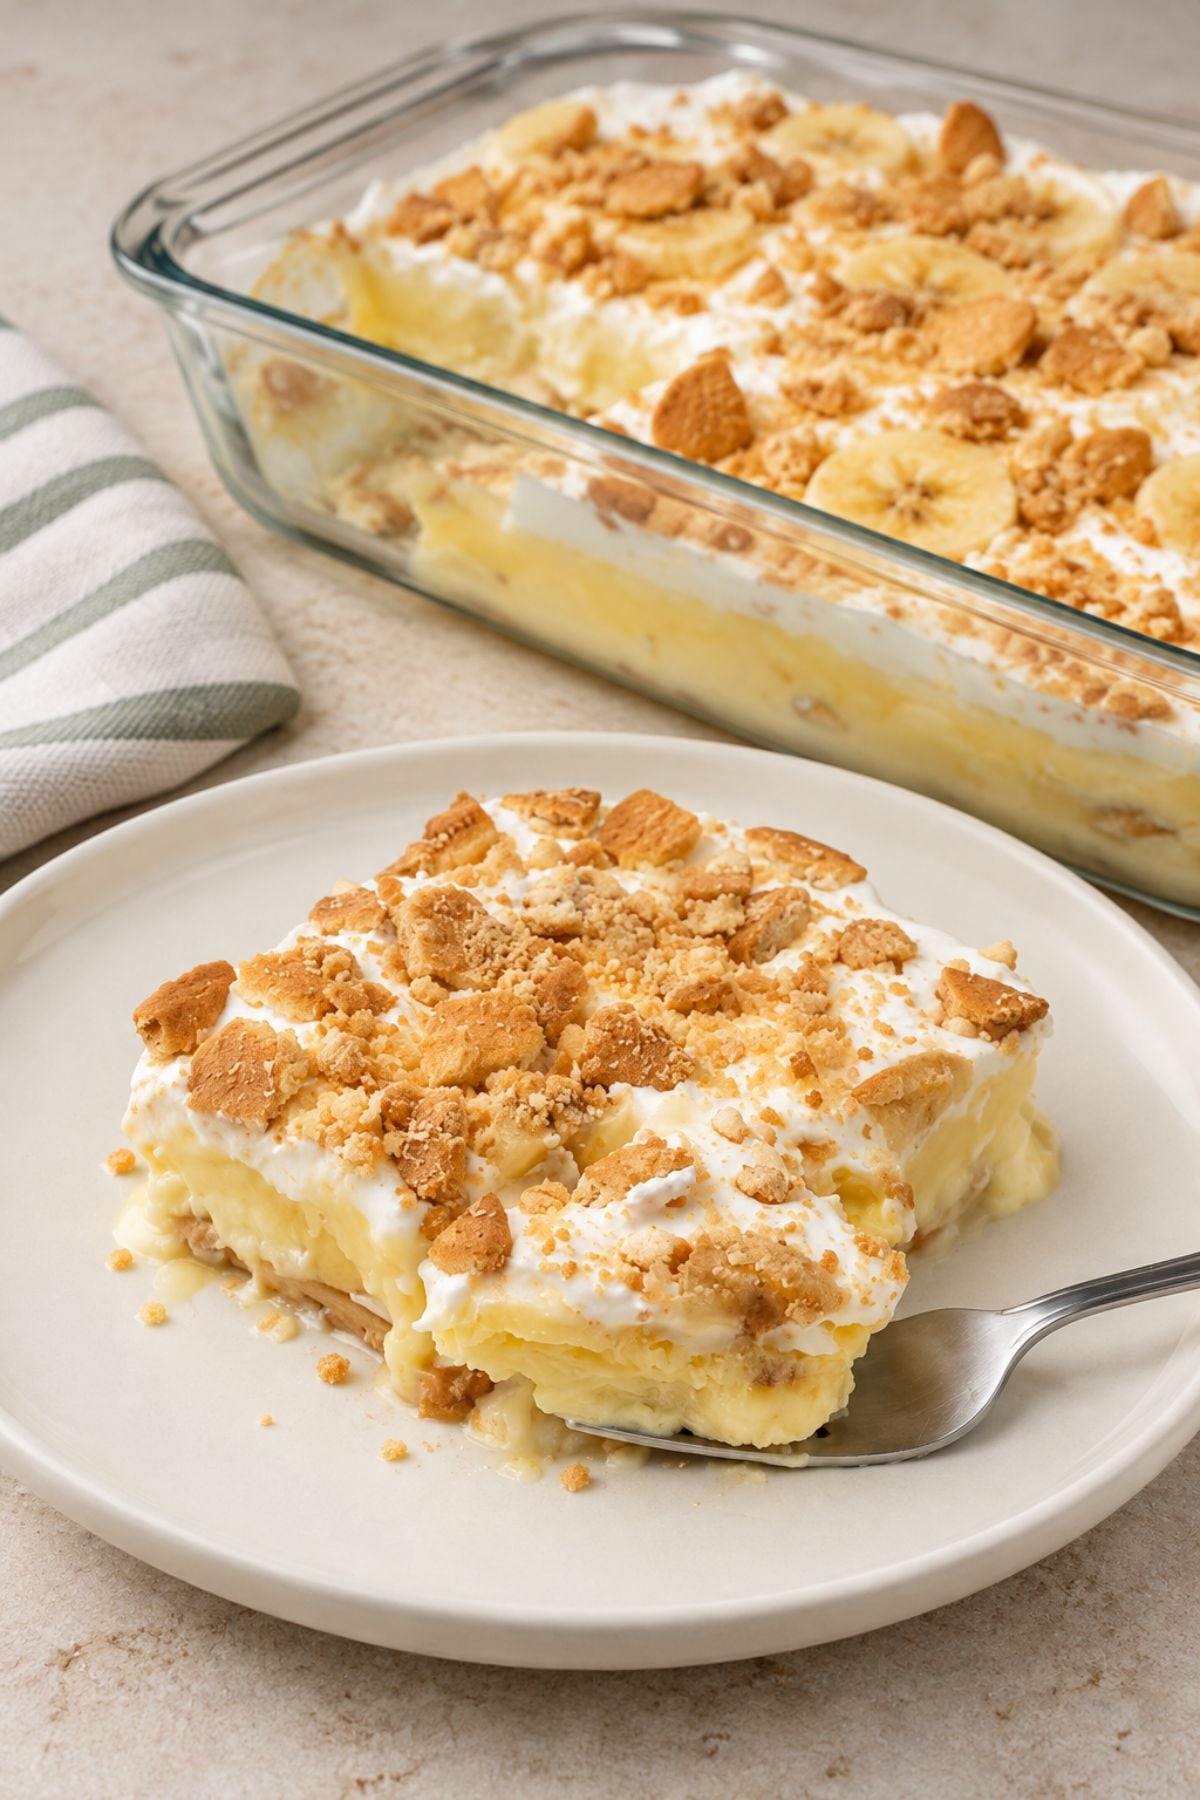
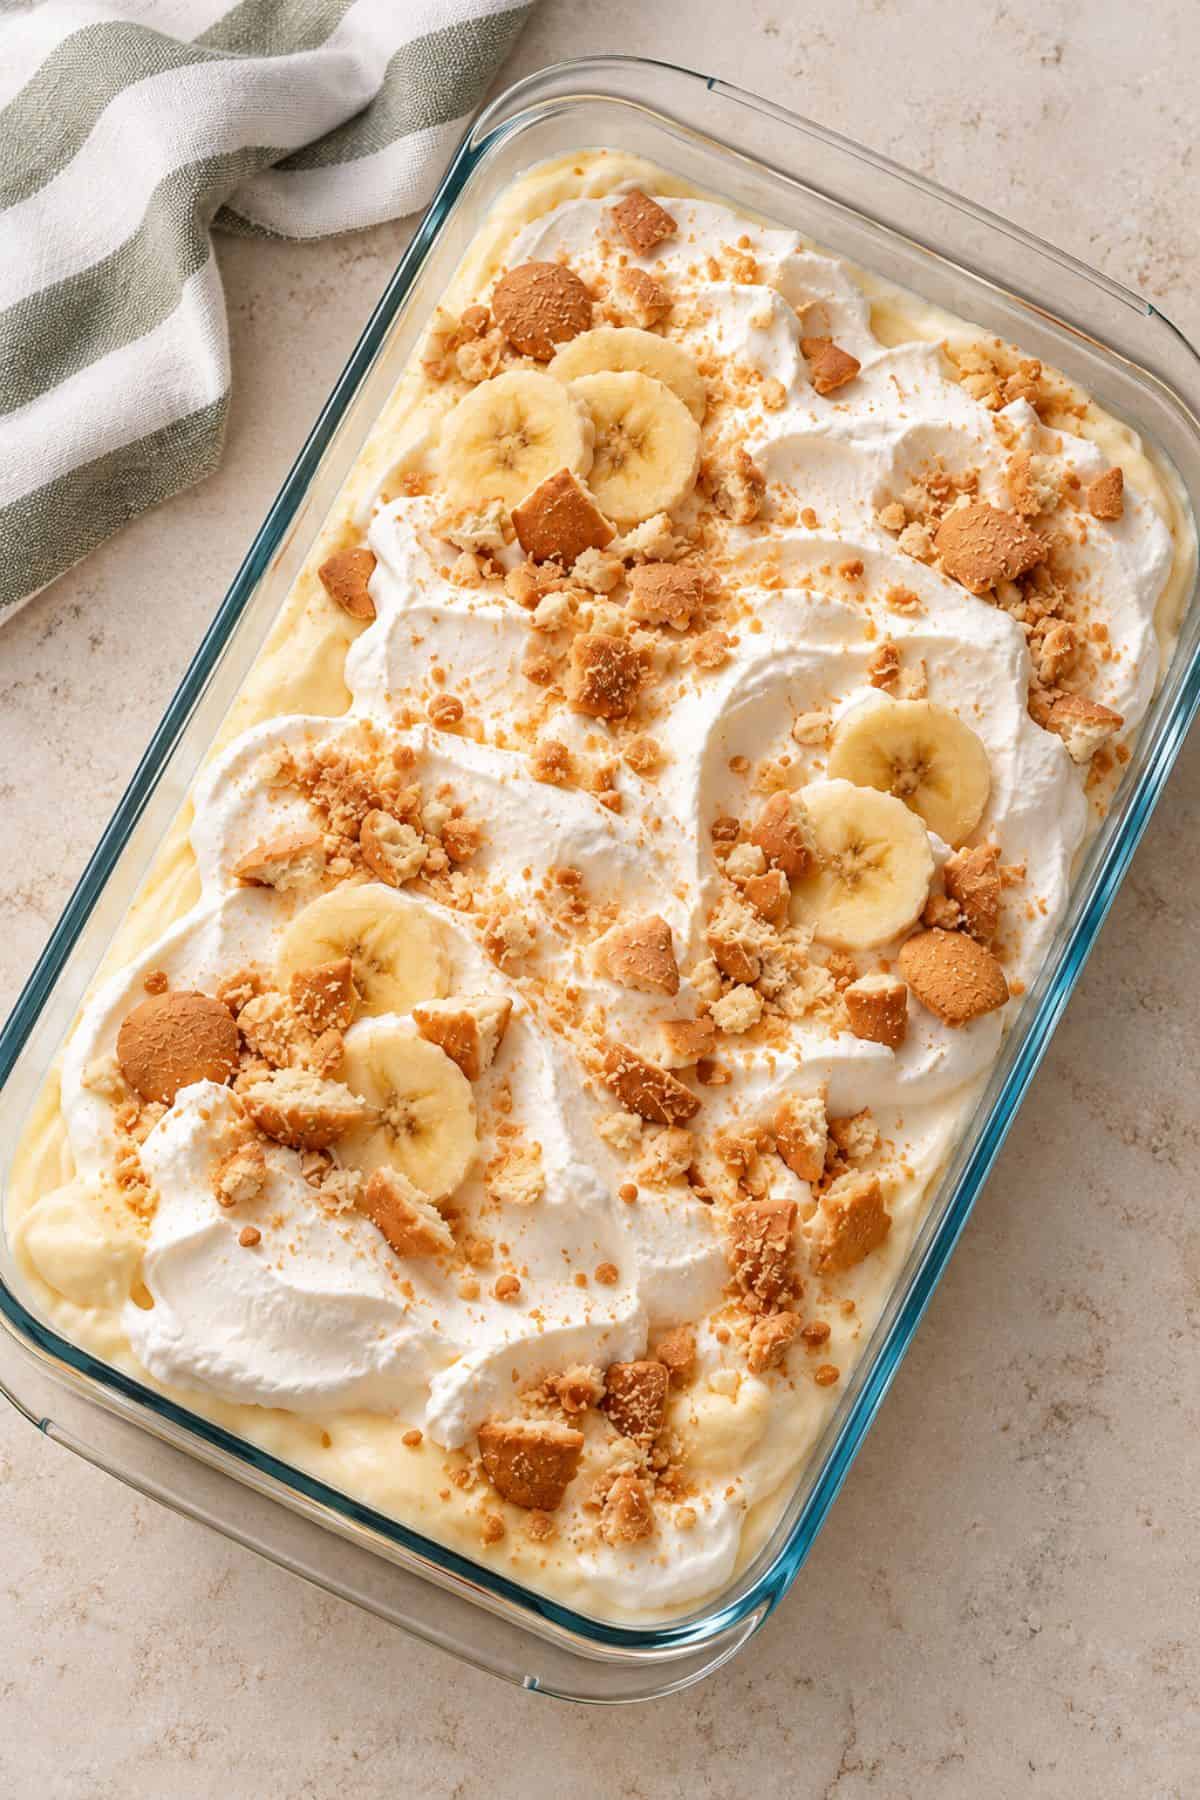
- Chill and serve: Cover the baking dish and refrigerate for at least 2 hours to allow the vanilla wafers to soften. Serve chilled in approximately five portions. If desired, garnish with fresh banana slices and crushed vanilla wafers just before serving. PIC. 6
FAQ About Homemade Banana Pudding
Yes. This banana pudding without condensed milk uses instant vanilla pudding mix, cold milk, and whipped topping for a creamy filling. Sweetened condensed milk isn't necessary.
Traditional old-fashioned banana pudding typically uses cooked vanilla custard and sometimes a meringue topping. Instant banana pudding uses a pudding mix that thickens with cold milk, which makes preparation quicker and requires no cooking.
Measure the 2 cups of cold milk carefully and let the instant pudding thicken before folding in the whipped topping. The filling should be smooth, creamy, and thick enough to spread evenly between the layers.
What to Serve with Banana Pudding
- Coffee: Serve with freshly brewed coffee or espresso. Its slightly bitter flavor balances the sweetness of the creamy pudding.
- Tea: Pair with unsweetened iced tea or black tea for a refreshing contrast that doesn't add extra sweetness.
- Fresh Fruit: Offer strawberries, raspberries, or blueberries on the side for a fresh, slightly tart contrast to the pudding.
- Chocolate Desserts: For parties, serve banana pudding alongside my Easy Chocolate Mousse. Its rich chocolate flavor gives guests a different dessert option.
- Other Party Treats: Add my Brigadeiros or Passion Fruit Mousse to the dessert table. The brigadeiros offer a fudgy bite, and the passion fruit mousse adds a tangy contrast.


Did You Love This Recipe? If you make this recipe and love it, stop back, give it a 5-star rating ★★★★★ and leave a comment.
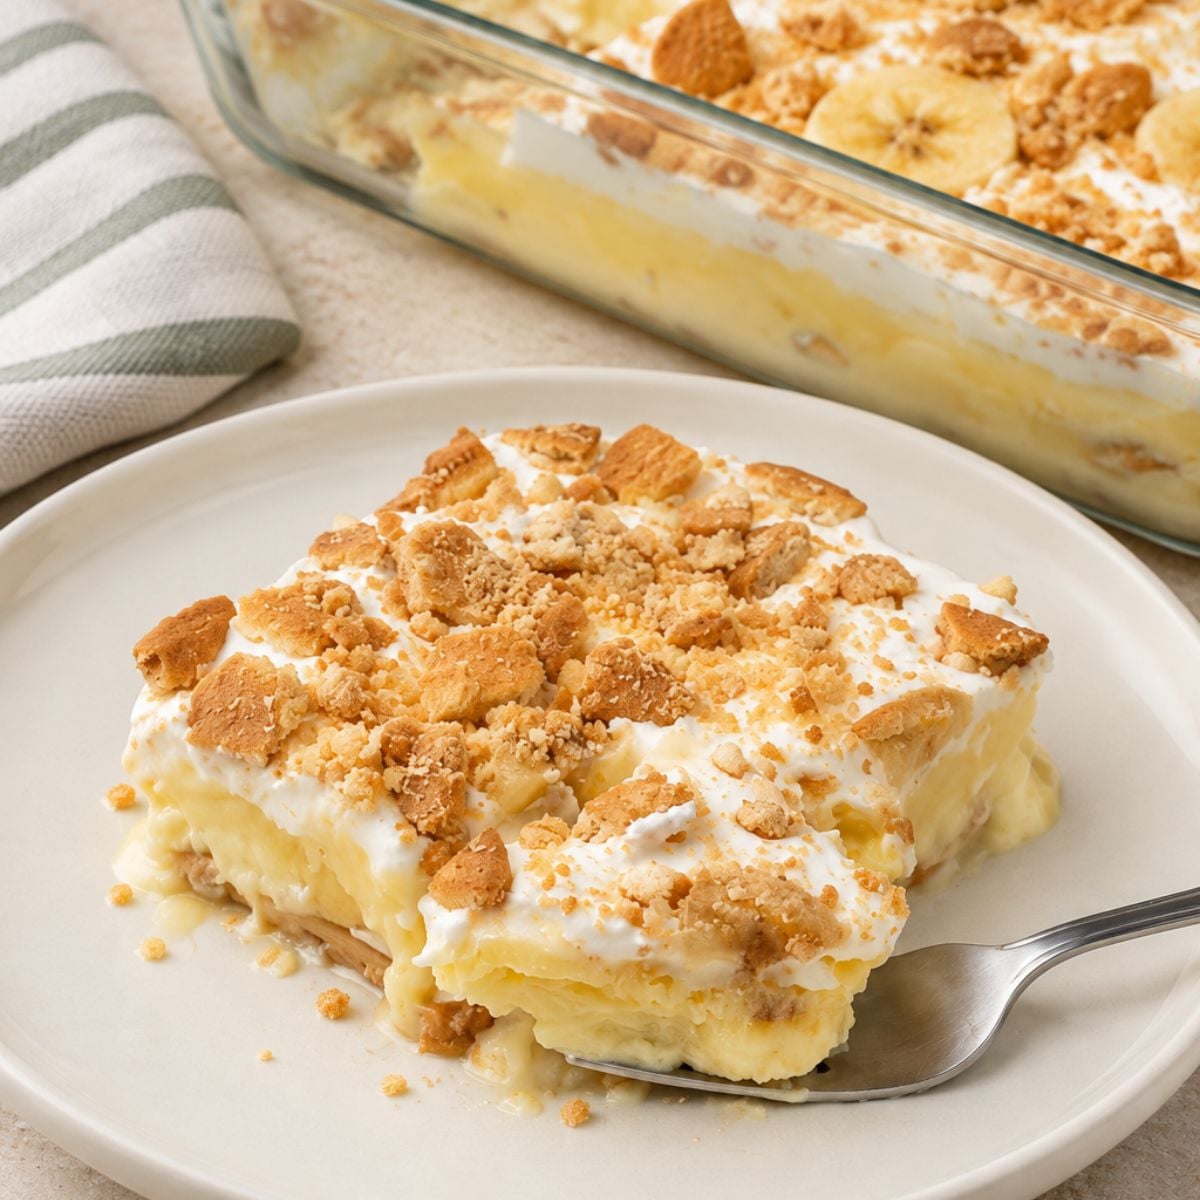
Creamy Banana Pudding with Vanilla Wafers
Equipment
- 7 × 11-inch rectangular baking dish
- large mixing bowl
- electric hand mixer
- Rubber Spatula
Ingredients
- 1 box 3.4 oz instant vanilla pudding mix
- 2 cups whole milk – cold
- 3 medium ripe but firm bananas – sliced
- about 40 vanilla wafers
- 2 cups whipped topping – thawed and divided
Optional Toppings
- additional crushed vanilla wafers
- extra fresh banana slices
Instructions
- Prepare the pudding: Pour 2 cups of cold whole milk into a large mixing bowl and add the 3.4-ounce package of instant vanilla pudding mix. Beat with an electric mixer for about 2 minutes, or according to the package directions, until smooth. Let the pudding thicken, then gently fold in 1 cup of thawed whipped topping.
- Arrange the first layer: Place about half of the vanilla wafers in a single layer across the bottom of a 7 × 11-inch rectangular baking dish. Slice the bananas into approximately ¼-inch rounds and arrange half of them evenly over the wafers.
- Add the pudding: Spoon half of the prepared pudding mixture over the bananas. Use a rubber spatula to gently spread it into an even layer that covers the banana slices.
- Repeat the layers: Arrange the remaining vanilla wafers over the pudding, followed by the rest of the banana slices. Spoon the remaining pudding mixture over the bananas and spread it evenly to cover the fruit.
- Add the whipped topping: Spoon the remaining 1 cup of whipped topping over the pudding and gently spread it across the surface in an even layer.
- Chill and serve: Cover the baking dish and refrigerate for at least 2 hours to allow the vanilla wafers to soften. Serve chilled in approximately five portions. If desired, garnish with fresh banana slices and crushed vanilla wafers just before serving.
Recipe Notes
Make-Ahead and Storage
Make Ahead: Assemble the banana pudding at least 2 hours before serving. For the best texture and appearance, prepare it earlier the same day. You can also make it the night before, but the vanilla wafers will continue to soften. Refrigerate: Cover the baking dish tightly or transfer leftovers to an airtight container. Keep refrigerated at 40°F (4°C) or below and enjoy within 1–2 days for the best quality. The bananas may darken slightly, and the wafers will soften over time. Freeze: Freezing isn't recommended because the pudding can separate after thawing, and the bananas may become watery or mushy.Nutrition
** Nutrition labels on easyanddelish.com are for educational purposes only. This info is provided as a courtesy and is only an estimate, since the nutrition content of recipes can vary based on ingredient brand or source, portion sizes, recipe changes/variations, and other factors. We suggest making your own calculations using your preferred calculator, based on which ingredients you use, or consulting with a registered dietitian to determine nutritional values more precisely.
Please note that health-focused and diet information provided on easyanddelish.com is for educational purposes and does not constitute medical advice, nor is it intended to diagnose, treat, cure, or prevent disease. Consult with your doctor or other qualified health professional prior to initiating any significant change in your diet or exercise regimen, or for any other issue necessitating medical advice.