

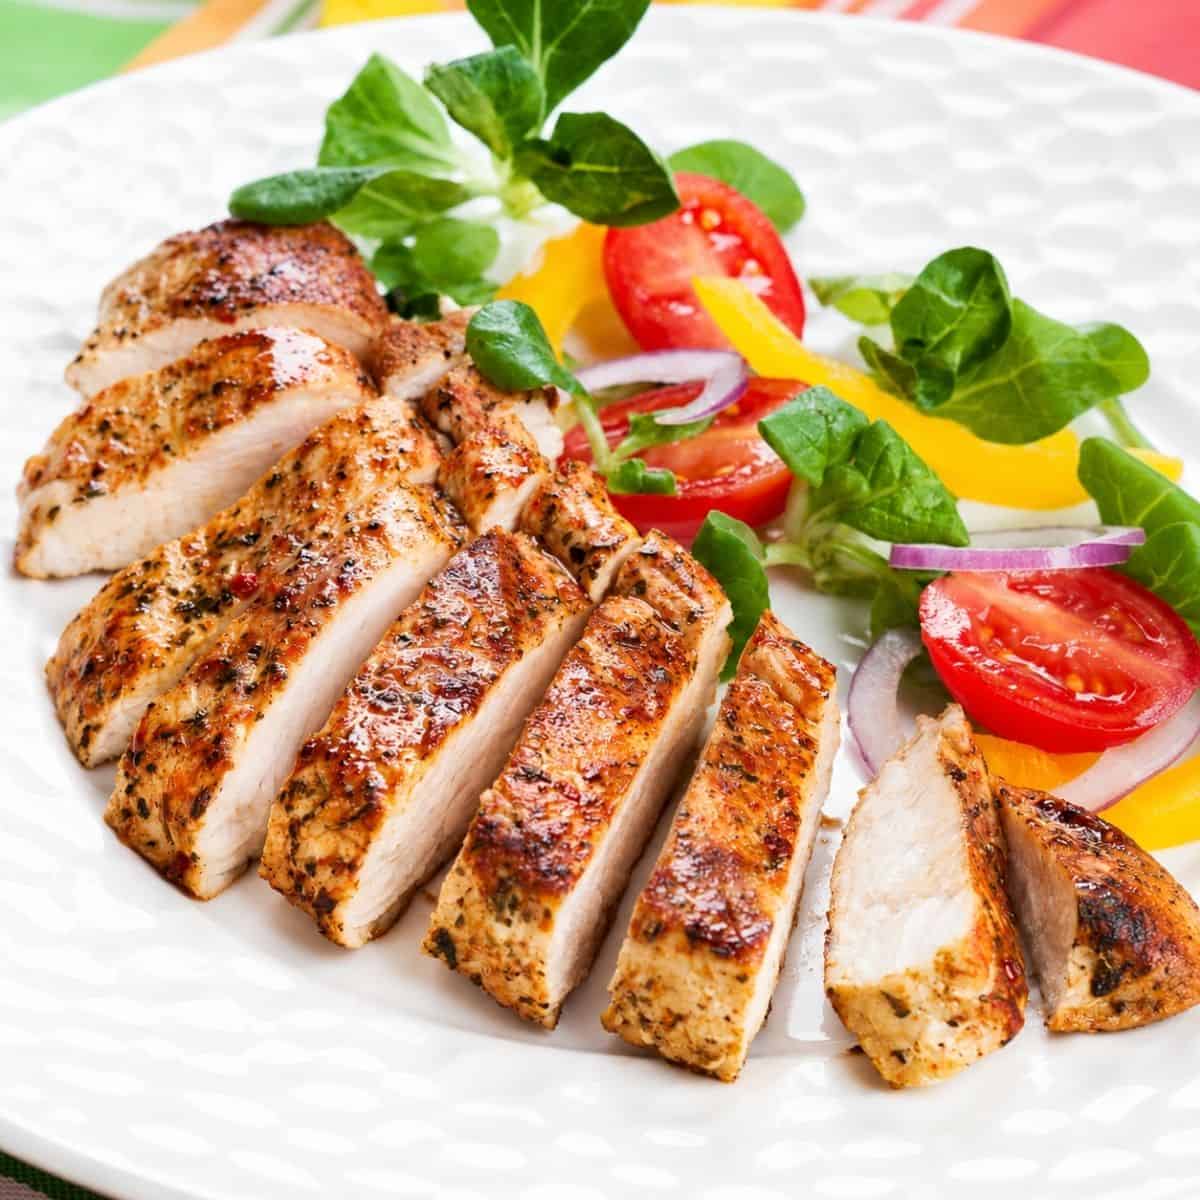
Juicy chicken starts with knowing how to bake chicken breast properly, and this simple 30-minute oven method makes tender, flavorful chicken for dinner, meal prep, or freezing.
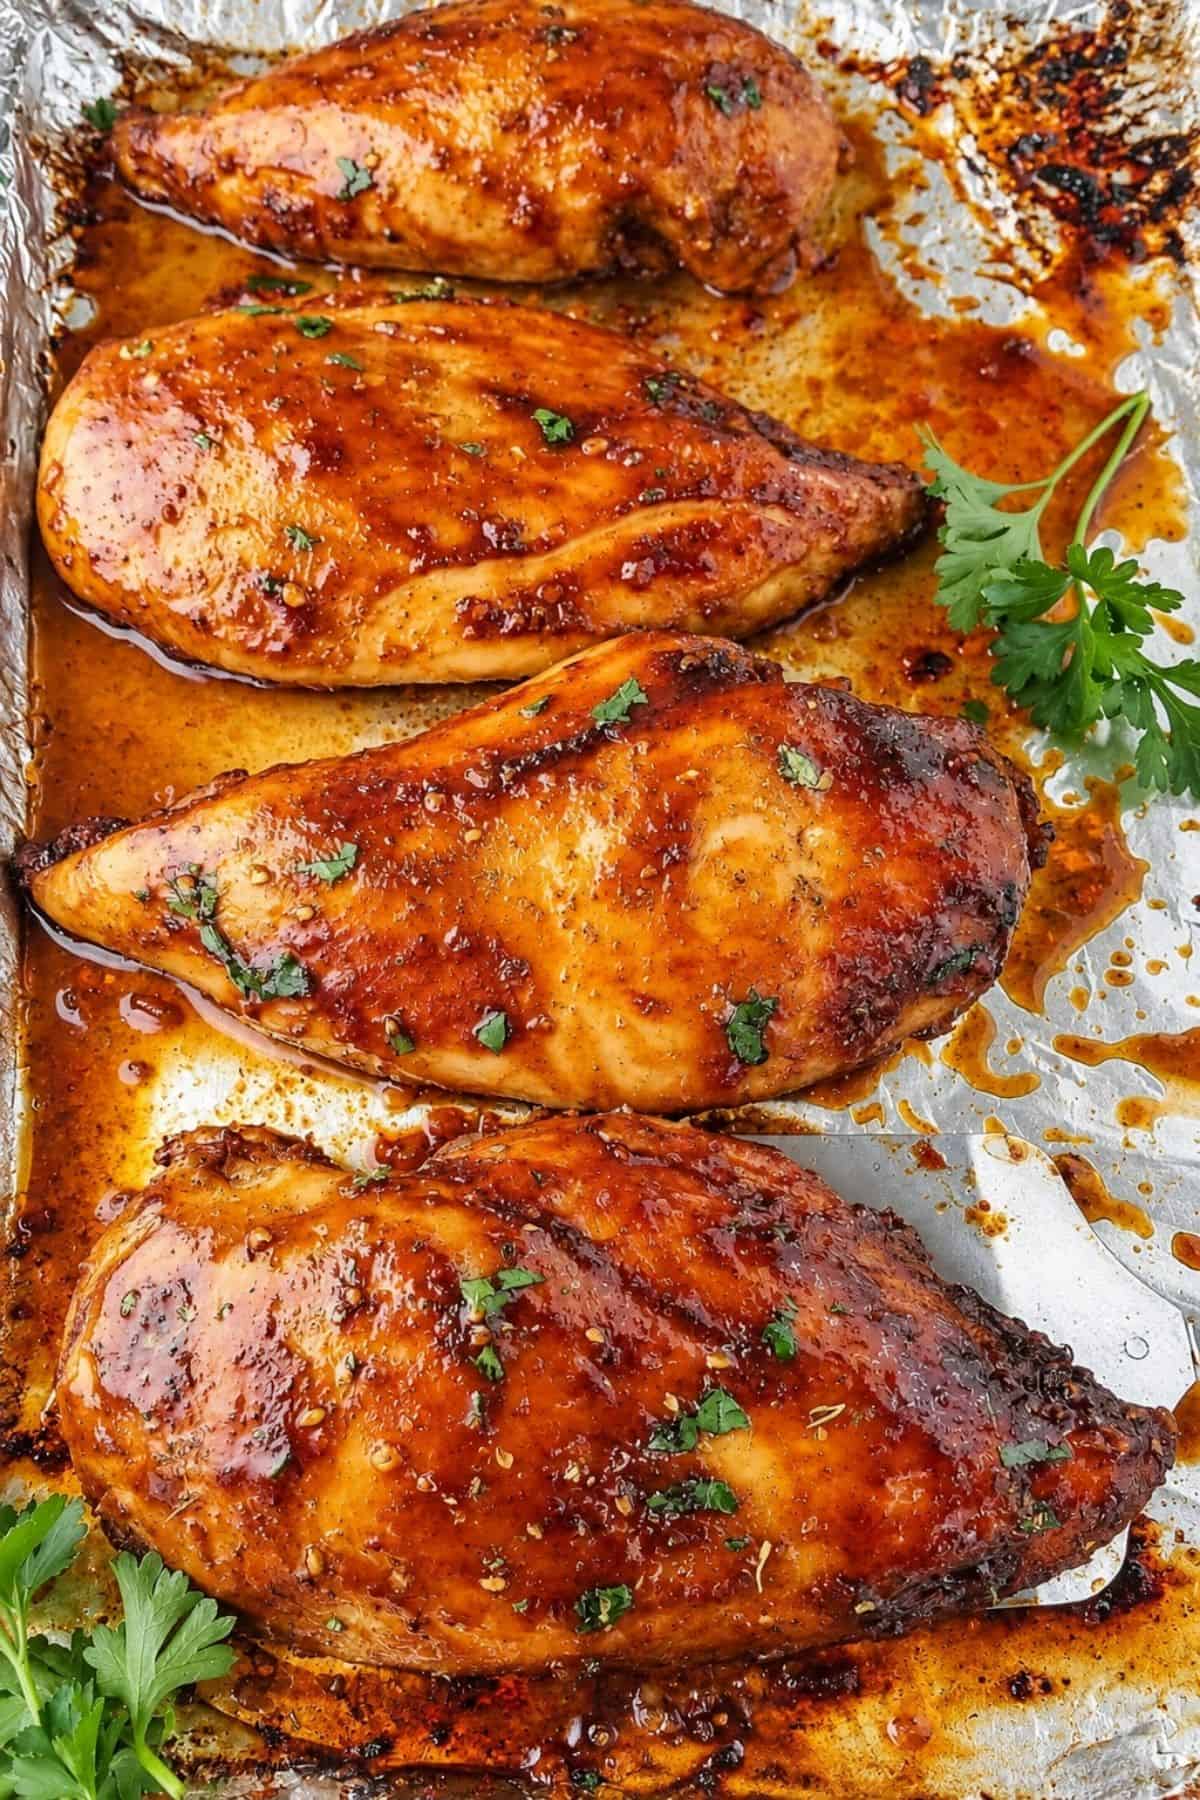
Baking chicken breast in the oven doesn’t have to produce dry or bland meat. At 425°F, oven-baked chicken breast develops a golden, seasoned exterior with a juicy, tender center. Chicken breast baking time varies by weight, with most breasts ready within 10–25 minutes.
Serve it for dinner alongside a simple side, or use it in salads, sandwiches, tacos, wraps, and meal prep. If you enjoy versatile chicken dinners, Healthy Stuffed Chicken Breast is another oven-baked option, while Instant Pot Whole Chicken works well when you need enough chicken for several meals.
Quick Look: Baked Chicken Breast
- ⏱️ Prep Time: 10 minutes
- 🔥 Cook Time: 20 minutes
- ⏲️ Total Time: 30 minutes
- 🍽️ Servings: 4
- 🌡️ Oven Temperature: 425°F (220°C)
- 🍗 Best Cut: Boneless, skinless chicken breasts
- 🌶️ Flavor: Savory, smoky, and lightly spiced
- 🍳 Cooking Method: Oven-baked
- 🥣 Key Ingredients: Chicken breasts, olive oil, and taco seasoning or dry rub
- Why This Recipe Works: Learning how to cook chicken breast in the oven comes down to even thickness, the right oven temperature, and baking time based on the weight of each breast. These factors help the chicken cook evenly and stay tender and juicy.
SUMMARIZE & SAVE THIS CONTENT ON
Jump to:
- Quick Look: Baked Chicken Breast
- How Long to Bake Chicken Breast
- Baking Times at Different Oven Temperatures
- Chef's Notes from Valentina
- Ingredients
- Substitutions And Additions
- How to Bake Chicken Breast
- Expert Tips for Juicy Baked Chicken Breast
- FAQ About Baked Chicken Breast
- What to Serve with Baked Chicken Breast
- More Chicken Recipes to Try
- How to Bake Chicken Breast and for How Long
- Storage and Reheating
How Long to Bake Chicken Breast
At 425°F (220°C), boneless chicken breasts weighing 5–12 ounces generally take 10–25 minutes to bake.
The weight and thickness of the chicken matter more than one universal baking time. Start checking smaller breasts first when several different sizes are cooking together.
Use the times as a guide and check the thickest part with an instant-read thermometer. The chicken is done when it reaches 165°F (74°C).
Baking Times at Different Oven Temperatures
The best temperature to bake chicken breast for this method is 425°F (220°C). It keeps the cooking time relatively short and allows the seasoned exterior to brown.
Lower or higher oven temperatures require different cooking times. Weight and thickness also affect how long to cook chicken breast in the oven, which is why an instant-read thermometer provides a more reliable indication of doneness than time alone.
Chicken breasts in the same package can vary considerably in size. Weigh each breast individually and bake pieces of similar weight and size together for more even results.
Ingredients
- Boneless, skinless chicken breasts – 4 breasts. Choose pieces of similar size when possible for more even cooking.
- Olive oil – 2 tablespoons. Coats the chicken and helps the seasoning stick before baking.
- Taco seasoning or dry rub – 1 oz, about 3 tablespoons. Season both sides generously for a savory, smoky finish. Store-bought or homemade seasoning both work well.
- Paprika – 4 teaspoons. Brings mild warmth and rich color to the chicken as it bakes.
- Garlic powder – 2 teaspoons. Distributes garlic evenly throughout the seasoning without adding moisture.
- Brown sugar – 1 teaspoon. Balances the spices and encourages browning on the outside of the chicken.
- Onion powder – 2 teaspoons. Deepens the savory flavor of the seasoning.
- Salt – 1 teaspoon. Use less if the chicken has been brined or already contains an added sodium solution.
- Ground cumin – ½ teaspoon. Brings warm, earthy flavor that pairs well with paprika and chili.
- Black pepper – 1 teaspoon. Sharpens the other spices without making the seasoning too hot.
- Chili powder or cayenne – ½ teaspoon, optional. Use either for extra heat, or leave it out for a milder version.
How to Bake Chicken Breast
Make the Homemade Seasoning
- Mix the seasoning: Combine the paprika, garlic powder, brown sugar, onion powder, salt, ground cumin, black pepper, and optional chili powder or cayenne in a small bowl. Skip this section if using store-bought taco seasoning or another dry rub.
Prepare and Brine the Chicken Breast
- Prepare the chicken: Place plastic wrap over the chicken breasts. Gently pound the thicker portions with a meat mallet or rolling pin to create a more even thickness.
- Prepare the brine: Dissolve the salt in lukewarm water. Refrigerate the brine until completely chilled before adding the chicken.
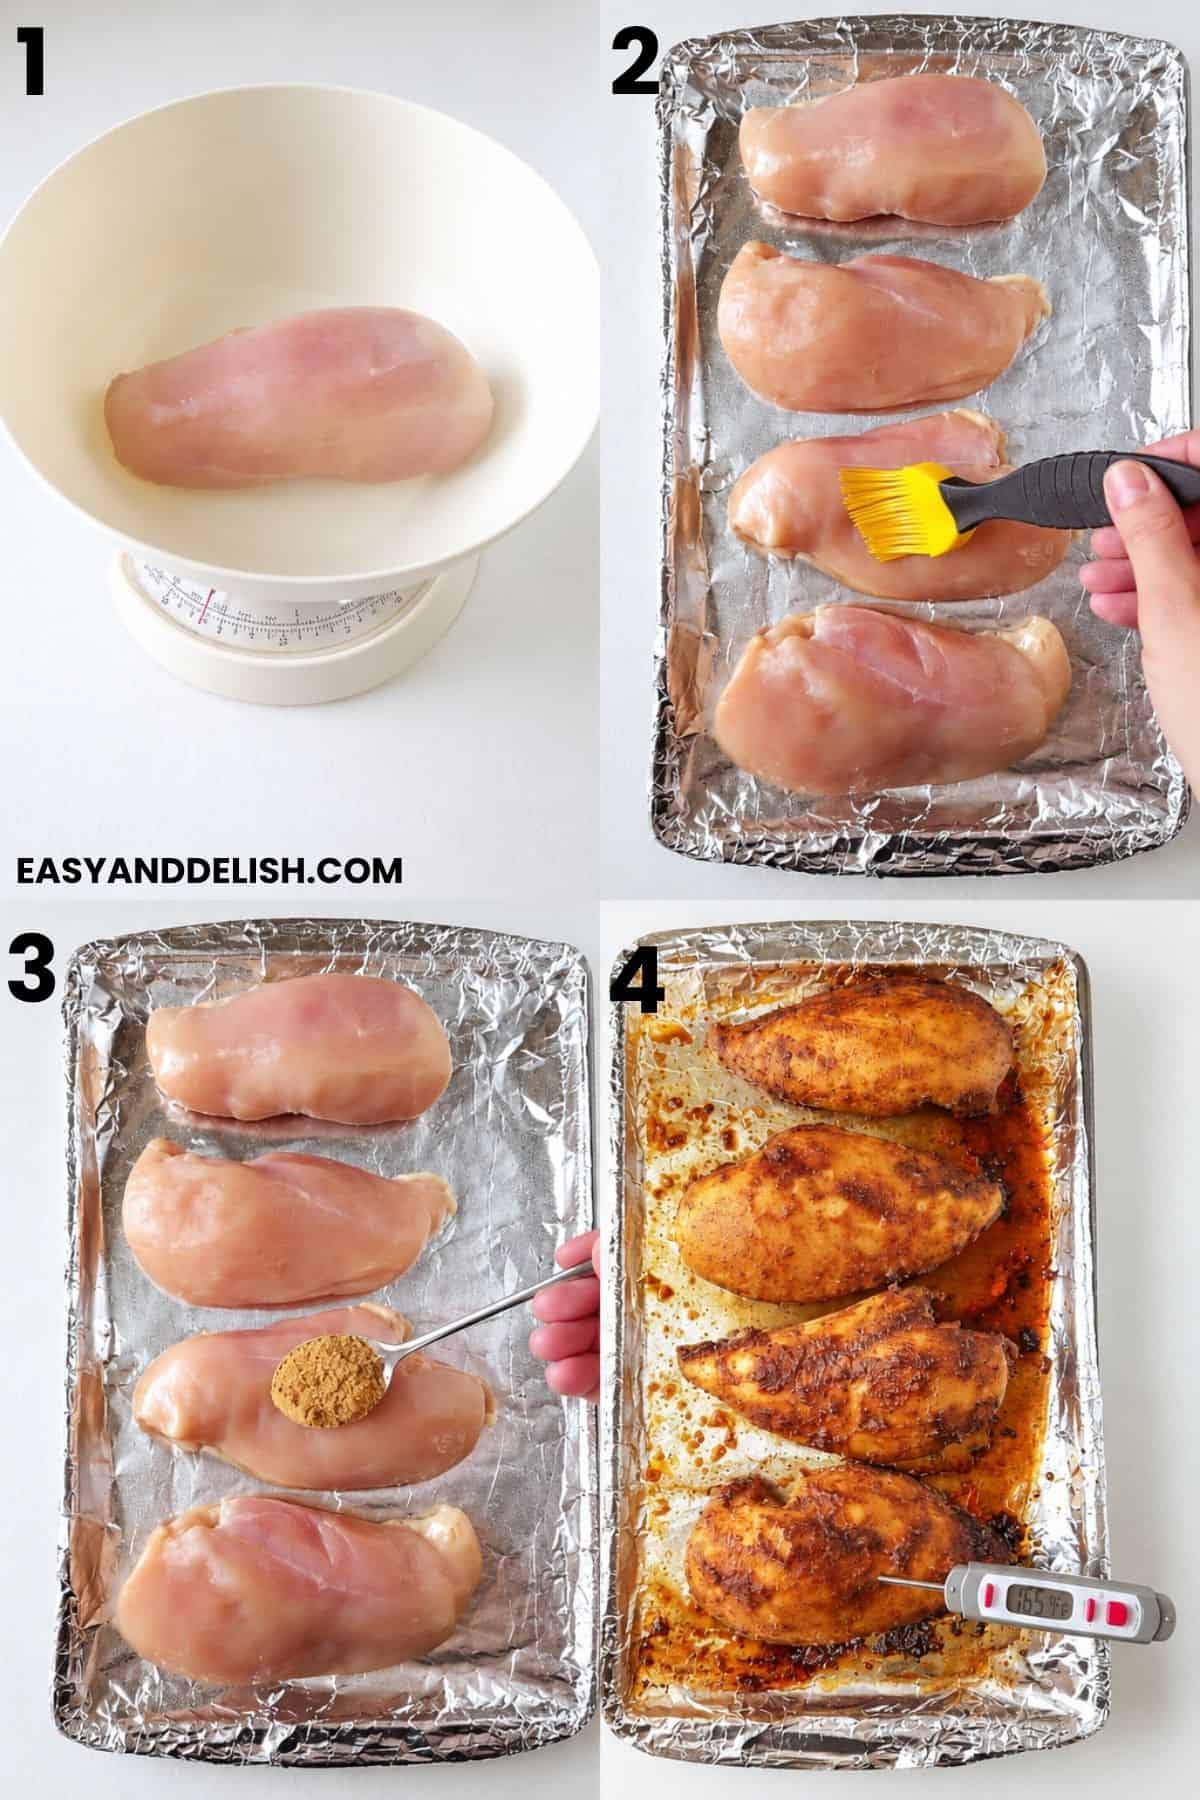
- Brine the chicken: Submerge the chicken breasts in the chilled brine for at least 15 minutes and up to 6 hours. Keep the chicken covered and refrigerated during brining. Skip the brine if you're short on time. PIC. 1
- Dry the chicken: Remove the chicken breasts from the brine and discard the used brine. Pat the chicken dry before adding the oil and seasoning.
Bake the Chicken Breast
- Preheat the oven: Preheat the oven to 425°F (220°C).
- Season the chicken: Brush the chicken breasts all over with olive oil. Season them well on all sides with taco seasoning, homemade seasoning, or another dry rub. Press the seasoning onto the chicken with your hands to help it stick. PIC. 2 & 3
- Prepare the baking sheet: Lightly grease a baking sheet with olive oil. Alternatively, line the baking sheet with foil and lightly grease the foil. Arrange the chicken breasts on the prepared baking sheet.
- Bake the chicken: Bake for 10–25 minutes, based on the weight of each breast. Bake 5-ounce breasts for 10–13 minutes, 7-ounce breasts for 14–18 minutes, 10-ounce breasts for 19–24 minutes, and 12-ounce breasts for 22–25 minutes. Flip each breast halfway through its baking time. PIC. 4
Note: Check the thickest part of each breast with an instant-read thermometer. The chicken is ready when it reaches 165°F (74°C). - Rest and slice: Remove the chicken from the oven and let it rest for 3–5 minutes. Slice against the grain and serve.
FAQ About Baked Chicken Breast
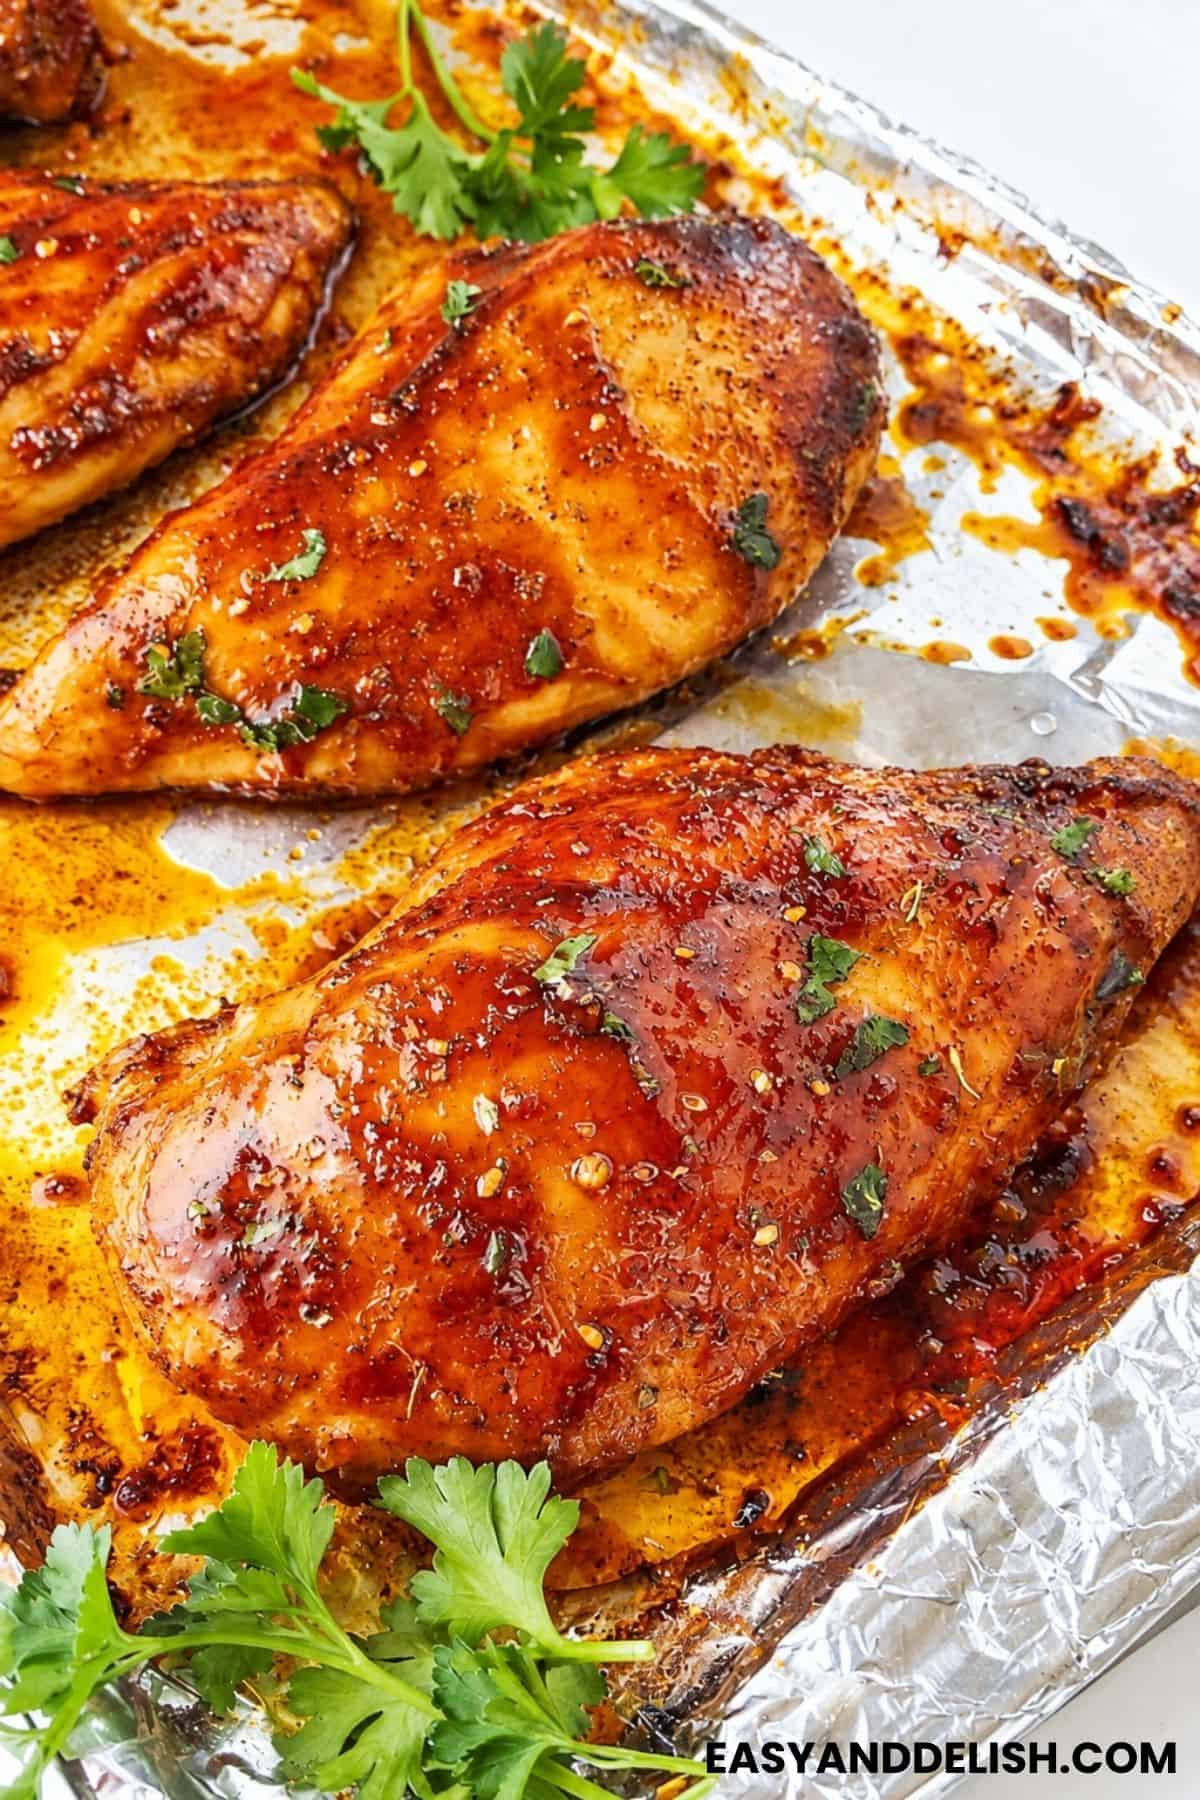
Pound the thicker portion to even out the breast, then use its weight as a guide for baking time and check the internal temperature before removing it from the oven. For extra moisture and flavor, brine the chicken first using the brine recipe from my Roast Turkey. If the chicken is already brined, skip this step. Let the baked chicken rest for 3–5 minutes before slicing.
Insert an instant-read thermometer into the thickest part of the breast. The chicken is safely cooked when it reaches 165°F (74°C).
Yes, but chicken thighs require different cooking times, and the chicken breast timing chart does not apply. Follow my How to Bake Chicken Thighs guide for that cut.
For this recipe, baking boneless, skinless chicken breast at 425°F gives reliable results when the breasts are similar in size and thickness. Season the chicken well, flip it halfway through baking, and let it rest for 3–5 minutes before slicing.
What to Serve with Baked Chicken Breast
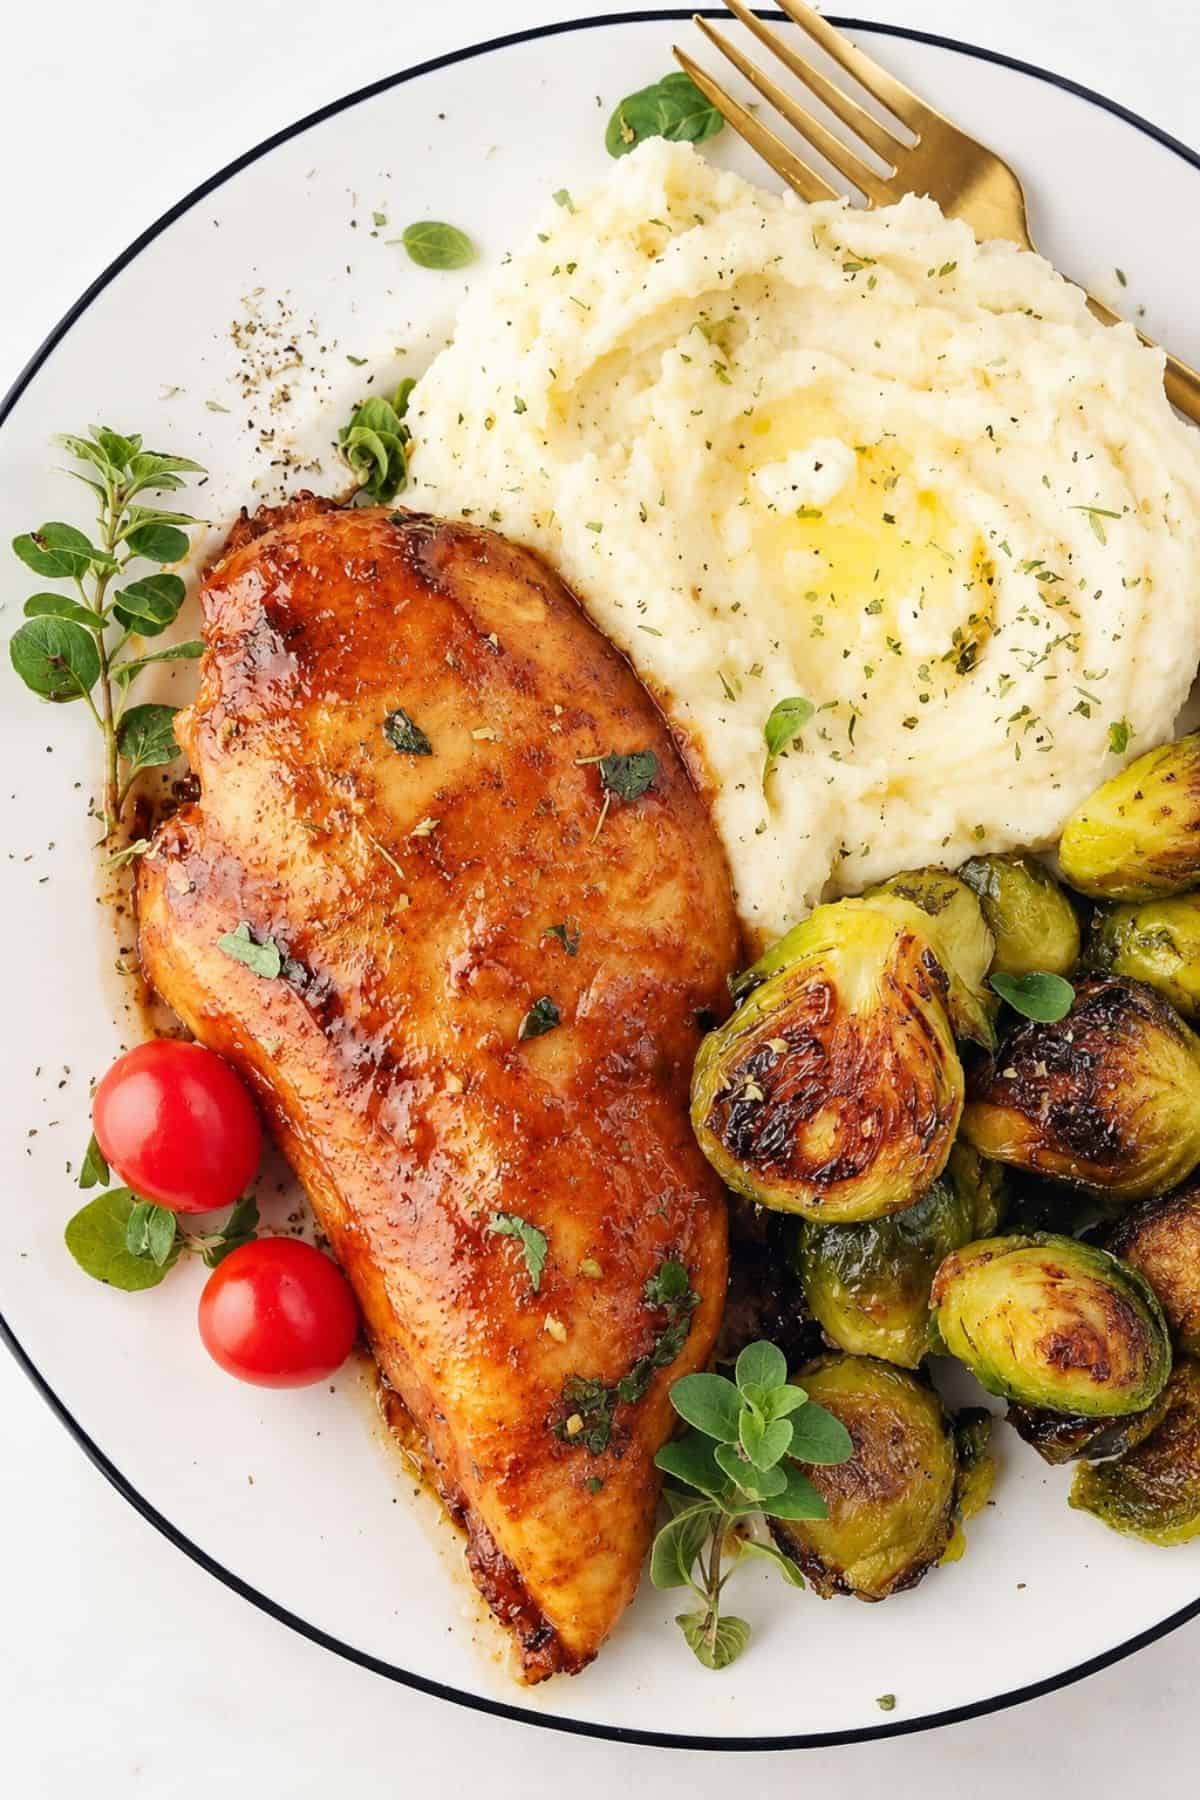
- Vegetables: Serve it with Instant Pot Brussels Sprouts, broccoli, asparagus, green beans, zucchini, or roasted vegetables.
- Potatoes: Pair it with mashed potatoes, roasted potatoes, baked potatoes, potato wedges, or sweet potatoes.
- Rice and grains: Serve it with white rice, brown rice, quinoa, couscous, farro, or another favorite grain.
- Salads: Slice the chicken and serve it over a Caesar salad, green salad, pasta salad, or grain salad.
- Bread: Pair it with garlic bread, dinner rolls, flatbread, pita bread, or crusty bread.
- Tacos and wraps: Slice or shred the chicken for tacos, burritos, quesadillas, wraps, or nachos.
- Sandwiches: Use sliced baked chicken breast in sandwiches, burgers, pitas, or toasted chicken sandwiches.


Did You Love This Recipe? If you make this recipe and love it, stop back, give it a 5-star rating ★★★★★ and leave a comment.
How to Bake Chicken Breast and for How Long
Equipment
- oven
- baking sheet
Ingredients
- 4 chicken breasts preferably boneless and skinless
- 2 tablespoons olive oil
- 1 oz taco seasoning or use the homemade seasoning recipe
Instructions
Make the Homemade Seasoning
- Mix the seasoning: Combine the paprika, garlic powder, brown sugar, onion powder, salt, ground cumin, black pepper, and optional chili powder or cayenne in a small bowl. Skip this section if using store-bought taco seasoning or another dry rub.
Prepare and Brine the Chicken Breast
- Prepare the chicken: Place plastic wrap over the chicken breasts. Gently pound the thicker portions with a meat mallet or rolling pin to create a more even thickness.
- Prepare the brine: Dissolve the salt in lukewarm water. Refrigerate the brine until completely chilled before adding the chicken.
- Brine the chicken: Submerge the chicken breasts in the chilled brine for at least 15 minutes and up to 6 hours. Keep the chicken covered and refrigerated during brining. Skip the brine if you're short on time.
- Dry the chicken: Remove the chicken breasts from the brine and discard the used brine. Pat the chicken dry before adding the oil and seasoning.
Bake the Chicken Breast
- Preheat the oven: Preheat the oven to 425°F (220°C) for about 20 minutes.
- Season the chicken: Brush the chicken breasts all over with olive oil. Season them well on all sides with taco seasoning, homemade seasoning, or another dry rub. Press the seasoning onto the chicken with your hands to help it stick.
- Prepare the baking sheet: Lightly grease a baking sheet with olive oil. Alternatively, line the baking sheet with foil and lightly grease the foil. Arrange the chicken breasts on the prepared baking sheet.
- Bake the chicken: Bake for 10–25 minutes, based on the weight of each breast. Bake 5-ounce breasts for 10–13 minutes, 7-ounce breasts for 14–18 minutes, 10-ounce breasts for 19–24 minutes, and 12-ounce breasts for 22–25 minutes. Flip each breast halfway through its baking time. Note: Check the thickest part of each breast with an instant-read thermometer. The chicken is ready when it reaches 165°F (74°C).
- Rest and slice: Remove the chicken from the oven and let it rest for 3–5 minutes. Slice against the grain and serve.
Recipe Video

Recipe Notes
- Bone-in chicken breasts will take longer to bake.
- Store-bought taco seasoning may need extra salt, about 1 teaspoon per pound of chicken.
Storage and Reheating
Store: Refrigerate baked chicken breast in an airtight container for 3–4 days. Freeze: Cool the chicken before transferring it to a freezer-safe container. Freeze for up to 2 months. It also works well for easy freezer meals and meal prep. Reheat: Reheat the chicken to 165°F (74°C). Avoid heating it longer than necessary because lean chicken breast can dry out.Nutrition
** Nutrition labels on easyanddelish.com are for educational purposes only. This info is provided as a courtesy and is only an estimate, since the nutrition content of recipes can vary based on ingredient brand or source, portion sizes, recipe changes/variations, and other factors. We suggest making your own calculations using your preferred calculator, based on which ingredients you use, or consulting with a registered dietitian to determine nutritional values more precisely.
Please note that health-focused and diet information provided on easyanddelish.com is for educational purposes and does not constitute medical advice, nor is it intended to diagnose, treat, cure, or prevent disease. Consult with your doctor or other qualified health professional prior to initiating any significant change in your diet or exercise regimen, or for any other issue necessitating medical advice.
Did you make this recipe?
Comment and rate the recipe. Also follow us on Pinterest at @easyanddelish for more delish recipes.


Mine seemed to take much longer in Las Vegas, perhaps due to elevation.
Thank you for sharing your experience!
That’s a great point. Elevation, oven calibration, and even the thickness of the chicken breasts can all affect cooking time. That’s why I always recommend using an instant-read thermometer and cooking to an internal temperature of 165°F rather than relying solely on the clock.
I appreciate you taking the time to leave feedback, and I hope the chicken turned out juicy and delicious in the end!
Excellent tips to keep it juicy!
Thank you JB!I am glad the tips for how to bake chicken breast and for how long were useful for you!
Thanks so much! It turned out delicious!
When the chicken comes out of the oven do you let it sit pan or remove it and let sit? I am a new cook so excuse me!
Hi Estelle! Every question is equally impportant. Because the chicken won't spend a long time resting (about 3-5 minutes before serving), you may leave it in the pan, or if you prefer transfer it to a plate or cutting board. If you transfer to a plate or cutting board, cover it with foil. This way it won't get cold until you serve it. I usually leave it in the pan.
What if you have a 4ounce chicken breast only one of them?
I am sorry if I didn't understand your question well. If you have one chicken breast smaller (about 4 oz) than the rest of the batch, but you still want to bake it along with the others, I'd set a timer on the counter specifically for that chicken breast so you can remove it from the pan before the other breasts finish baking. Use the oven timer for the others and a separate timer for the small breast. This is the best way to neither overcook the small breast nor undercook the rest.
I love this site, and your responses! I love the info, it is so comprehensive, you cover everything! Mini encyclopedia on baking chicken!
Hi Penny! Thanks a lot. I am happy you enjoy our recipes and especially our baked chicken breast. It makes an easy dinner and also meal prep for the week.
Thanks for this recipe! I love chicken, and am always looking for new ways to make it.
Such a great post -- loads of great info and tips, and a wonderful recipe. Thanks!
Great tips, definitely would help me out. Last thing you want to have is a dry hard chicken breast