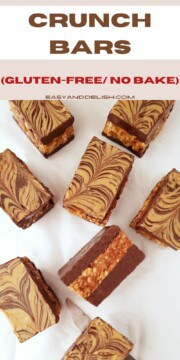
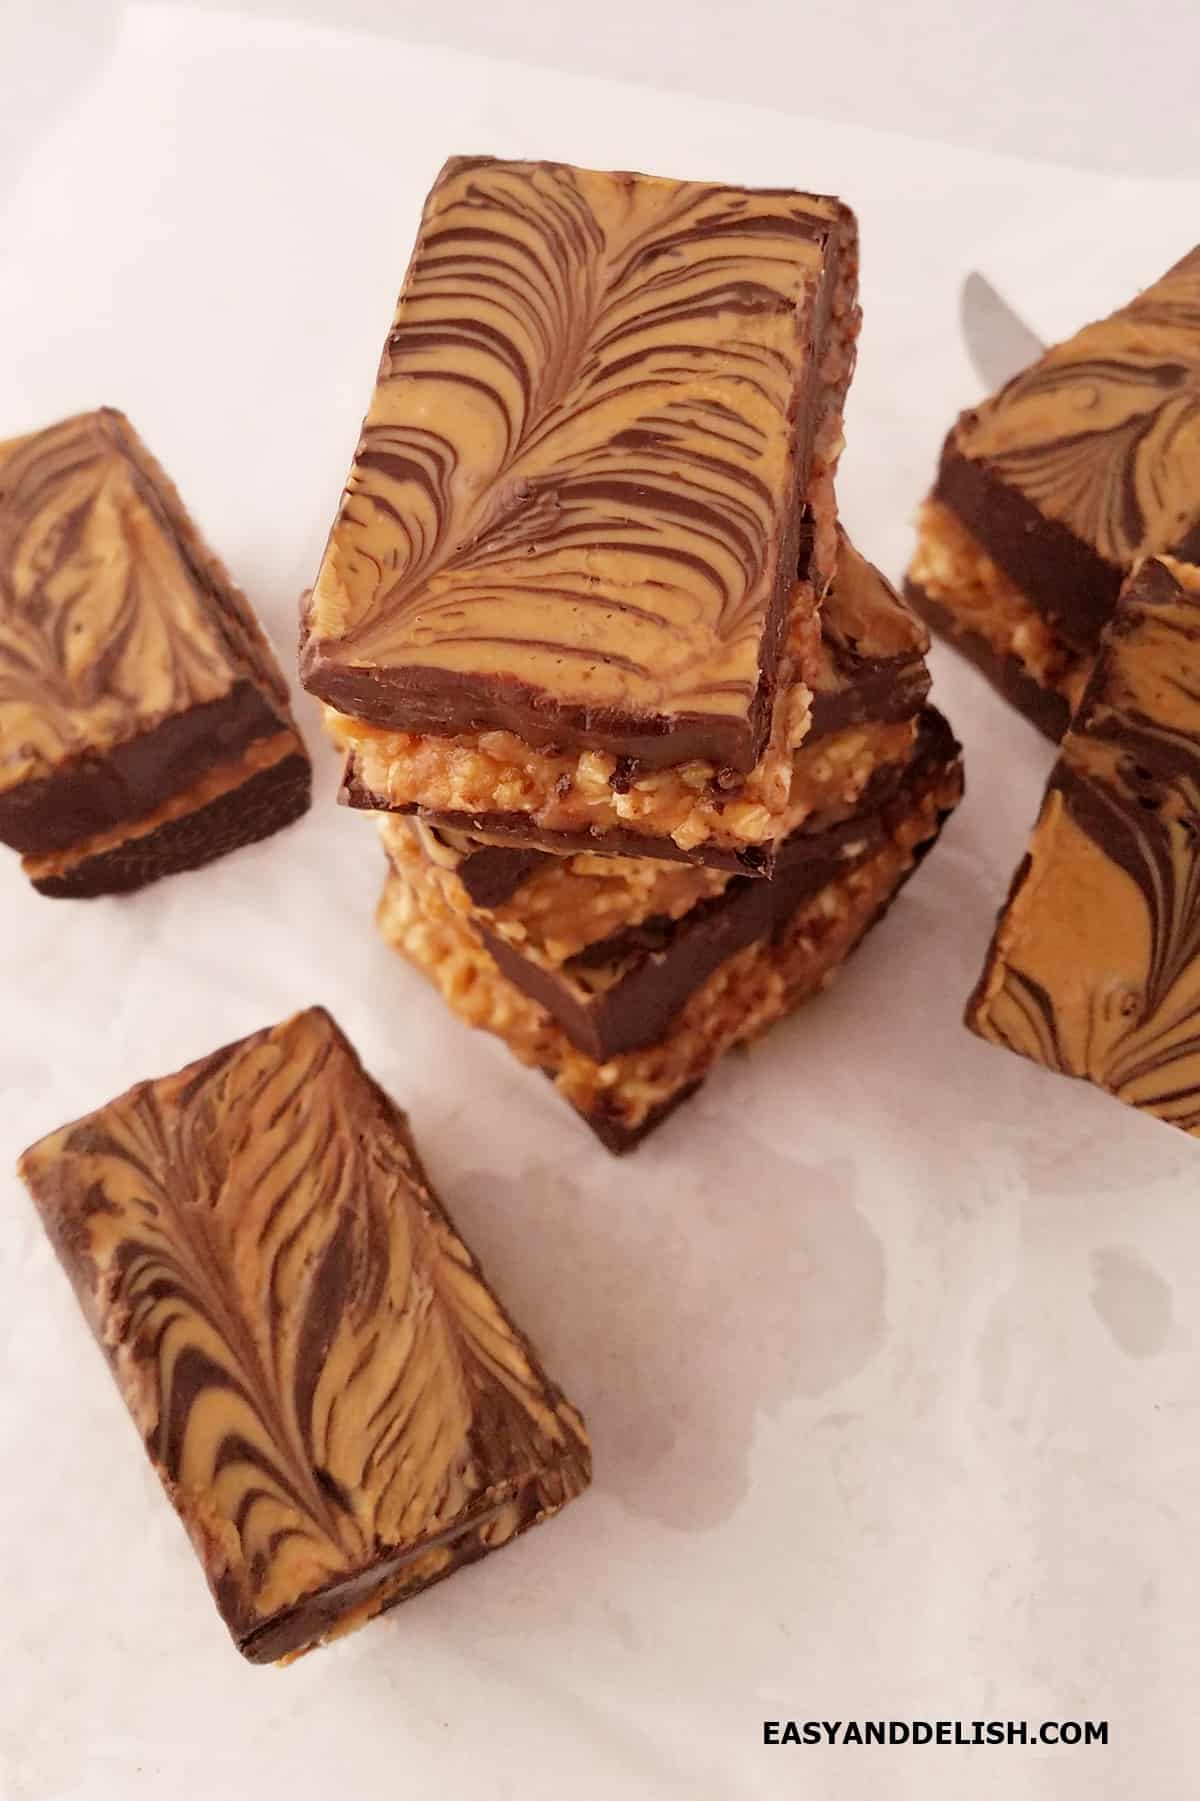
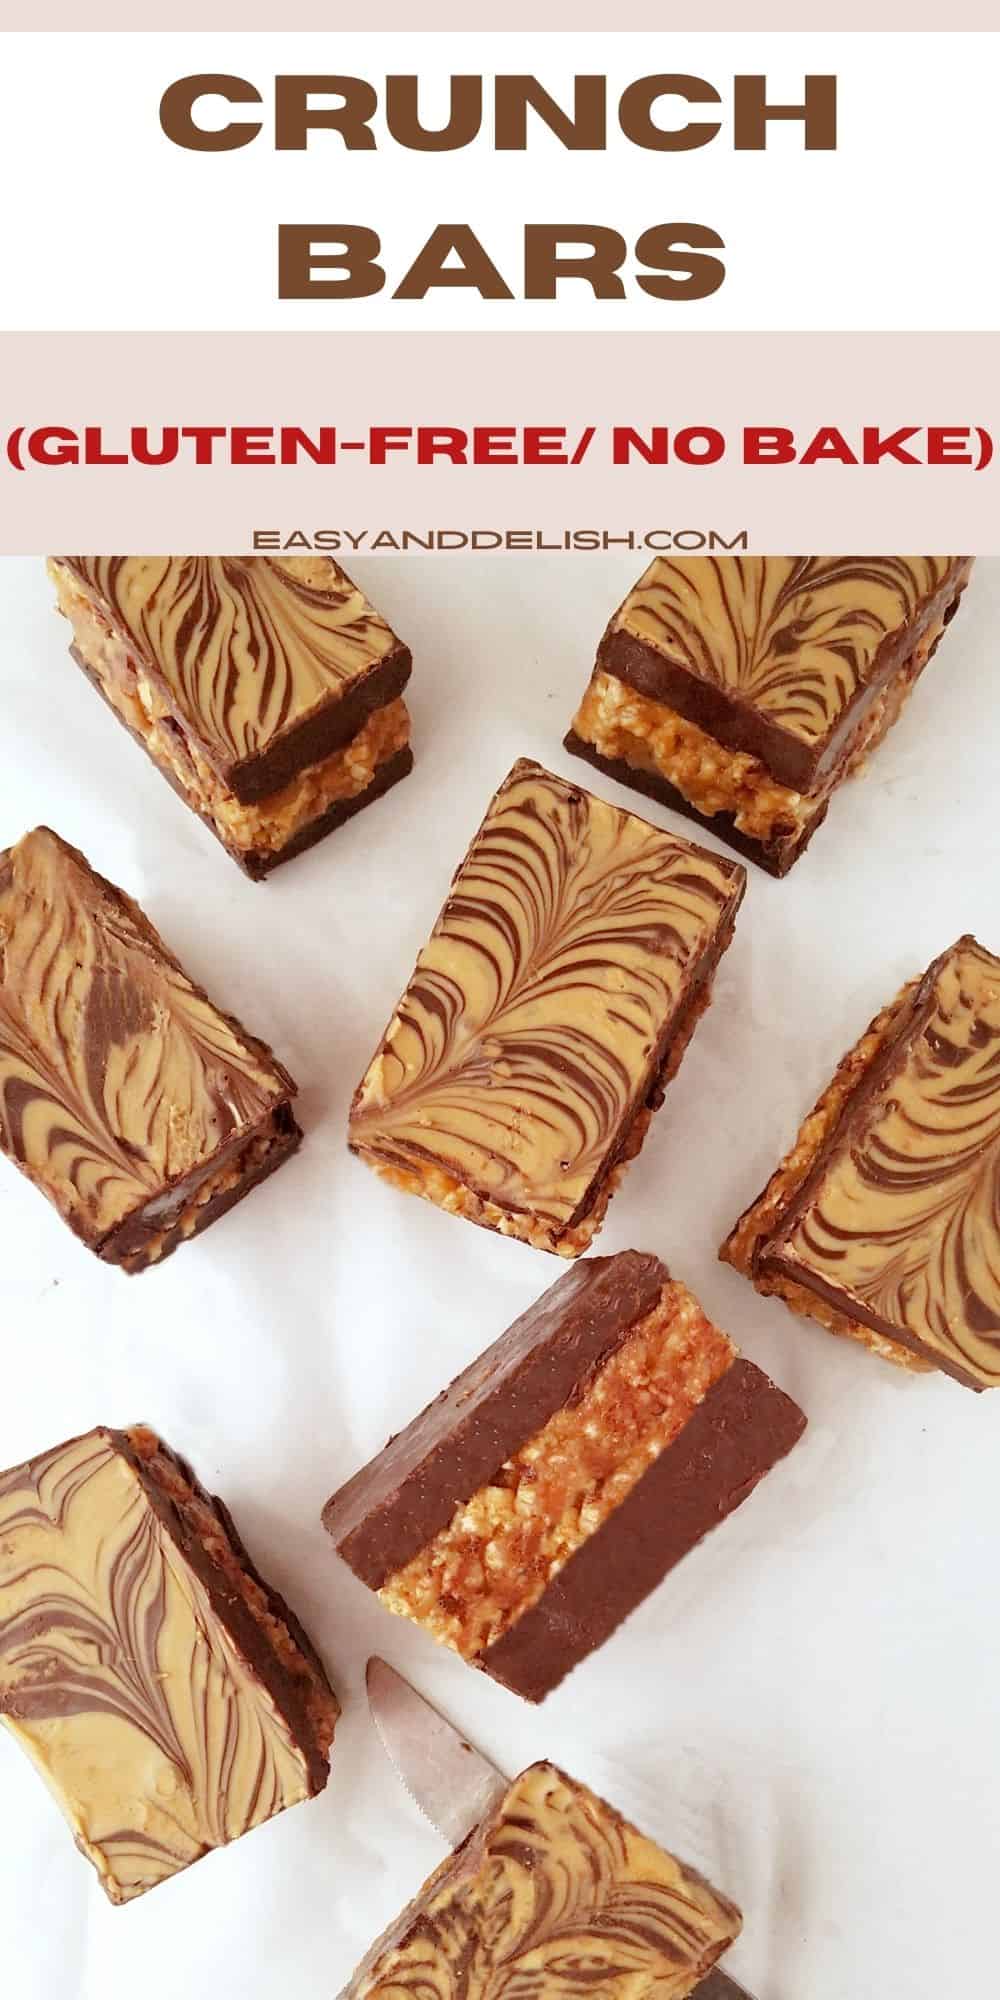
Make the BEST homemade crunch bars recipe with just 5 simple ingredients such as peanut butter and chocolate, and save big bucks. They are gluten-free and vegan, and taste BETTER than the store-bought treat!

Watch our quick video to find out how to make these peanut butter chocolate crunch bars step-by-step!
How to Make Crunch Bars
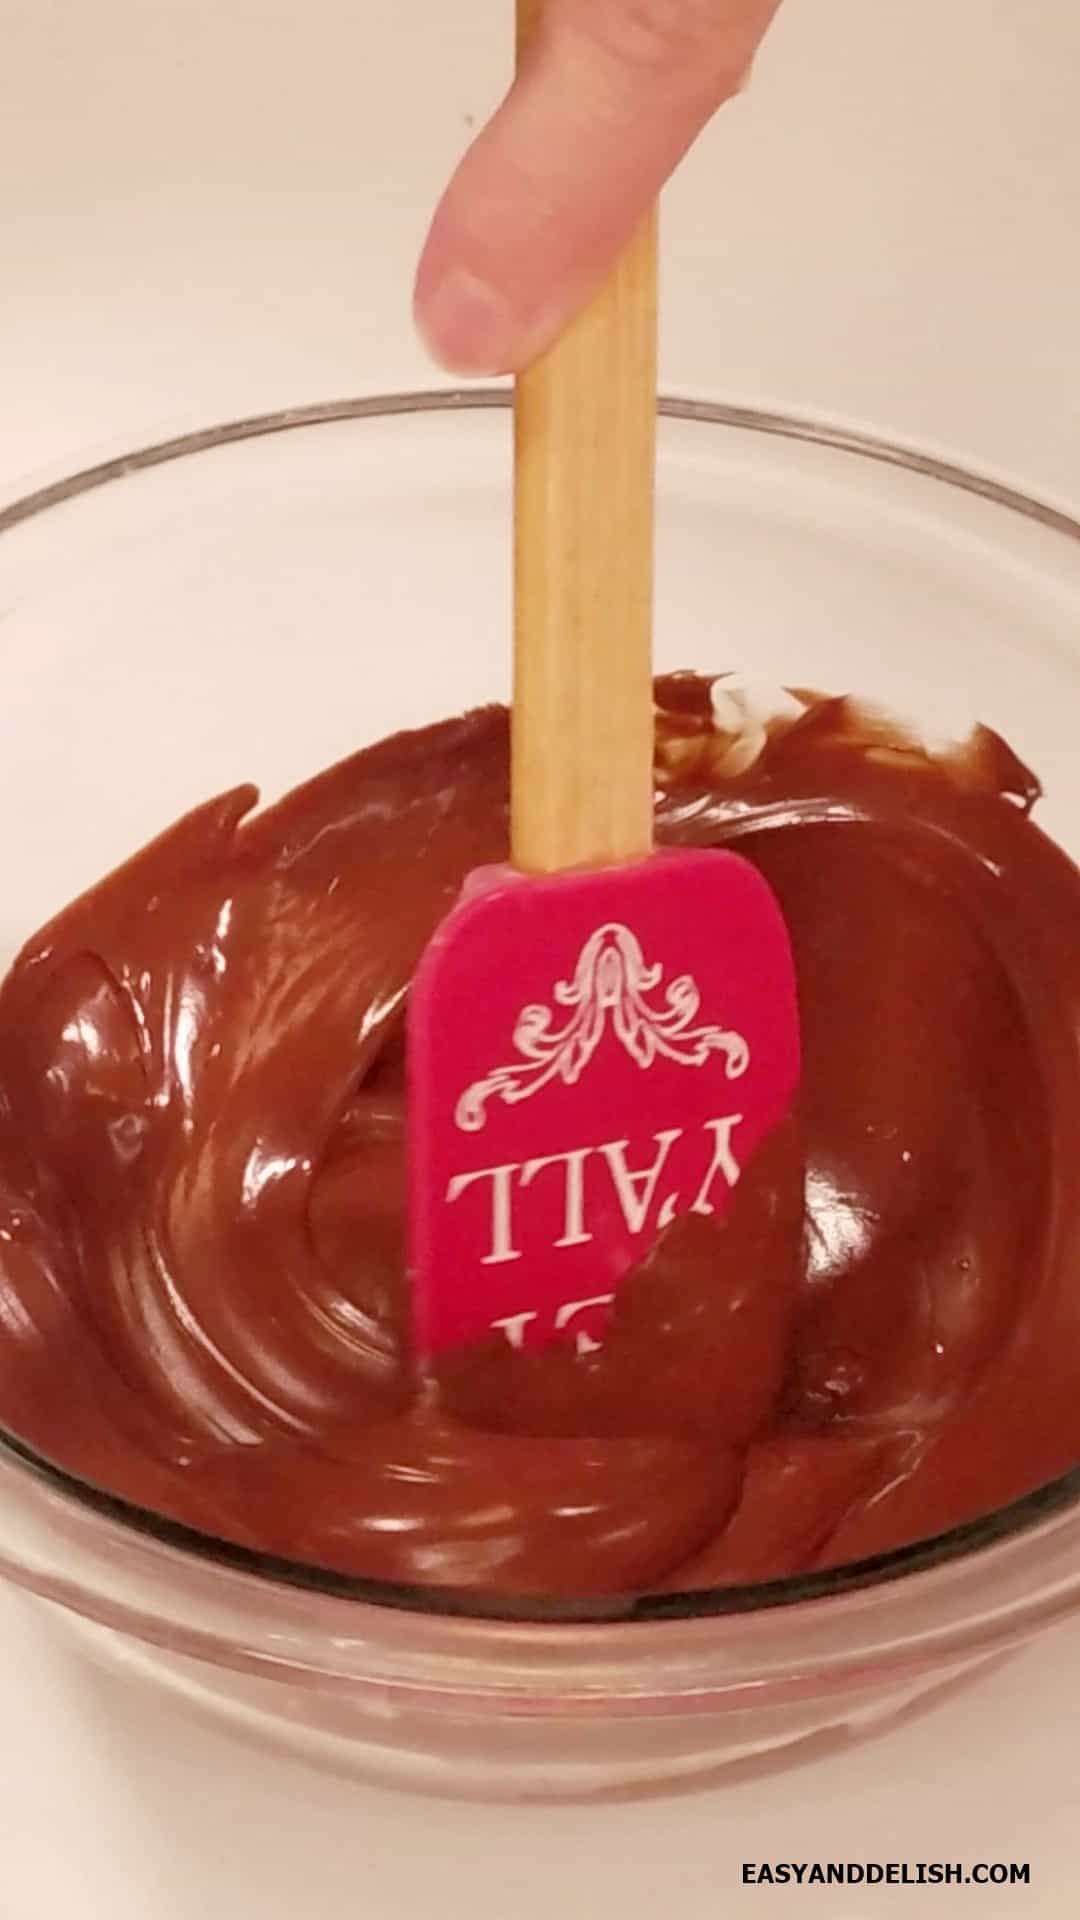
- Make the bottom layer: In a medium microwave-safe bowl, microwave the chocolate chips and coconut oil in 30-second intervals, stirring after each interval, until the chocolate has melted. Stir the chocolate mixture until smooth.
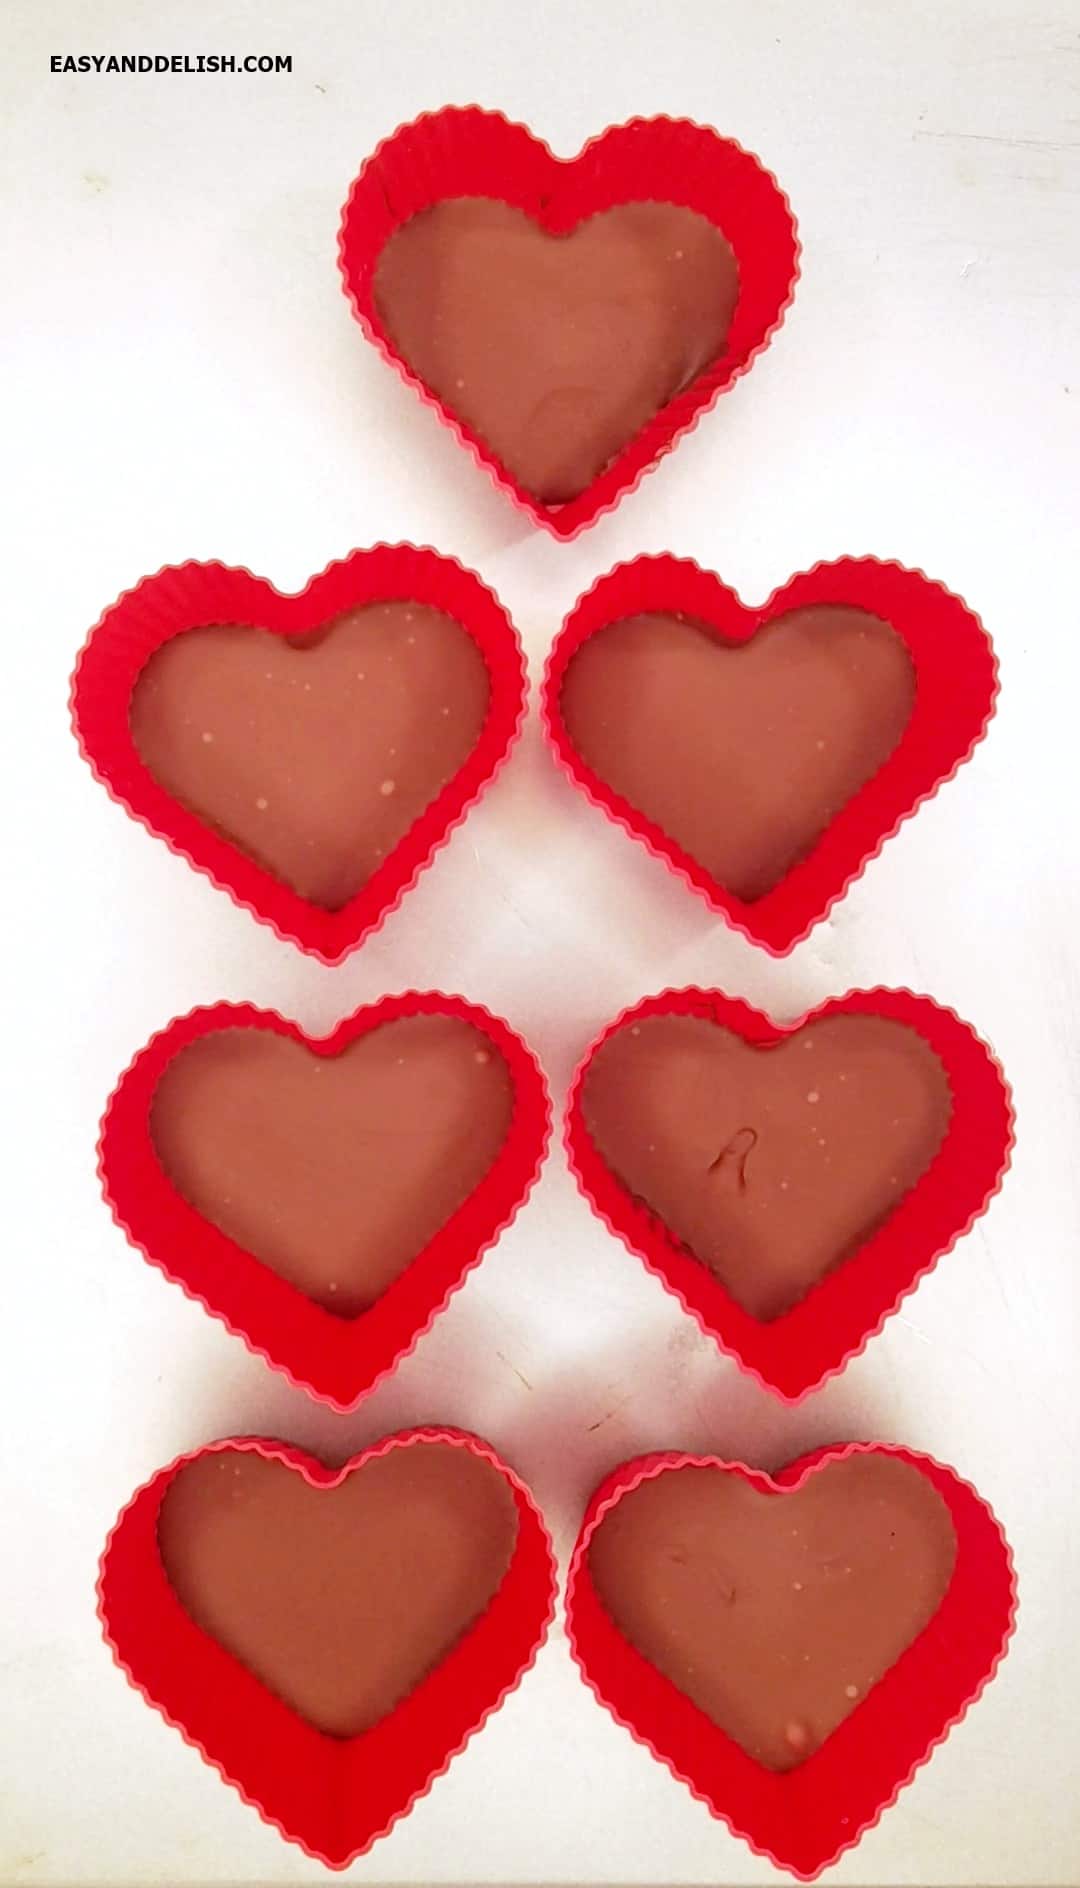
- Spoon it in the bottom of 7 (2.75-inch) silicone molds! Freeze the chocolate base for 10 minutes. NOTE: If you don't have silicone molds, you may line a standard-size muffin tin with paper cups instead!
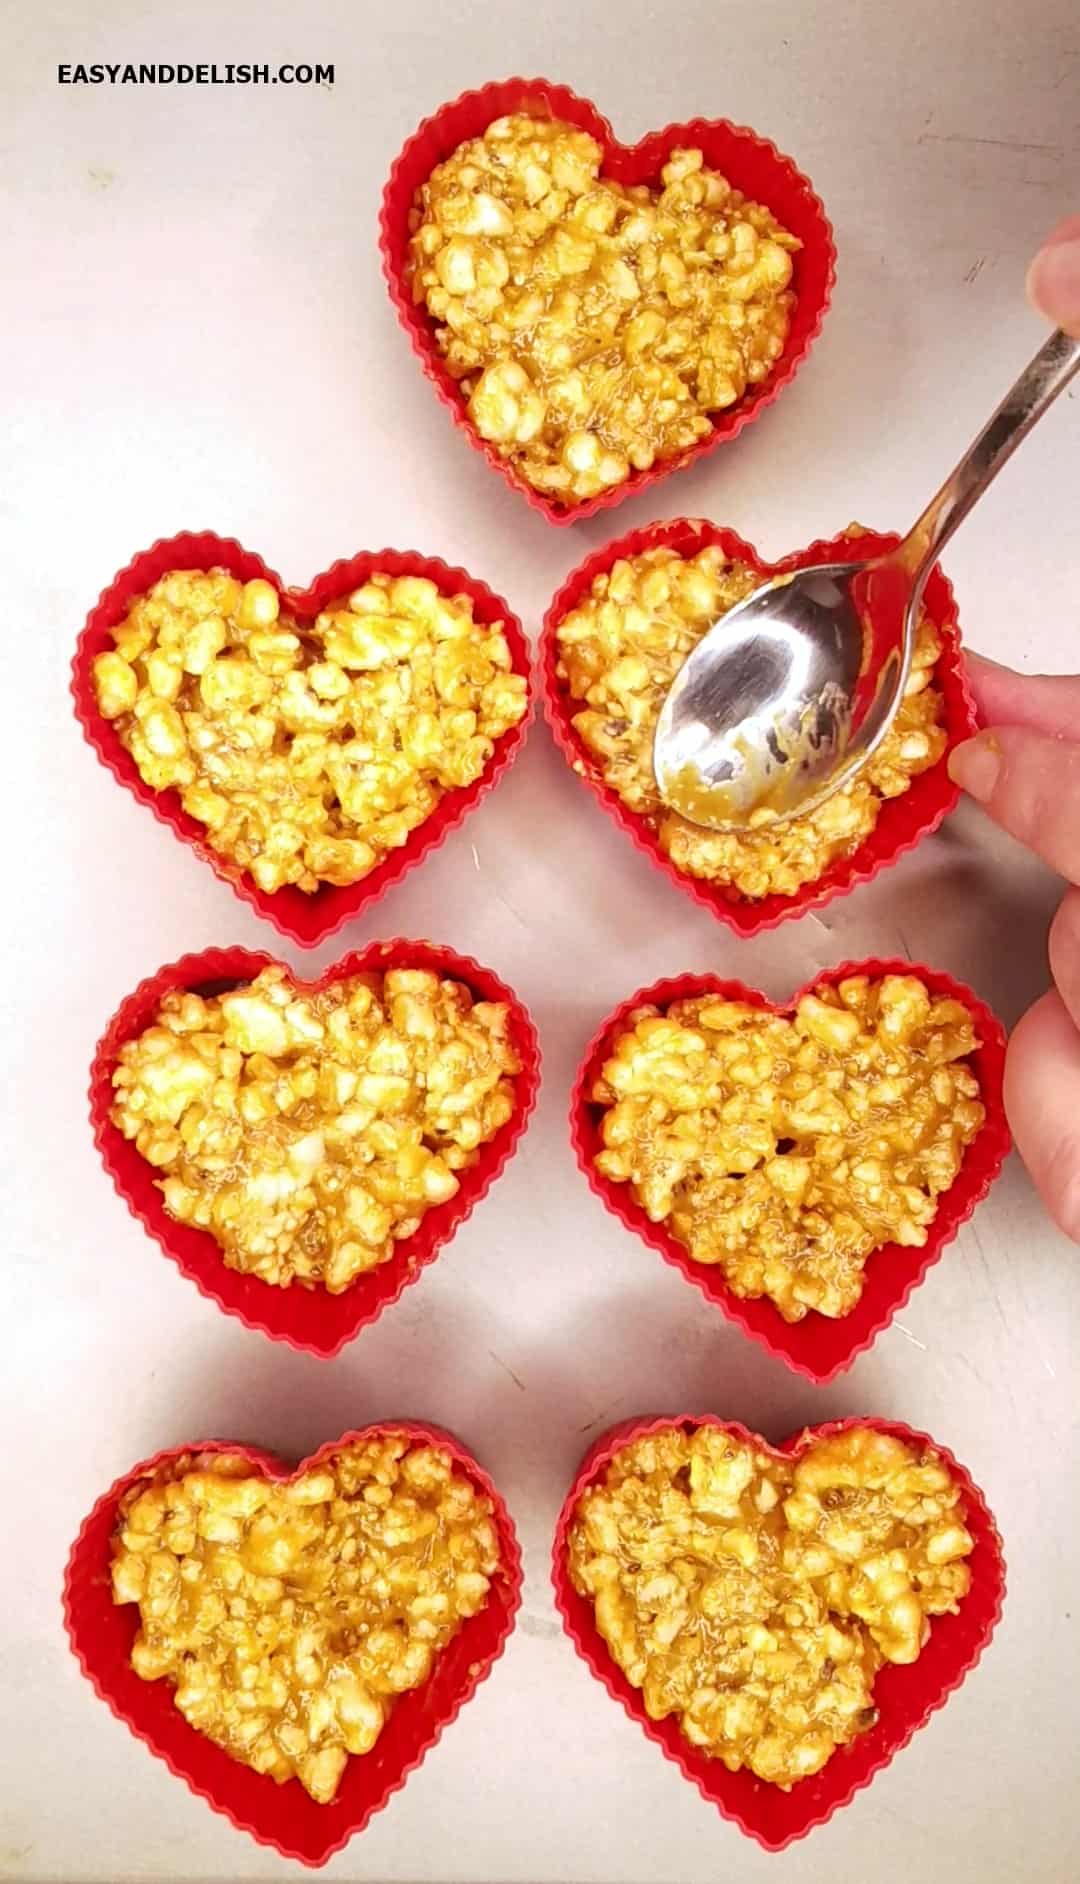
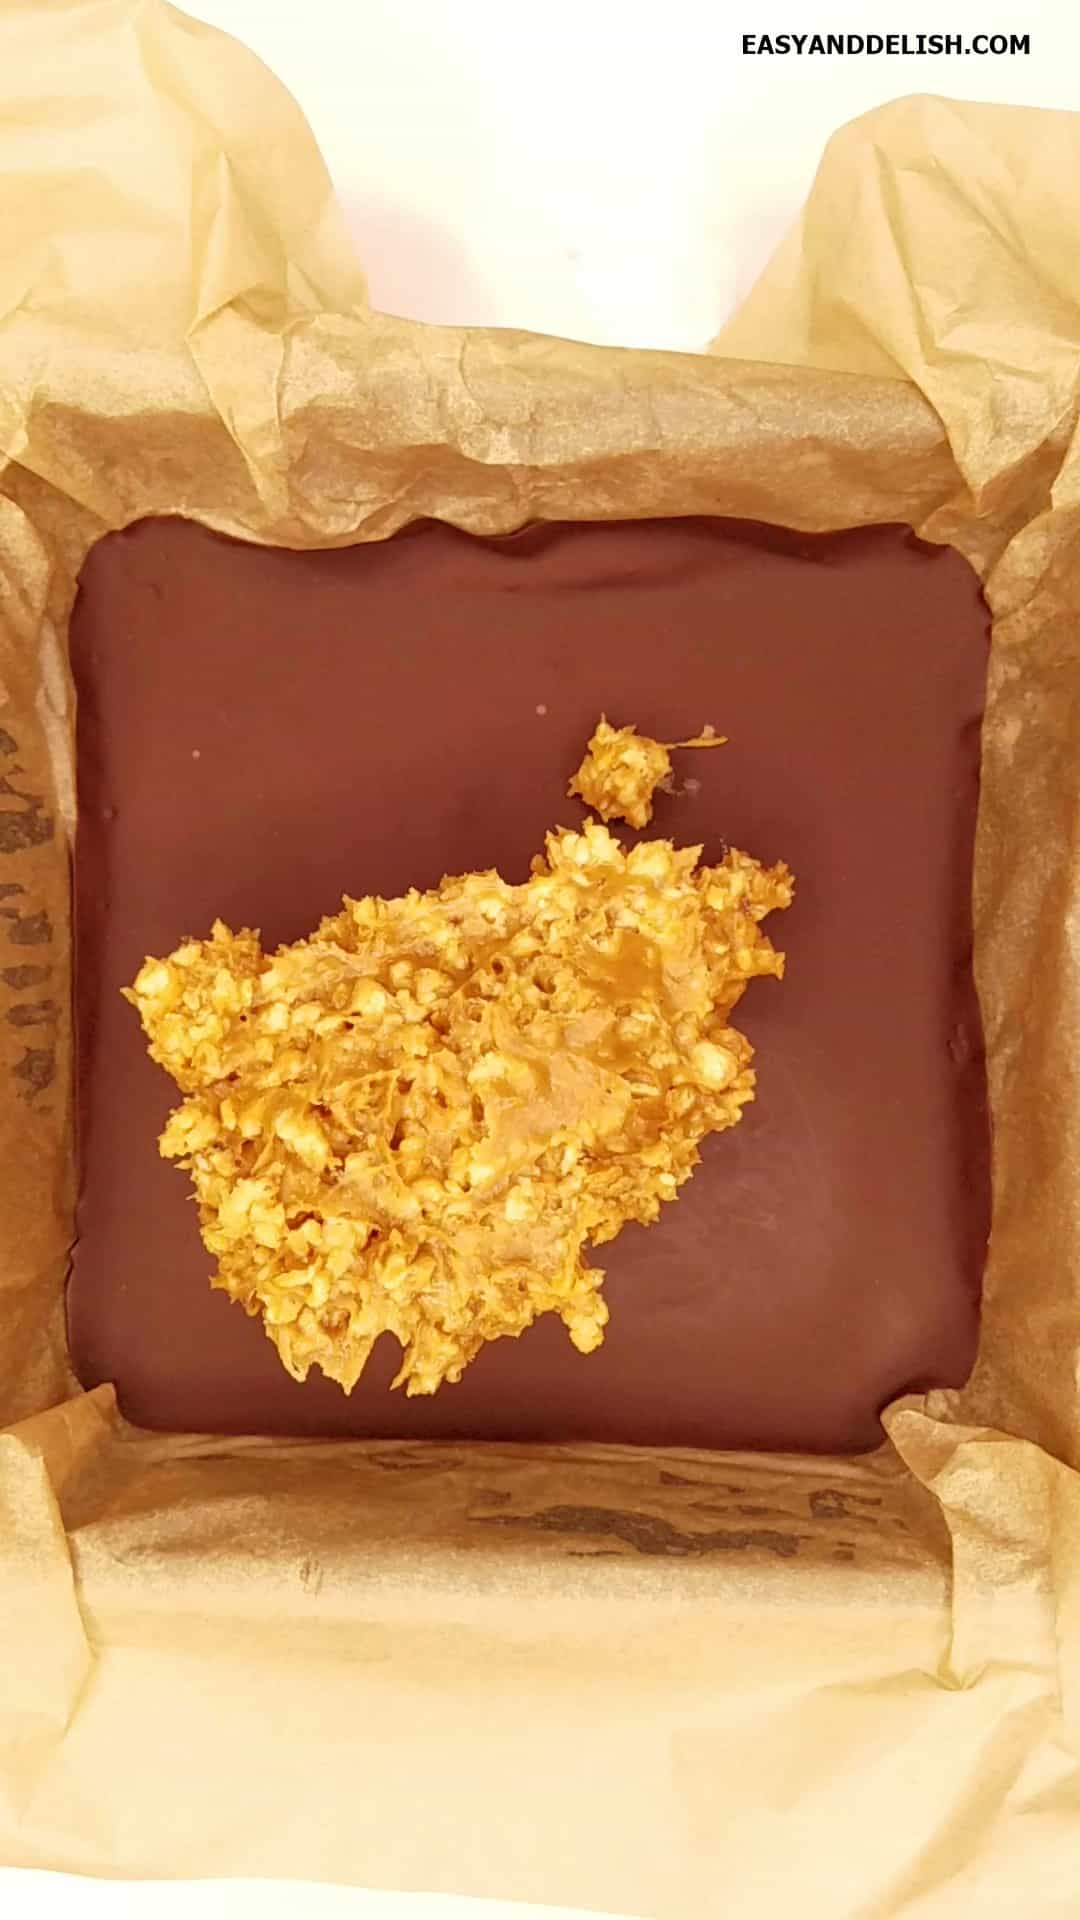
- Prepare the filling: Meanwhile, combine the crushed rice cakes, melted peanut butter, and maple syrup until homogeneous in a large mixing bowl. Spoon the mixture on top of the frozen layer of chocolate. Freeze them for 10 minutes!
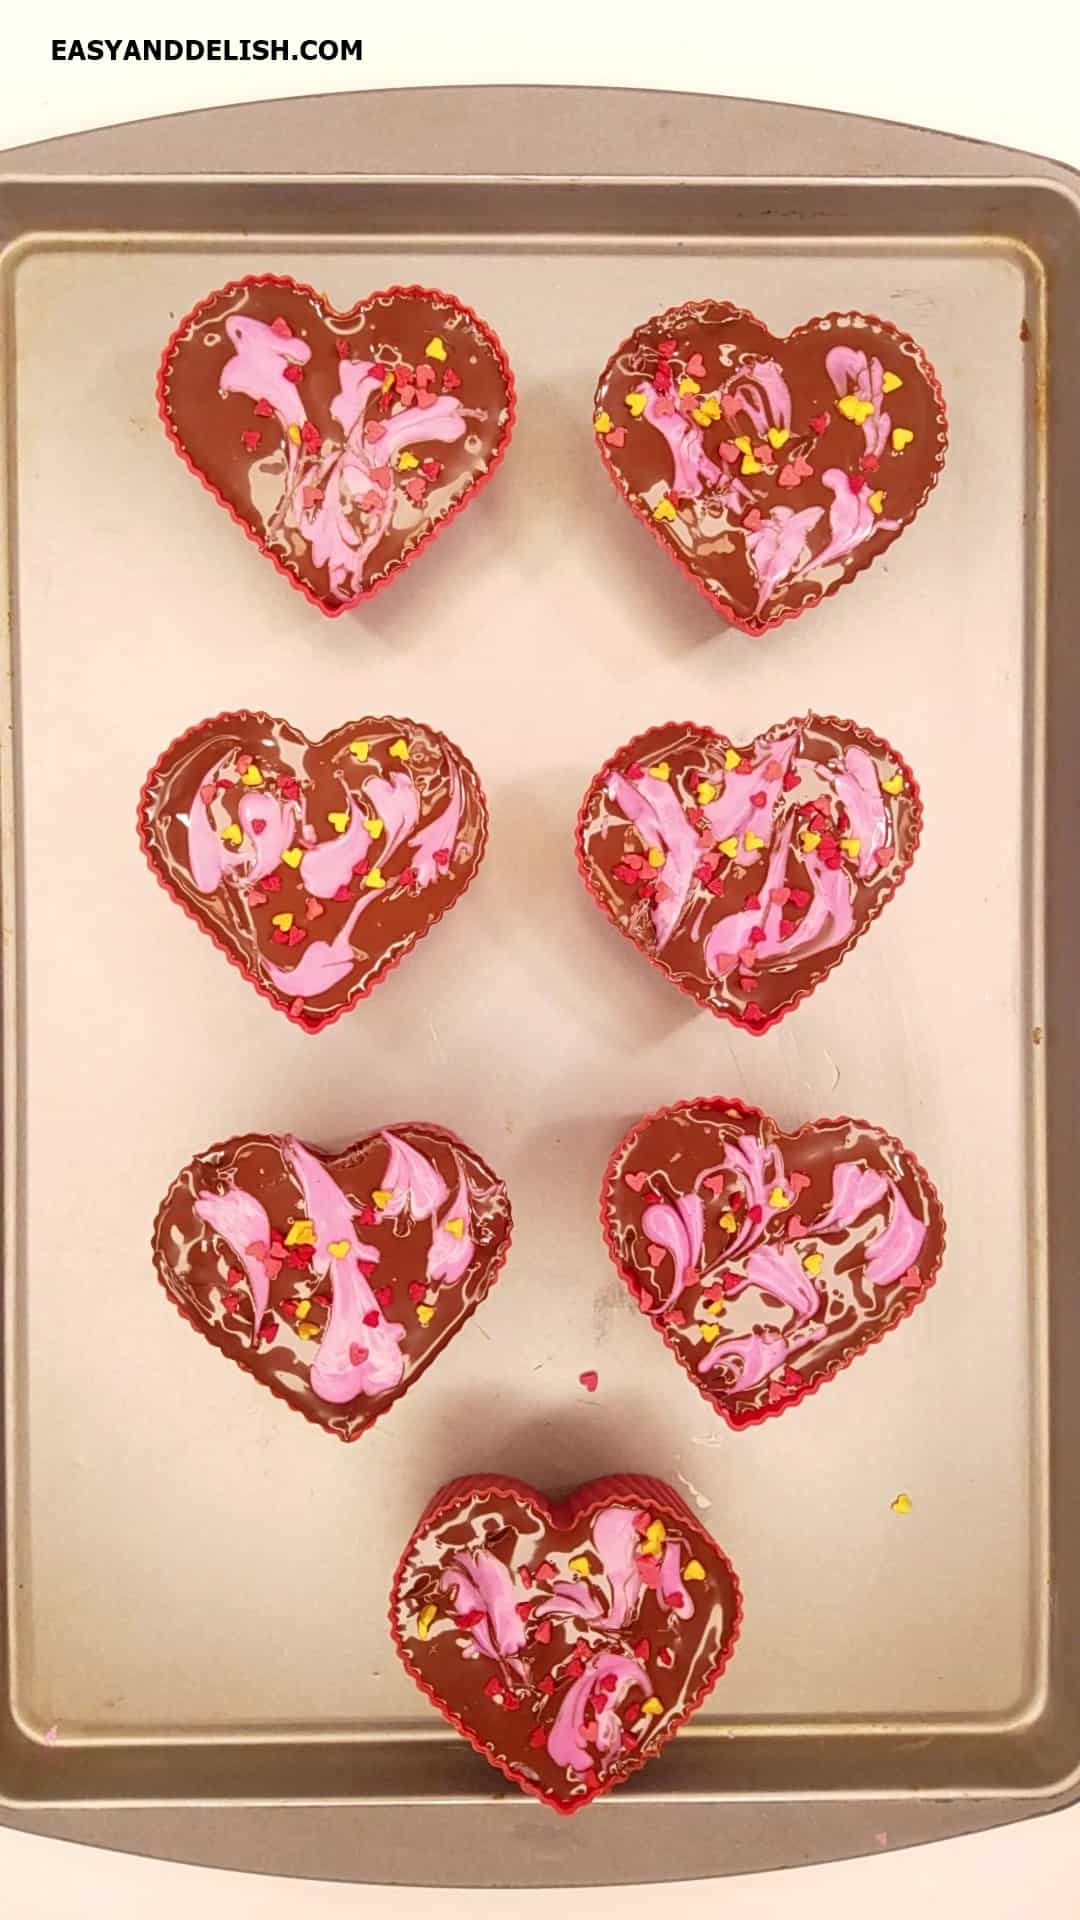
- Make the top layer: Melt in the microwave the chocolate chips and coconut oil in a large microwave-safe bowl. Place the melted chocolate on top of the frozen filling, decorate with melted pink candy melts and sprinkles, and then freeze for 30 minutes. Unmold them and let them come to room temperature before serving.
- Alternatively, you can make these bars in an 8 x 8-inch cake pan, greased with nonstick cooking spray and lined with parchment paper. For this, double the ingredients of the bottom layer, triple the ingredients for the filling, and multiply each ingredient by 1.5 for the top layer.
- NOTE: For thinner layers of chocolate (bottom and top layers), use the same measurements stated in the recipe for the heart molds. In this case, double (not triple) the ingredients for the filling stated in the recipe for the heart molds. You'll have 3 thinner layers and will be much easier to bite into them!
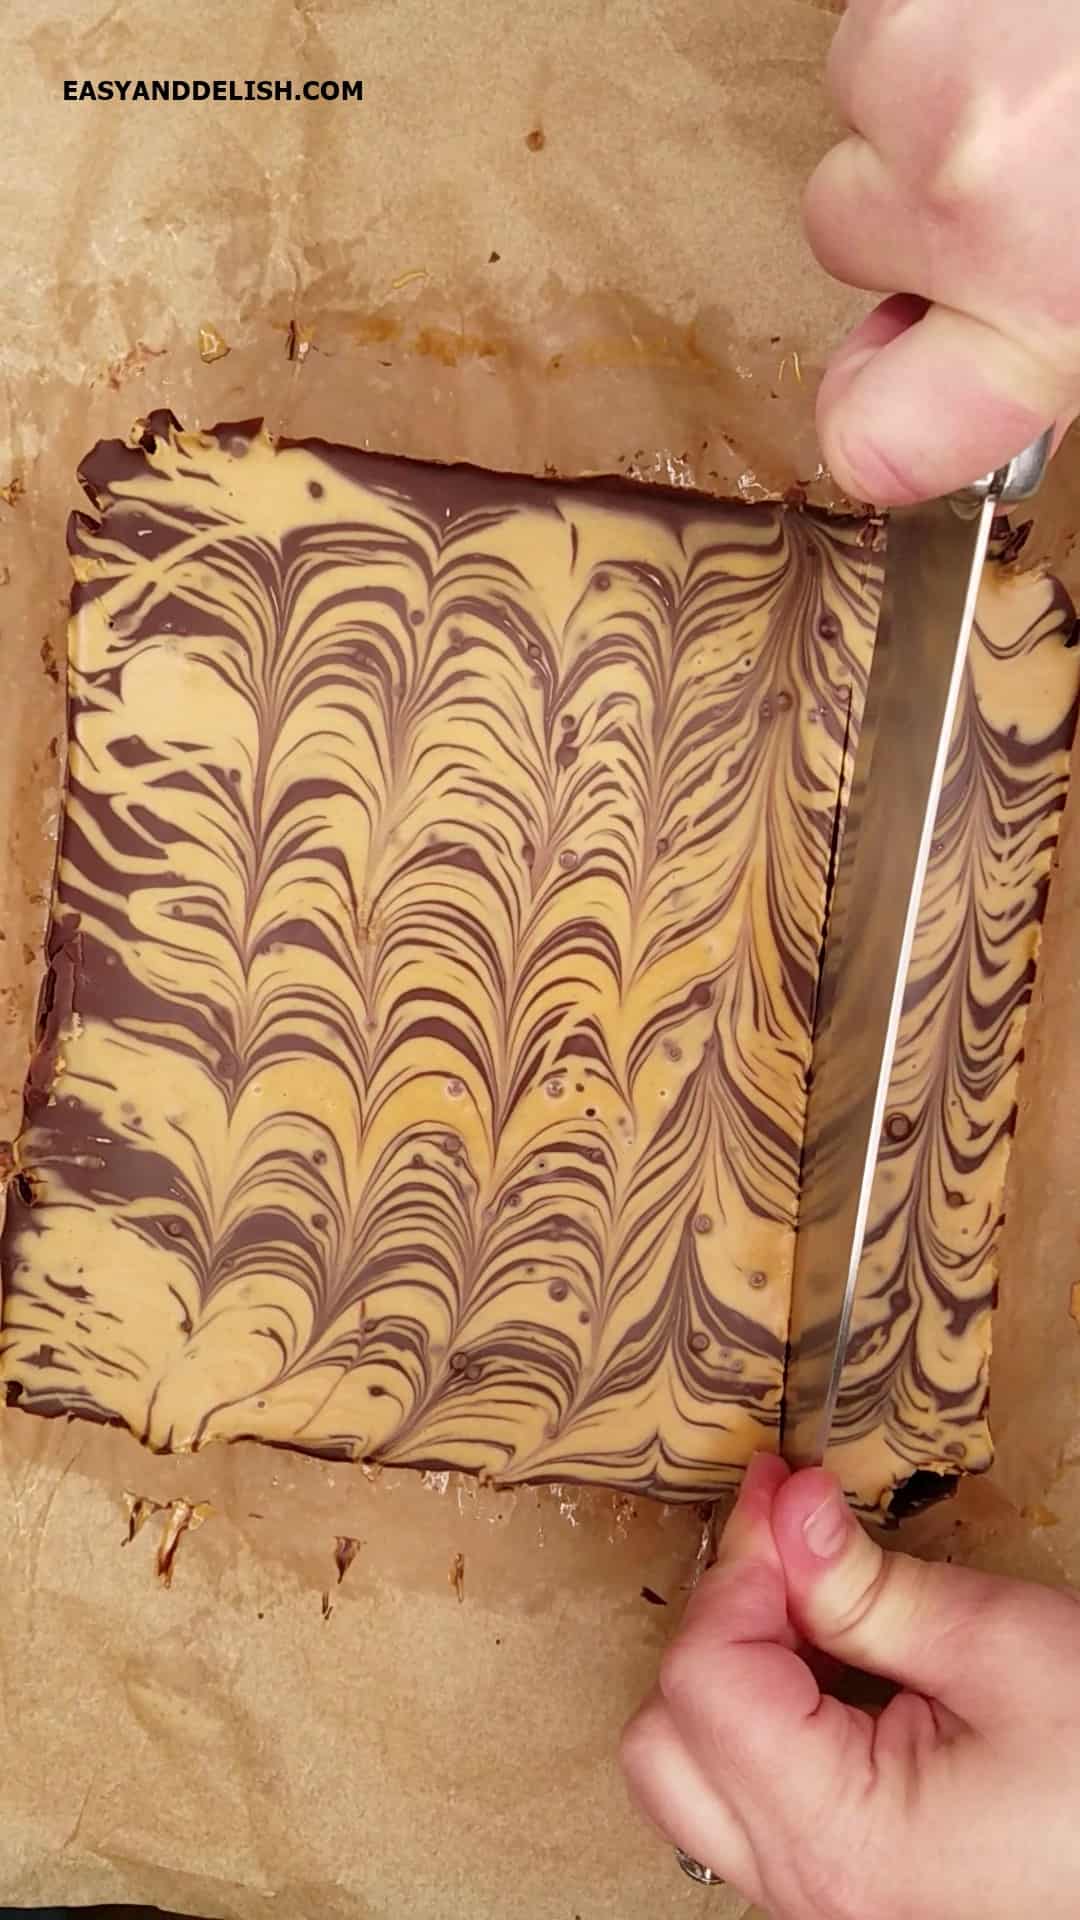
- Follow the same instructions and freezing times for each flat layer of these no-bake chocolate peanut butter crunch bars. You can drizzle the top with melted peanut butter before freezing! Let the frozen treat soften at room temperature just enough to slice into 12 to 16 bars.
.
Ingredients and Substitutions
To make these no-bake crunch bars, you'll need:
Chocolate Bottom Layer
- ¾ cup chocolate chips (semisweet, dark chocolate chips for a paleo treat, keto chocolate for a keto dessert, or vegan chocolate for making these crunch bars vegan or dairy-free)
- ½ teaspoon coconut oil (or vegetable oil to make it nut-free)
Summarize and send this content on
Peanut Butter Crunch Filling
- 4 rice cakes, crushed into tiny pieces (or about 2 cups puffed rice, crispy rice cereal, or crushed rice Krispies. To make it paleo or keto, swap for an adjusted mixture of chopped nuts and sunflower seeds)
- ¼ cup "No Added Sugar" peanut butter, melted (or tahini for a nut-free treat, or another nut butter of your choice. You may use creamy or crunchy peanut butter. The crunchy type will make the filling crispy)
- ⅓ cup maple syrup, for a vegan/paleo treat ( You may use honey instead, or a sugar-free maple-flavored syrup to make it keto)
Chocolate Top Layer
- 1 ½ cups chocolate chips
- 1 teaspoon coconut oil
NOTE: If you want thinner layers of chocolate, cut the ingredients for both the bottom and top layers by half.
Tips for Making the Best Chocolate Peanut Butter Crunch Bars
- Make sure to follow the instructions in the package to melt the chocolate. Once melted, stir well until smooth before pouring into the molds or cake pan.
- If using a cake pan, grease the bottom with nonstick cooking spray and line it with overhanging parchment paper to make it easy to pull the treat out of the pan.
- Allow the frozen dessert to rest at room temperature just enough to cut it into bars or to eat them.
- Combine all the ingredients for the filling well. For extra crispy crunch bars, use crisped rice cereal instead of crushed rice cake or puffed cereal.
- Depending on the type of chocolate you use, these homemade crunch bars can be dairy-free and vegan.
Variations
- If you prefer, you can make these peanut butter crunch bars (with one layer of chocolate). For this, skip the bottom layer of chocolate in this recipe. Also, make sure to cut back a little of the peanut butter and maple syrup from the filling so it can become firmer.
- If you prefer to make chocolate crunch bars, mix the melted chocolate with the filling and place the mixture into silicone molds or a lined cake pan. It will save you time preparing it and freezing it! They will also become a Nestle crunch copycat for America's favorite chocolate candy bar!
- To make chocolate peanut butter crunch bars differently (peanut butter crunch bars dipped in chocolate), make the filling, layer it in a lined cake pan, freeze it for 30-60 minutes or until firm, cut into bars, and then dip them into melted chocolate. Freeze the bars for 10 minutes, or until the chocolate has set!
- For nut-free crunch bars, replace peanut butter with sunflower seed butter or tahini, and swap coconut oil with vegetable oil.
- To make protein crunch bars, stir in ½ scoop of protein powder to the melted nut butter and maple syrup, and then mix in the crushed rice cakes.
FAQs
Yes, you can! For that, replace rice cake with chopped nuts and seeds, and use keto chocolate and sugar-free maple-favored syrup.
To add extra protein to these fit or healthy crunch bars, stir well ½ scoop of whey protein powder with the melted peanut butter and maple syrup, and then mix in the crushed rice cakes. You may have to cut back the amount of crushed rice cake in this recipe.
their listed ingredients. However, this homemade crunch bar recipe is gluten-free as it contains chocolate, coconut oil, peanut butter, rice cake, and maple syrup.
A Nestle crunch bar, rated America's favorite candy bar, uses several ingredients, including real milk chocolate and crisped rice. They are more famous than other types of crunch bars (e.g. Fit Crunch Protein Bars, Power Crunch Protein Bars, Cadbury Crunchie Bars, Cinnamon Toast Crunch Bars, and Little Debbie Peanut Butter Crunch Bars). Our homemade crunch bars use just 5 simple ingredients: Chocolate chips, coconut oil, rice cake, peanut butter, and maple syrup.
How to Store
- FRIDGE: Store crunch bars in an airtight container in the fridge for up to 7 days.
- FREEZER: Freeze these easy crunch bars in sealable freezer bags in one single layer for up to 3 months. Thaw them at room temperature before serving them.
More Homemade Crunchy Bar Recipes
- Fig bars
- Keto protein bars
- Brazilian coconut bars
- Healthy homemade energy bars
- Chocolate fudge cookie bars
- Chocolate coconut cheesecake bars
- Easter cookie bars
- Sunflower seed bars
PIN AND ENJOY!

BEST Homemade Crunch Bars
Equipment
- 1 freezer
- 7 (2.75-inch) heart-shaped silicone molds or 1 (8x8-inch) cake pan
- 3 Mixing bowls
- 1 wooden spoon or rubber spatula
Ingredients
Chocolate Bottom Layer
- ¾ cup chocolate chips semisweet, dark chocolate chips for a paleo treat, keto chocolate for a keto dessert, or vegan chocolate for making these crunch bars vegan or dairy-free.
- ½ teaspoon coconut oil or vegetable oil to make it nut-free.
Peanut Butter Crunch Filling
- 4 rice cakes crushed into tiny pieces (or about 2 cups puffed rice, crispy rice cereal, or crushed Rice Krispies. To make it paleo or keto, swap for an adjusted mixture of chopped nuts and sunflower seeds).
- ¼ cup "No Added Sugar" peanut butter melted (or tahini for a nut-free treat, or another nut butter of your choice. You may use creamy or crunchy peanut butter. The crunchy type will make the filling crispy)
- ⅓ cup maple syrup for a vegan/paleo treat ( You may use honey instead, or a sugar-free maple-flavored syrup to make it keto)
Chocolate Top Layer
- 1 ½ cups chocolate chips
- 1 teaspoon coconut oil NOTE: If you want thinner layers of chocolate, cut the ingredients for both the bottom and top layers by half.
Instructions
- Make the bottom layer: In a medium microwave-safe bowl, microwave the chocolate chips and coconut oil in 30-second intervals, stirring after each interval, until the chocolate has melted. Stir the chocolate mixture until smooth.
- Spoon it in the bottom of 7 (2.75-inch) silicone molds! Freeze the chocolate base for 10 minutes. NOTE: If you don't have silicone molds, you may line a standard-size muffin tin with paper cups instead!
- Prepare the filling: Meanwhile, combine the crushed rice cakes, melted peanut butter, and maple syrup until homogeneous in a large mixing bowl. Spoon the mixture on top of the frozen layer of chocolate. Freeze them for 10 minutes!
- Make the top layer: Melt in the microwave the chocolate chips and coconut oil in a large microwave-safe bowl. Place the melted chocolate on top of the frozen filling, decorate with melted pink candy melts and sprinkles, and then freeze for 30 minutes. Unmold them and let them come to room temperature before serving.
- Alternatively, you can make these bars in an 8 x 8-inch cake pan, greased with nonstick cooking spray and lined with parchment paper. For this, double the ingredients of the bottom layer, triple the ingredients for the filling, and multiply each ingredient by 1.5 for the top layer.
- NOTE: For thinner layers of chocolate (bottom and top layers), use the same measurements stated in the recipe for the heart molds. In this case, double (not triple) the ingredients for the filling stated in the recipe for the heart molds. You'll have 3 thinner layers and will be much easier to bite into them!
- Follow the same instructions and freezing times for each flat layer of these no-bake chocolate peanut butter crunch bars. You can drizzle the top with melted peanut butter before freezing! Let the frozen treat soften at room temperature just enough to slice into 12 to 16 bars and serve them.
Recipe Video
Recipe Notes
- FRIDGE: Store crunch bars in an airtight container in the fridge for up to 7 days.
- FREEZER: Freeze these easy crunch bars in sealable freezer bags in one single layer for up to 3 months. Thaw them at room temperature before serving them.
- If you prefer, you can make these peanut butter crunch bars (with one layer of chocolate). For this, skip the bottom layer of chocolate in this recipe. Also, make sure to cut back a little of the peanut butter and maple syrup from the filling so it can become firmer.
- If you prefer to make chocolate crunch bars, mix the melted chocolate with the filling and place the mixture into silicone molds or a lined cake pan. It will save you time preparing it and freezing it! They will also become a Nestle crunch copycat for America's favorite chocolate candy bar!
- To make chocolate peanut butter crunch bars differently (peanut butter crunch bars dipped in chocolate), make the filling, layer it in a lined cake pan, freeze it for 30-60 minutes or until firm, cut into bars, and then dip them into melted chocolate. Freeze the bars for 10 minutes, or until the chocolate has set!
- For nut-free crunch bars, replace peanut butter with sunflower seed butter or tahini, and swap coconut oil with vegetable oil.
- To make protein crunch bars, stir in ½ scoop of protein powder to the melted nut butter and maple syrup, and then mix in the crushed rice cakes.
Nutrition
** Nutrition labels on easyanddelish.com are for educational purposes only. This info is provided as a courtesy and is only an estimate, since the nutrition content of recipes can vary based on ingredient brand or source, portion sizes, recipe changes/variations, and other factors. We suggest making your own calculations using your preferred calculator, based on which ingredients you use, or consulting with a registered dietitian to determine nutritional values more precisely.
Please note that health-focused and diet information provided on easyanddelish.com is for educational purposes and does not constitute medical advice, nor is it intended to diagnose, treat, cure, or prevent disease. Consult with your doctor or other qualified health professional prior to initiating any significant change in your diet or exercise regimen, or for any other issue necessitating medical advice.


Karen (Back Road Journal) says
A labor of love but equally delicious I'm sure.