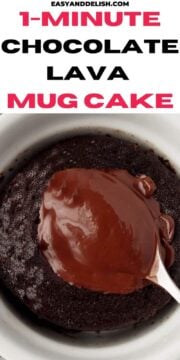
Chocolate Lava Mug Cake is rich, moist, and fudgy, with a warm molten center. Cooked in the microwave for 1 minute, this quick and easy dessert is perfect for chocolate lovers or those on gluten-free and keto diets! It is as yummy as this chocolate fudge cake in a mug and peanut butter mug cake.
What is a lava mug cake?
It is a cake in a mug that has a soft or molten center. It is often cooked in the microwave for 1-2 minutes (depending on the microwave potency) or in the oven.
The most common flavor is chocolate!
Is chocolate lava cake the same as molten chocolate cake?
Yes! Molten chocolate cake combines elements of a chocolate cake and a soufflé. Its name refers to the liquid chocolate center!
It is also known as chocolate moelleux (from French for “soft”), chocolate lava cake, or simply lava cake.
Microwave Chocolate Lava Cake in a Mug
Instead of making a whole cake that takes time and can ruin your diet, make this lava cake in a mug. You can cook it in the microwave in just 1 minute which provides a single serving.
The easiest way to satisfy your chocolate cravings without the guilt!
Ingredients and Substitutions for molten chocolate mug cake
You can easily make our molten chocolate cake in a mug with just 6 ingredients as follows:
- Butter – Preferably use unsalted butter because this chocolate lava mug cake recipe is not that sweet. Also, make sure you melt the butter first. The best type of butter is European because it contains more dairy/fat than water! For a dairy-free mug cake, use room temp vegetable oil or coconut oil instead!
- Heavy cream – You can use half-and-half or whole milk (or even plant-based milk) instead but it won’t be as rich as when made with heavy cream. In addition, those on a keto diet must use either heavy cream or plant-based milk.
- Egg – Use a whole large egg at room temperature. It will act as the rising ingredient while providing structure because the whites contain protein! No baking powder is needed!
- Cocoa powder – It will provide flavor. Use a dutch process or natural cocoa powder. But to make a keto chocolate lava mug cake, use 100% unsweetened cocoa powder. In this case, increase the amount of sweetener in order to the lava mug cake don’t be too bitter. Of course, you can add extra flavor by also combining vanilla extract.
- Sweetener – Sugar, or powdered erythritol if you are on a low carb diet. Just make sure the latter is not granulated because it won’t have enough time to dissolve it while cooking.
- Chocolate – I use 2 squares of my favorite chocolate bar (Lindt 90% dark chocolate) but you can use whatever type of chocolate you want, or even Nutella (about 2 tbsp). It will melt while cooking, making the center soft and warm as in a chocolate molten cake.
These will make one of those unforgettable chocolate lava mug cakes that you will want to make again and again.
How to make chocolate lava mug cake
- To make this ooey-gooey lava cake, add melted butter and heavy cream to an 8-ounce microwave-safe mug or ramekin. whisk until fully combined. Make sure the mixture is liquid but not too hot before adding the egg!
- Add egg and whisk well until batter is smooth and there are no more egg white streaks.
- Add half of the cocoa powder. Whisk until it is fully combined and no lumps remain. Whisk in the sweetener and the remaining cocoa powder until the batter is smooth. The batter will be thick but it is still liquid.
- Place chocolate squares onto the center of the batter and gently push in until they are just covered. Make sure to NOT push too far because they will sink when the cake cooks.
- You can add peanut butter chips, chocolate chips, or chocolate chunks on top but this may cause the top of the cake to deform a little because of the weight of those toppings.
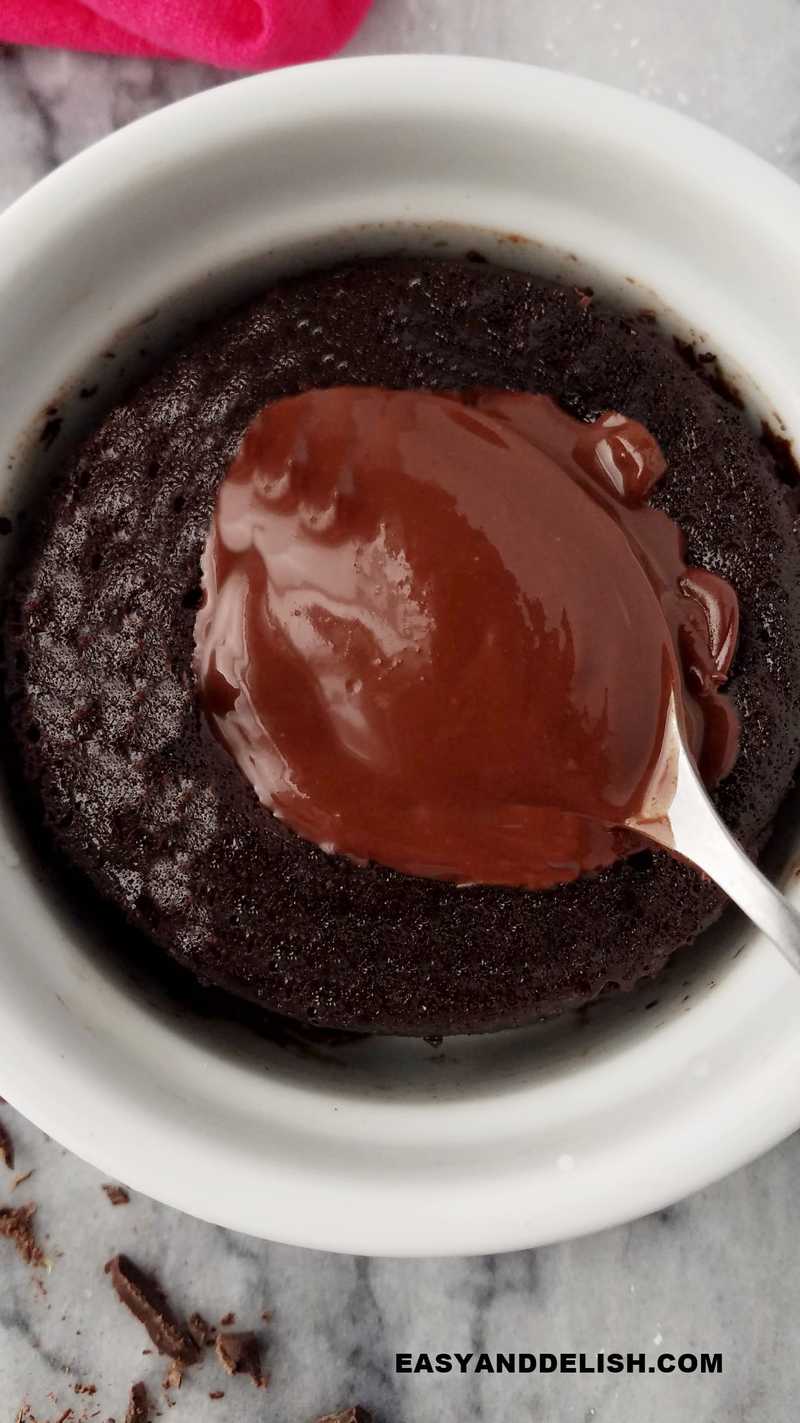
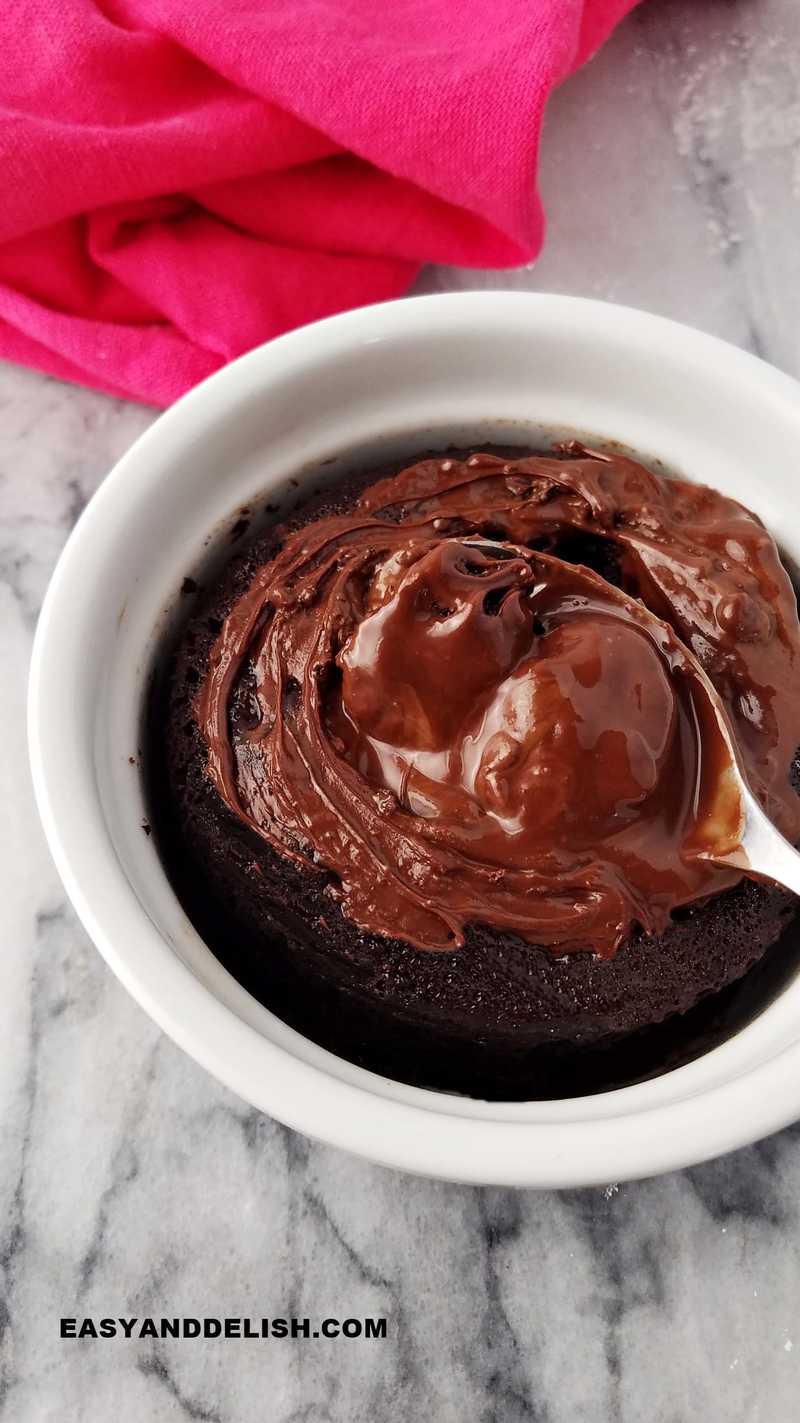
- Cook the mug cake in the microwave at full power for about 50-55 seconds and take a look at it before cooking for a few seconds more. The cake is ready when the edges are set and pulled away from the mug and also the middle puffs up a little yet it is still soft.
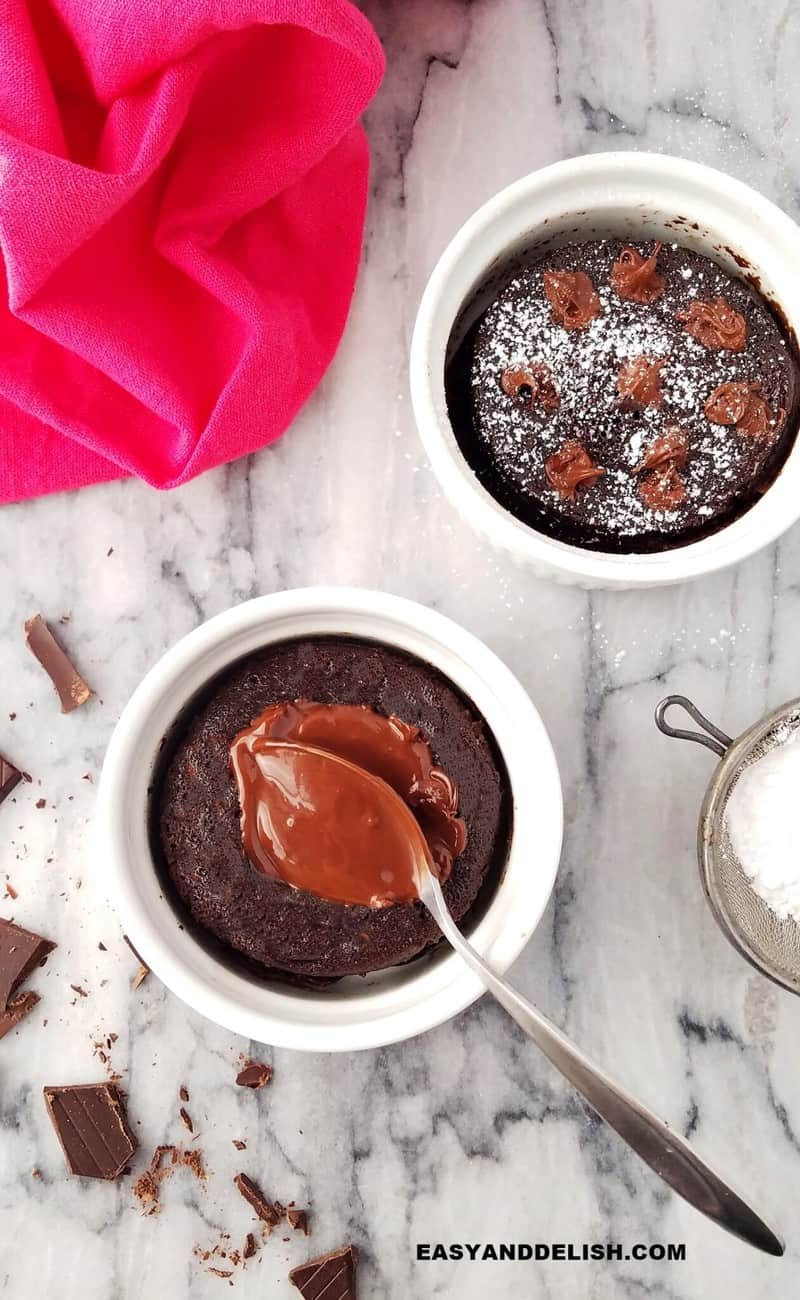
- Serve this decadent chocolate dessert right away while warm with a scoop of vanilla ice cream, whipped cream, a sift of cocoa powder, or powdered sugar. Enjoy cake while still warm.
WATCH OUR QUICK VIDEO FOR THE STEP-BY-STEP!

Tips for making Chocolate Lava Mug Cake
- Make sure the butter is melted but not too warm when whisking the egg; otherwise it’ll cause the egg protein to coagulate and your cake to be dry.
- You can replace chocolate for the center with creamy peanut butter, caramel, Nutella, or fruit jams.
- Dust the top of the warm cake with powdered sugar or cocoa powder, or serve it with a dollop of whipped cream or vanilla ice cream.
- Make sure to NEVER overcook this chocolate lava mug cake! That will result in a drier, more crumbly cake with a not-so-gooy, molten center that you are looking for.
- The cooking time will vary according to your microwave potency. Mine is 1200 Watts and cooked in 50-55 seconds for a runnier center. Check your cake after 50 seconds. It will be ready when the edges are set and pulls away from the mug but the center is still soft.
- This molten lava mug cake will not rise too high so an 8-oz coffee mug or ramekin should be large enough to cook the ingredients in without the batter spilling over.
- Use whatever type of chocolate you prefer such as milk chocolate. But dark or bittersweet chocolate will make a richer mug cake and you can always add more sugar or sugar substitute to make it sweet.
- Make sure to use powdered erythritol and not granular because the latter won’t have enough time to melt fully with the short cooking time. If you don't have any powdered erythritol at home, you can grind up the granular in a food process to make it powdered. Powdered Swerve will also work.
- To avoid a lot of lumps of cocoa powder, you can sift it before adding to the batter.
- Make sure to melted butter is not as warm when adding the cream in order to not curdle.
- This is a flourless mug cake (gluten-free)! There is neither whole wheat flour nor all-purpose flour!
- You can add 2-3 (one-inch) squares of chocolate depending on how much melted chocolate you prefer for a molten chocolate center or even 2 tablespoon of Nutella or nut butter.
FAQ'S
What size mug is best for this chocolate lava mug cake recipe?
An 8-ounce mug cake is enough because the batter won’t rise a lot, spilling in the microwave. If you prefer, you can mix the ingredients in a small bowl and then pour them into the mug.
Because I didn’t have a small whisk for mugs, I improvised using one of the beaters of my hand mixer.
How long will this microwave molten lava cake last?
Eat this chocolate lava mug cake right away when it is still warm from the microwave.
However, if you want to save it for later or have leftovers, cover, and chill in the fridge for up to 2 days. When ready to serve, warm in the microwave for a few seconds and enjoy!
What to serve with molten lava cake in a mug?
There are several options. You can dust wither cocoa powder or powdered sugar, or serve with whipped cream or ice cream.
More fudgy chocolate desserts to enjoy
- Brigadeiros Recipe
- Brigadeirao
- Chocolate Fondue
- Brazilian Chocolate Bread Pudding
- Easy Homemade Brownies
- Vegan Fudgesicles
PIN & ENJOY!

Chocolate Lava Mug Cake
Equipment
- 1 small whisk
- 1 8-ouce coffee mug or ramekin
Ingredients
- 1 tablespoon unsalted butter melted (or vegetable oil or coconut oil)
- 1 tablespoon heavy cream or plant-based milk
- 1 large egg at room temperature
- 2 tablespoon unsweetened cocoa powder sifted
- 2 ½ tablespoon powdered erythritol or sugar if not on a keto diet. Do NOT use granulated erythritol
- 2-3 sugar-free semisweet or dark chocolate squares 1 inch by 1 inch (or chocolate of choice or 2 tablespoon Nutella or nut butter)
Instructions
- To make this ooey-gooey lava cake, add melted butter and heavy cream to an 8-ounce microwave-safe mug or ramekin. whisk until fully combined. Make sure the mixture is liquid but not too hot before adding the egg!
- Add egg and whisk well until batter is smooth and there are no more egg white streaks.
- Add half of the cocoa powder. Whisk until it is fully combined and no lumps remain. Whisk in the sweetener and the remaining cocoa powder until the batter is smooth. The batter will be thick but it is still liquid.
- Place chocolate squares onto the center of the batter and gently push in until they are just covered. Make sure to NOT push too far because they will sink when the cake cooks.
- You can add peanut butter chips, chocolate chips, or chocolate chunks on top but this may cause the top of the cake to deform a little because of the weight of those toppings.
- Cook the mug cake in the microwave at full power for about 50-55 seconds and take a look at it before it cooks for a few seconds more. The cake is ready when the edges are set and pulled away from the mug and also the middle puffs up a little yet it is still soft.
- Serve this decadent chocolate dessert right away while warm with a scoop of vanilla ice cream, whipped cream, a sift of cocoa powder, or powdered sugar. Enjoy cake while still warm.
Recipe Video
Recipe Notes
- Make sure the butter is melted but not too warm when whisking the egg; otherwise it’ll cause the egg protein to coagulate and your cake to be dry.
- You can replace chocolate for the center with creamy peanut butter, caramel, Nutella, or fruit jams.
- Dust the top of the warm cake with powdered sugar or cocoa powder, or serve it with a dollop of whipped cream or vanilla ice cream.
- Make sure to NEVER overcook this chocolate lava mug cake! That will result in a drier, more crumbly cake with a not so gooey, molten center that you are looking for.
- The cooking time will vary according to your microwave potency. Mine is 1200 Watts and cooked in 50-55 seconds for a runnier center. Check your cake after 50 seconds. It will be ready when the edges are set and pulled away from the mug but the center is still soft.
- This molten lava mug cake will not rise too high so an 8-oz coffee mug or ramekin should be large enough to cook the ingredients in without the batter spilling over.
- Use whatever type of chocolate you prefer such as milk chocolate. But dark or bittersweet chocolate will make a richer mug cake and you can always add more sugar or sugar substitute to make it sweet.
- Make sure to use powdered erythritol and not granular because the latter won’t have enough time to melt fully with the short cooking time. If you don't have any powdered erythritol at home, you can grind up the granular in a food processor to make it powdered. Powdered Swerve will also work.
- To avoid a lot of lumps of cocoa powder, you can sift it before adding to the batter.
- Make sure to melted butter is not as warm when adding the cream in order to not curdle.
- This is a flourless mug cake (gluten-free)! There is neither whole wheat flour nor all-purpose flour!
- You can add 2-3 (one-inch) squares of chocolate depending on how much melted chocolate you prefer for a molten chocolate center or even 2 tablespoon of Nutella or nut butter.
Nutrition
** Nutrition labels on easyanddelish.com are for educational purposes only. This info is provided as a courtesy and is only an estimate, since the nutrition content of recipes can vary based on ingredient brand or source, portion sizes, recipe changes/variations, and other factors. We suggest making your own calculations using your preferred calculator, based on which ingredients you use, or consulting with a registered dietitian to determine nutritional values more precisely.
Please note that health-focused and diet information provided on easyanddelish.com is for educational purposes and does not constitute medical advice, nor is it intended to diagnose, treat, cure, or prevent disease. Consult with your doctor or other qualified health professional prior to initiating any significant change in your diet or exercise regimen, or for any other issue necessitating medical advice.
Did you make this recipe?
Comment and rate the recipe. Also follow us on Pinterest at @easyanddelish for more delish recipes.

Not the exact texture I was hoping for. Great flavor though. I think a whole egg might be a bit much.
it is very eggy and a bit of a strange texture but the flavor is very yummy. definitely don’t need the whole egg:)