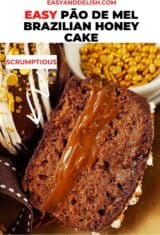
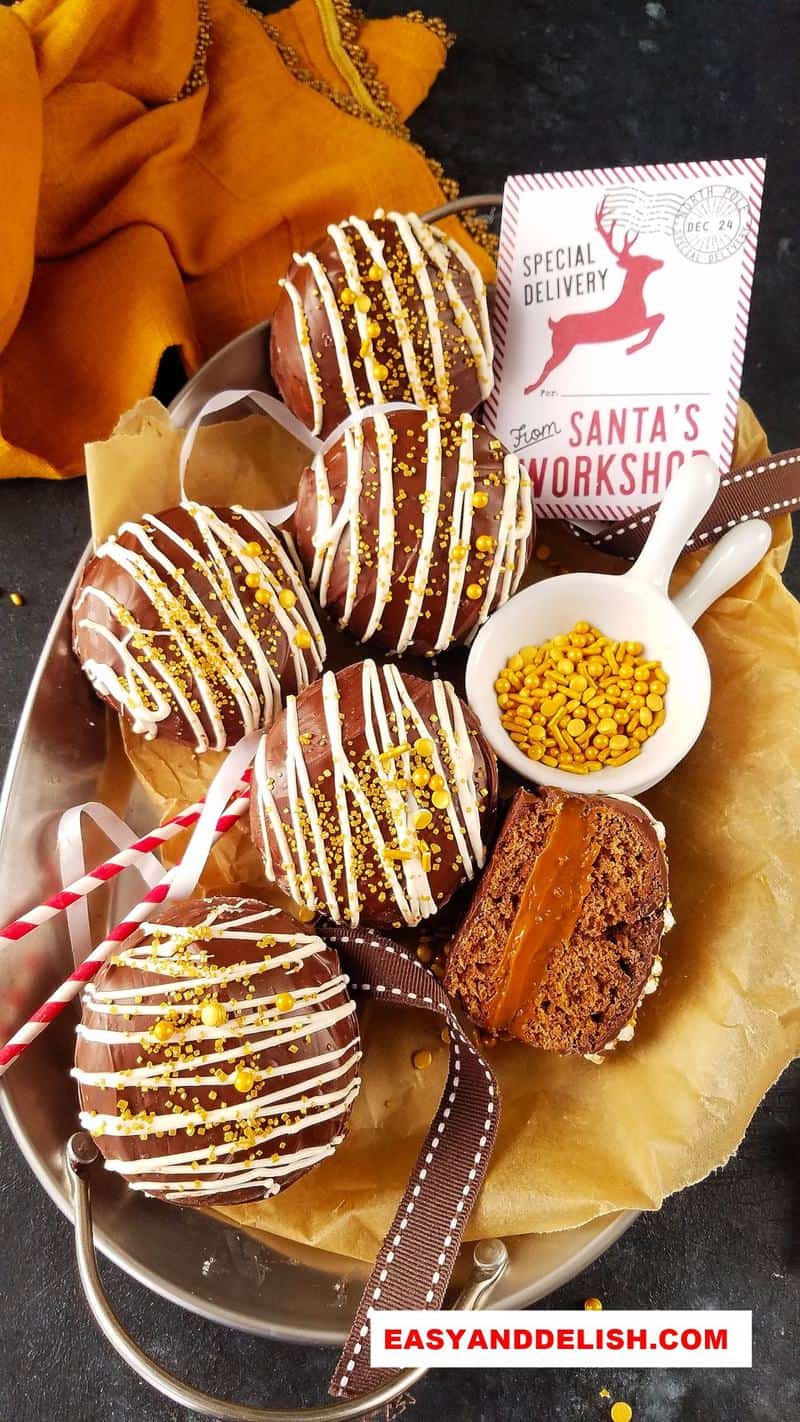
Pão de mel is the Brazilian gingerbread with a twist, enjoyed all year round in Brazil. It consists of spiced mini honey cakes filled with dulce de leche and covered in chocolate. It is truly one of the best Brazilian food desserts you will ever have – just like our gingerbread cookie bars.
How to make pão de mel (Brazilian Honey Cakes)
- Preheat oven to 350º F (180º C). Grease and coat with cocoa powder or flour in a mini or standard-size muffin tin. Reserve!
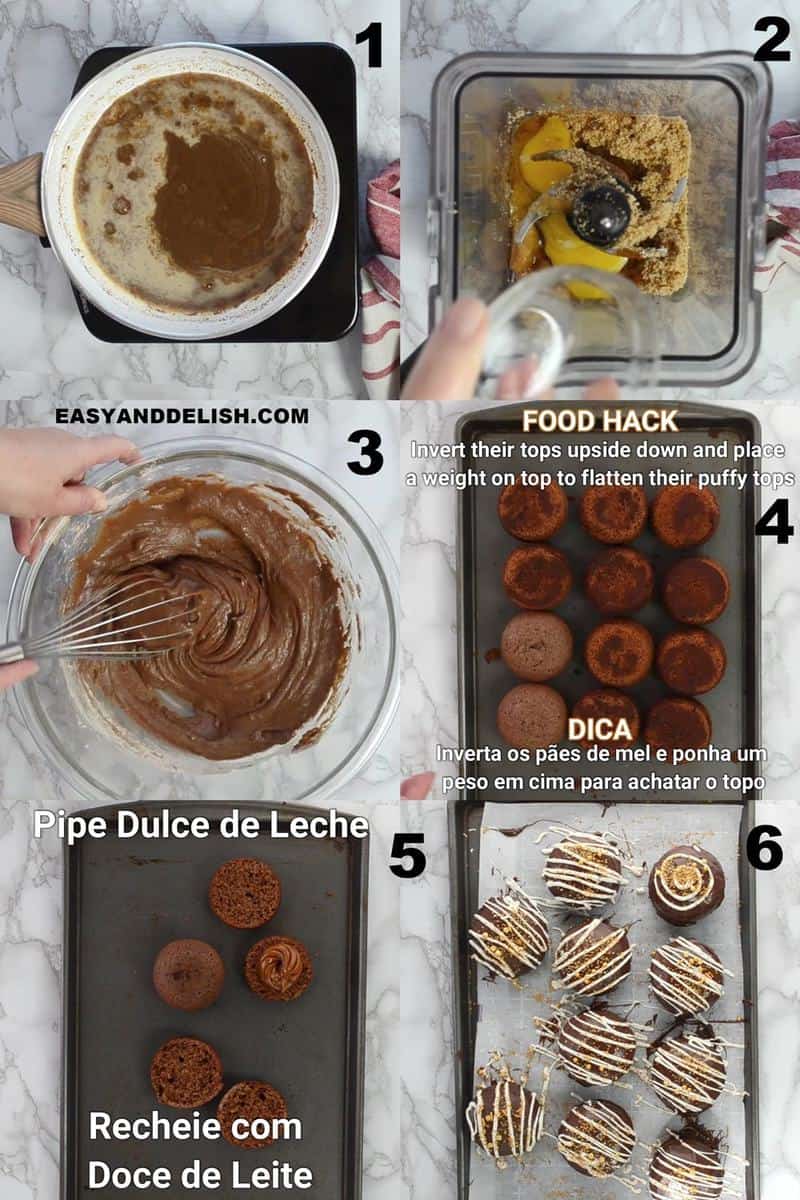
- In a small saucepan over medium heat, stir the milk, spices, and honey and let come to a quick boil. PHOTO 1 Remove from the heat, cover, and let sit for 10-20 minutes.
- When the milk mixture is warm, pour into a blender and blend with eggs and yolk, brown sugar, vanilla, and oil just until homogeneous, about 15-20 seconds. PHOTO 2
- Mix sifted cocoa powder, baking powder, baking soda, and flour in a large bowl. Pour blended liquid mixture into the bowl and whisk just until homogeneous. PHOTO 3
- Spoon batter evenly into the muffin tin (halfway full) and bake on the middle rack for about 10-12 minutes (mini ) or 18-20 minutes (standard) – or until a toothpick inserted in the center comes out clean.
- Slide a knife around the edges to loosen the bread loaves and invert them onto a large flat platter or a clean baking sheet while they are still hot. Make sure their puffy tops are upside down. PHOTO 4
- Place another baking sheet on top of all of them and then something heavy such as a cast-iron skillet. This simple technique will help to flatten their puffy tops. It works best while they are still hot.
- Let them sit for about 5-10 minutes. Then cut each in half horizontally.
- Spread or pipe dulce de leche onto one of the halves and sandwich them like whoopie pies. PHOTO 5
- Place chocolate into a large bowl and melt in the microwave in 30-second intervals, stirring after each interval, until melted (about 1 ½-2 minutes). Stir until smooth. If needed, stir in 1 tablespoon of oil to keep melted chocolate from hardening quickly.
- Place each pao de mel on a fork and coat in the melted chocolate. Smooth top and sides. Place on a rack with a baking sheet underneath or on a baking sheet lined with parchment paper. Let excess chocolate drain off of each one of them. Let the chocolate set in the fridge for about 3-5 minutes.
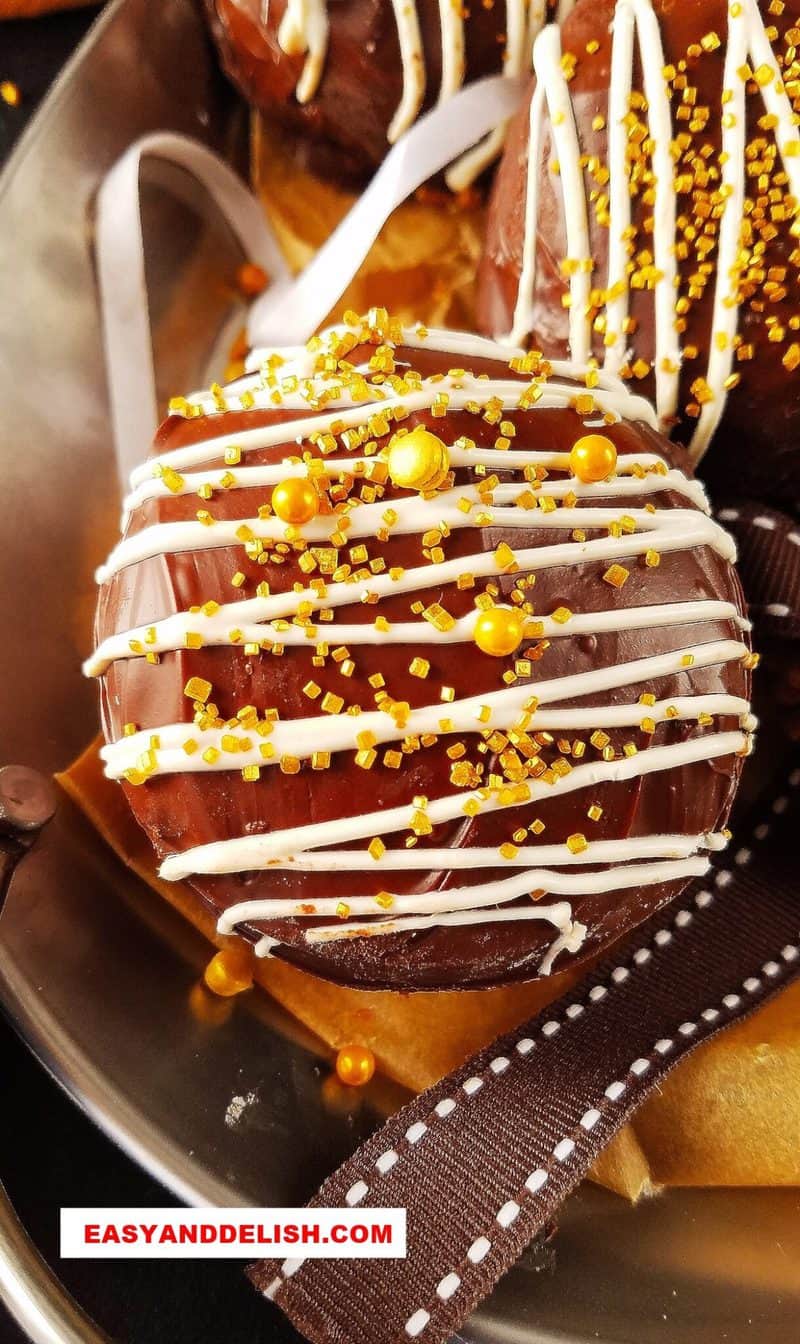
- Using a paring knife, trim excess hardened chocolate from the bottom edges. Either serve as is or decorate each pão de mel as desired. I drizzled mine with melted white chocolate and top them with sprinkles. PHOTO 6
More Brazilian desserts
What is pão de mel?
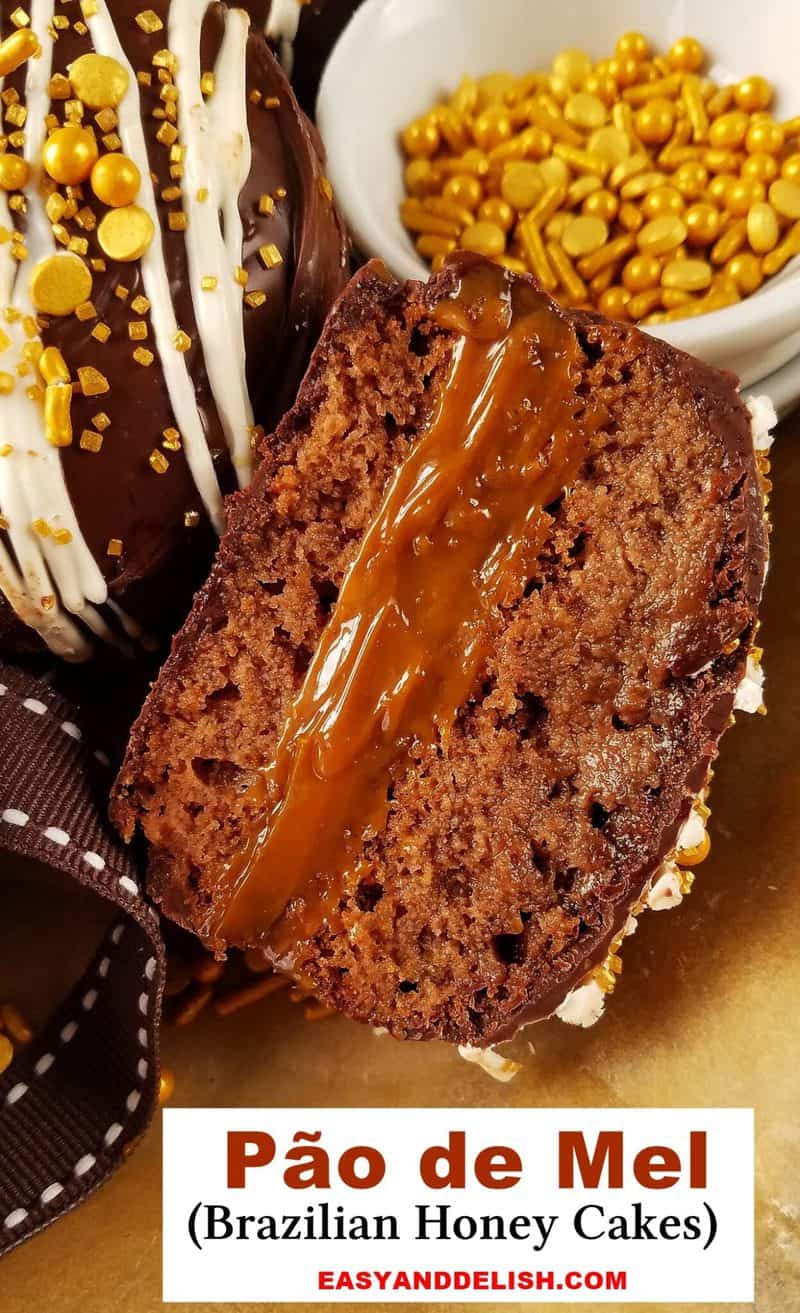
For those unfamiliar with this popular Brazilian dessert, pão de mel (plural pães de mel) is Brazilian gingerbread. It consists of a sweet mini bread loaf made mostly with honey, chocolate, and spices that is then cut in half and filled with dulce de leche. Finally, it is covered in chocolate to prolong its flavor and moist texture.
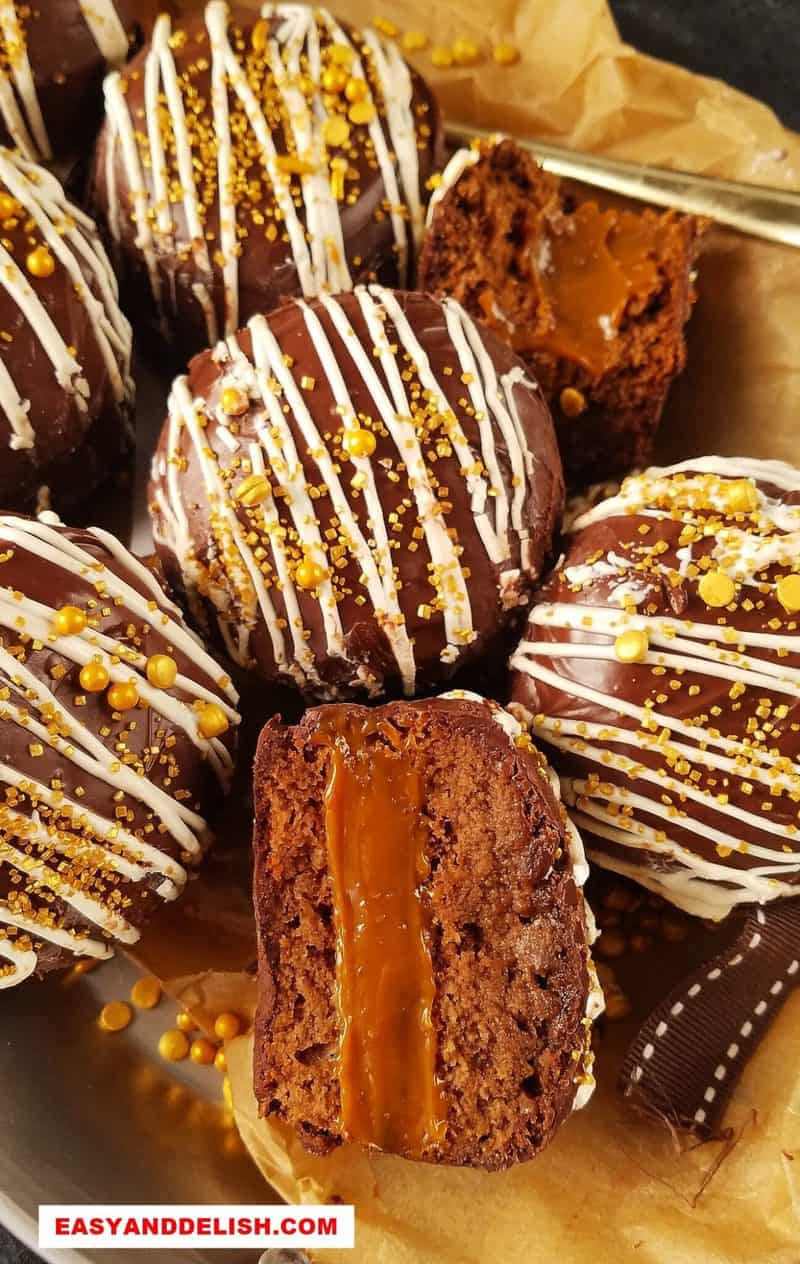
Pão de mel usually has either a square or round shape (resembling a sandwich cookie or alfajor).
In spite of its name (which literally translates as ‘honey bread’), you don’t really taste the honey because the chocolate and spices overpower it.
Although it is technically a spiced bread loaf, because its texture is that of a quick bread, the treat really resembles mini honey cakes or chocolate gingerbread sandwich cookies.
The dulce de leche and the chocolate coating add richness, making pão de mel totally decadent!
There are 2 theories about its origins! One of them is that the Brazilian honey bread is a spinoff of the Russian Pryaniki , a gingerbread cookie made from honey and spices, coated with a sugar glaze.
The second theory states pão de mel originated elsewhere in Europe, stemming from the discovery that covering spiced baked goodies in chocolate would keep them flavorful and moist for longer.
Either theory is possible! One the one hand, coating baked goodies with chocolate does preserve moisture and the Portuguese who colonized Brazil could have brought over this knowledge. On the other hand, there was significant Russian immigration and descendants (around 2%) in my home country.
No matter what the true origins, it is one of the best traditional Brazilian foods you will ever have!
Ingredients and Substitutions
- Milk: Full-fat milk is the best for this pão de mel recipe but you may replace it with a dairy-free version such as soy or almond milk. Make sure not to use canned coconut milk because it has a stronger flavor. The chocolate and spices are the stars of this honey loaf bread. The milk must be warm and mixed with the honey and spices and then allowed to sit for 10-20 minutes before adding to the batter. This helps to release all the spices’ complex flavors.
- Spices: Cinnamon, nutmeg, cloves, and ginger make up the spice blend often used to make the traditional pão de mel. Of course, you may skip either the nutmeg or ginger because they are the mildest of the 4 spices.
- Honey: This is the main sweetener-- hence the name of this baked good. Pao de mel means literally “honey bread loaf”. If you prefer, replace it with pure maple syrup.
- Brown sugar: This helps to sweeten the dessert and imparts a molasses flavor which white granulated sugar lacks.
- Eggs: There is a reason to add more egg yolks than whites. The yolks work as an emulsifier, making the honey loaf batter softer and moister.
- Vanilla: This works as an extra flavoring agent.
- Vegetable oil: Oil-based cakes tend to be more on the moist side than butter-based batters. Make sure to use a mild oil such as vegetable oil or canola.
- Cocoa powder: I used an unsweetened baking cocoa powder because the batter already contains honey and brown sugar, making the dessert not too sweet.
- Baking powder: This is the leavening agent to make the batter rise when baking.
- Baking soda: This is also a leavening agent, but its main role in this recipe is to neutralize/balance the acidity present in (not raw) honey and the molasses in brown sugar. It will allow the batter to rise once it gets activated by the mixture of acidic ingredients such as brown sugar and honey and liquids such as milk.
- All-purpose flour: I have never used another type of flour. But in theory, you may be able to use blanched almond flour (1:1) if you are on a gluten-free diet. If using gluten-free all-purpose flour, you may need to add xanthan gum (about ¼ teaspoon per 1 cup of flour).
- Dulce de leche: This is the usual filling for homemade pão de mel, but you can use Nutella, caramel, creamy peanut butter, brigadeiros or beijinho (these last two have to be made spreadable. To do this, stir in 2-3 tablespoon of heavy cream after removing the brigadeiro/beijinho batter from the stovetop), marshmallow creme, passion fruit curd, or even an apple or pear jelly, or orange marmalade. Or, if you prefer, you can skip the filling!
- Chocolate: It is melted and used to coat the pão de mel in. It will also help the bread loaf to not dry out.
Check out more baking substitutions made with other ingredients as well as volume conversions.
If using the metric measurements, check out how to convert cups to ounces to grams.
Baking Tips
- Make warm milk in order to mix with the honey and spices. It will infuse the mixture with the complex flavors of the spices.
- Blend the liquid mixture just enough to become homogeneous.
- Milk must be warm to blend with the liquid ingredients (eggs, vanilla, oil, and sugar). If the milk mixture is too hot will curdle the eggs!
- Avoid overmixing the liquid ingredients with the dry ingredients to not make the batter dry.
- After coming out of the oven, loosen honey bread by gently sliding a knife around the edges. Then invert them onto a flat surface or baking sheet. When their puffy tops are upside down, place a baking sheet on top and then a weight, such as a cast-iron skillet, in order to flatten their tops. This will only work when they are still hot.
- You may skip the dulce de leche filling or fill them with another one of your choice-- but make sure to coat them with melted chocolate. This will keep them moist!
Filling Variations
In Northeastern Brazil, homemade pão de mel is filled with dulce de leche, while in Southern Brazil, they have no filling.
Those that make a living selling pão de mel tend to fill these goodies with a variety of fillings such as brigadeiro mole, beijinho de coco (coconut brigadeiro), passion fruit curd, Nutella, and even melted guava paste (goiabada), among others.
You can choose whatever type of chocolate you prefer to use in your pão de mel recipe. But make sure to choose a filling that pairs well with gingerbread, such as caramel or marshmallow cream.
They must be all covered in chocolate to preserve moisture. I use bittersweet chocolate, but you can cover yours with dark, milk, or white chocolate. It all depends on how sweet you want them to be.
How to temper chocolate
There are several ways to temper chocolate, including without a thermometer. One of my preferred ways is the seeding method, as described below:
- Heat water: Fill a pot or double boiler with water and bring to a simmer. Turn off the heat.
- Melt the chocolate: Place a dry, heat-proof bowl on top, making sure its bottom touches the heated water. Add about ⅔ of your chocolate to the bowl. Make sure no water comes in direct contact with the chocolate. Without stirring, let the chocolate sit in a bowl over the hot water, uncovered, until it is about ⅔ melted.
- After the chocolate is about ⅔ melted, gently stir it and allow it to melt further.
- Test the temperature of the chocolate: Lift the spatula up and dab a small dot of chocolate onto just below your lower lip. It should sting slightly.
- Add remaining chocolate: Remove the bowl from the water and set it on a folded kitchen towel to absorb any water from the bottom of the bowl. Stir in the remaining ⅓ of chocolate (the 'seed') slowly and gently until fully melted. It'll begin to thicken and become less shiny and more matte as it cools (about 30 minutes).
- Test again for temperature: Once all the seed chocolate has melted, touch the spatula to your lower lip area again. The chocolate should feel cooler than your body temperature. If it feels warmer than your skin, you can drop in a few more pieces of chocolate and keep stirring. It is now ready to dip baked goods into it!
- Keeping the chocolate in temper: Stir the chocolate as you dip. If the chocolate cools too much, turns matte, and begins to thicken, place the bottom of the bowl back into the hot water for 1 or 2 seconds. Remove quickly and then stir the warmer chocolate up from the bottom and throughout the bowl. Test to make sure it is not too hot and then resume dipping.
Why temper chocolate?
Tempering chocolate is simply heating and cooling chocolate to stabilize it before coating sweet treats. This helps it to not easily melt on your fingers, gives it a snap when you bite into it, and gives the treat a smooth and glossy look.
But you don’t need to temper the chocolate first in order to cover our Brazilian honey bread loaf; however, they will look more refined if you do. Tempering is ideal if you make them to give away as a wedding favor or a holiday gift.
I didn’t temper my mine because I was serving them to my family, but I still made sure to decorate them. The sprinkles disguised the not-so-glossy chocolate coating.
When to serve pão de mel (the Brazilian gingerbread loaf)
In contrast to gingerbread in the U.S., pão de mel is enjoyed all year round in Brazil.
They make a great edible gift for Christmas, Valentine's Day, birthdays, and other special occasions, as well as perfect wedding favors. This is one of those easy Brazilian recipes that you will want to try!
Down in Brazil, they are available at cafés and bakeries too!
How long will pão de mel last?
These honey cakes, if covered in chocolate, will last about 7 days when stored either wrapped or covered at room temp. They will keep well for about 2-3 weeks in the fridge.
Can I freeze Brazilian honey cakes?
Yes! But there is a crucial trick: do not fill them with dulce de leche or coat them in chocolate. Make the honey cakes, let them cool, and don’t slice them in half. Instead, wrap each with parchment paper and then place them into a freezer bag. Freeze for up to 3 months.
Thaw in the fridge, place on a counter to bring to room temp, cut and fill them, and then coat in chocolate.
As you can see, this is one of those easy freezer meals that can last for a long time!
PIN & ENJOY!

Pão de Mel (Brazilian Honey Cakes)
Equipment
- mixer
- bowls
- fork
- muffin tin
Ingredients
For the pão de mel batter:
- ¾ cup whole milk
- 1 teaspoon cinnamon
- ½ teaspoon ground cloves
- ¼ teaspoon freshly grated nutmeg
- ½ teaspoon ground ginger optional
- ½ cup honey
- 2 large eggs
- 1 egg yolk
- ¾ cup light brown sugar
- ½ tablespoon pure vanilla extract
- ⅓ cup vegetable oil
- 3 tablespoon baking cocoa powder unsweetened preferably (sifted)
- ½ teaspoon baking powder sifted
- ½ teaspoon baking soda sifted
- 1 ½ cups all-purpose flour sifted
For the filling:
- 1 can dulce de leche 13.4 oz
For the topping:
- 4 cups bittersweet chocolate chips
- ½ tablespoon vegetable oil optional
Instructions
- Preheat oven to 350º F (180º C). Grease and coat with cocoa powder or flour a mini or standard-size muffin tin. Reserve!
- In a small saucepan over medium heat, stir the milk, spices, and honey and let come to a quick boil. Remove from the heat, cover, and let sit for 10-20 minutes.
- When the milk mixture is warm, pour into a blender and blend with eggs and yolk, brown sugar, vanilla, and oil just until homogeneous, about 15-20 seconds.
- Mix sifted cocoa powder, baking powder, baking soda, and flour in a large bowl. Pour blended liquid mixture into the bowl and whisk just until homogeneous.
- Spoon batter evenly into the muffin tin (halfway full) and bake on the middle rack for about 10-12 minutes (mini ) or 18-20 minutes (standard) – or until a toothpick inserted in the center comes out clean.
- Slide a knife around the edges to loosen the bread loaves and invert them onto a large flat platter or a clean baking sheet while they are still hot. Make sure their puffy tops are upside down.
- Place another baking sheet on top of all of them and then something heavy, such as a cast-iron skillet. This simple technique will help to flatten their puffy tops. It works best while they are still hot.
- Let them sit for about 5-10 minutes. Then cut each in half horizontally.
- Spread or pipe dulce de leche onto one of the halves and sandwich them like whoopie pies.
- Place chocolate in a large bowl and melt in the microwave in 30-second intervals, stirring after each interval, until melted (about 1 ½-2 minutes). Stir until smooth. If needed, stir in 1 tablespoon of oil to prevent melted chocolate from hardening quickly.
- Place each pão de mel on a fork and bathe in the melted chocolate. Smooth top and sides. Place on a rack with a baking sheet underneath or on a baking sheet lined with parchment paper. Let excess chocolate drain off of each cake. Let the chocolate set in the fridge for about 3-5 minutes.
- Using a paring knife, trim excess hardened chocolate from the bottom edges. Either serve as is or decorate each pão de mel as desired. I drizzled mine with melted white chocolate and topped them with sprinkles.
Recipe Video

Recipe Notes
Nutrition
** Nutrition labels on easyanddelish.com are for educational purposes only. This info is provided as a courtesy and is only an estimate, since the nutrition content of recipes can vary based on ingredient brand or source, portion sizes, recipe changes/variations, and other factors. We suggest making your own calculations using your preferred calculator, based on which ingredients you use, or consulting with a registered dietitian to determine nutritional values more precisely.
Please note that health-focused and diet information provided on easyanddelish.com is for educational purposes and does not constitute medical advice, nor is it intended to diagnose, treat, cure, or prevent disease. Consult with your doctor or other qualified health professional prior to initiating any significant change in your diet or exercise regimen, or for any other issue necessitating medical advice.
The post first published on March 21, 2013.


Colton D. Nash says
Very good recipe!
Katie Huidobro says
Hello! I hope to make these soon. Can you tell me what the gold little flakes are on top of the cakes are? Is that white chocolate drizzled on top? Thank you!
Valentina Dimitrova says
Hi Katie! The white drizzle is white candy melts but you can use white chocolate if you prefer. And the golden flakes are Wilton's golden sprinkles that you can find in chain supermarkets and party stores. I bought them at my local supermarket! Enjoy the paes de mel!
Raymund says
Your Brazilian sweet treats always continue to impress me, they look so decadent
Valentina Dimitrova says
Thank you! Yes, pao de mel is a decadent treat enjoyed all year round in Brazil and not only around Christmas. It is the Brazilian gingerbread though, made with spices, chocolate, and honey. So good!
Aarthi says
Your spiced mini honey cakes looks scrumptious , and the presentation with that melting dulce de leche feels like I need a bite right away, so tempting! thanks for sharing your way of cake recipe!
Josiah - DIY Thrill says
This Brazilian gingerbread looks really yummy, love that filling!
JB says
Like a little bite of paradise!
Valentina Dimitrova says
Ye4s, pao de mel is delicious... it consists of a gingerbread cake loaf filled with dulce de leche and covered in chocolate. It is enjoyed all year round in Brazil in contrast with the American gingerbread which is enjoyed only around Christmas time.
Mahin says
Hi Denise. I had pao de mel in Brazil a couple of years ago. I have tried many recipes since I returned to the US and this was the best.
Larissa says
Oi Denise, eu queria muito fazer a receita mas estou em duvida com relacao ao acucar mascavo! Aqui no UK nos temos Muscovado, Light Brown e Dark Brown sugar, e tb o Demenara. Voce acha que o Light Brown eh o mais parecido com o Mascavo Brasileiro? Ja tentou usando os outros acucares? Obrigada!
Valentina Dimitrova says
Olá, Larissa! Bem-vinda!
Claro que sim. Você poderá usar o light brown sugar sem problema para essa receita. Esse é o açúcar da versão em inglês desta receita. É o único que uso para fazer pão de mel. Acho o dark brown sugar muito cheio de molasses, o qual dá um gosto quase desagradável a receita. O bom do light brown sugar é que podemos sentir o gosto das especiarias.
Espero que isso ajude! Um abraço!!!