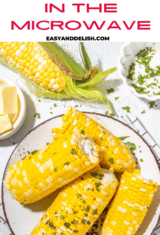
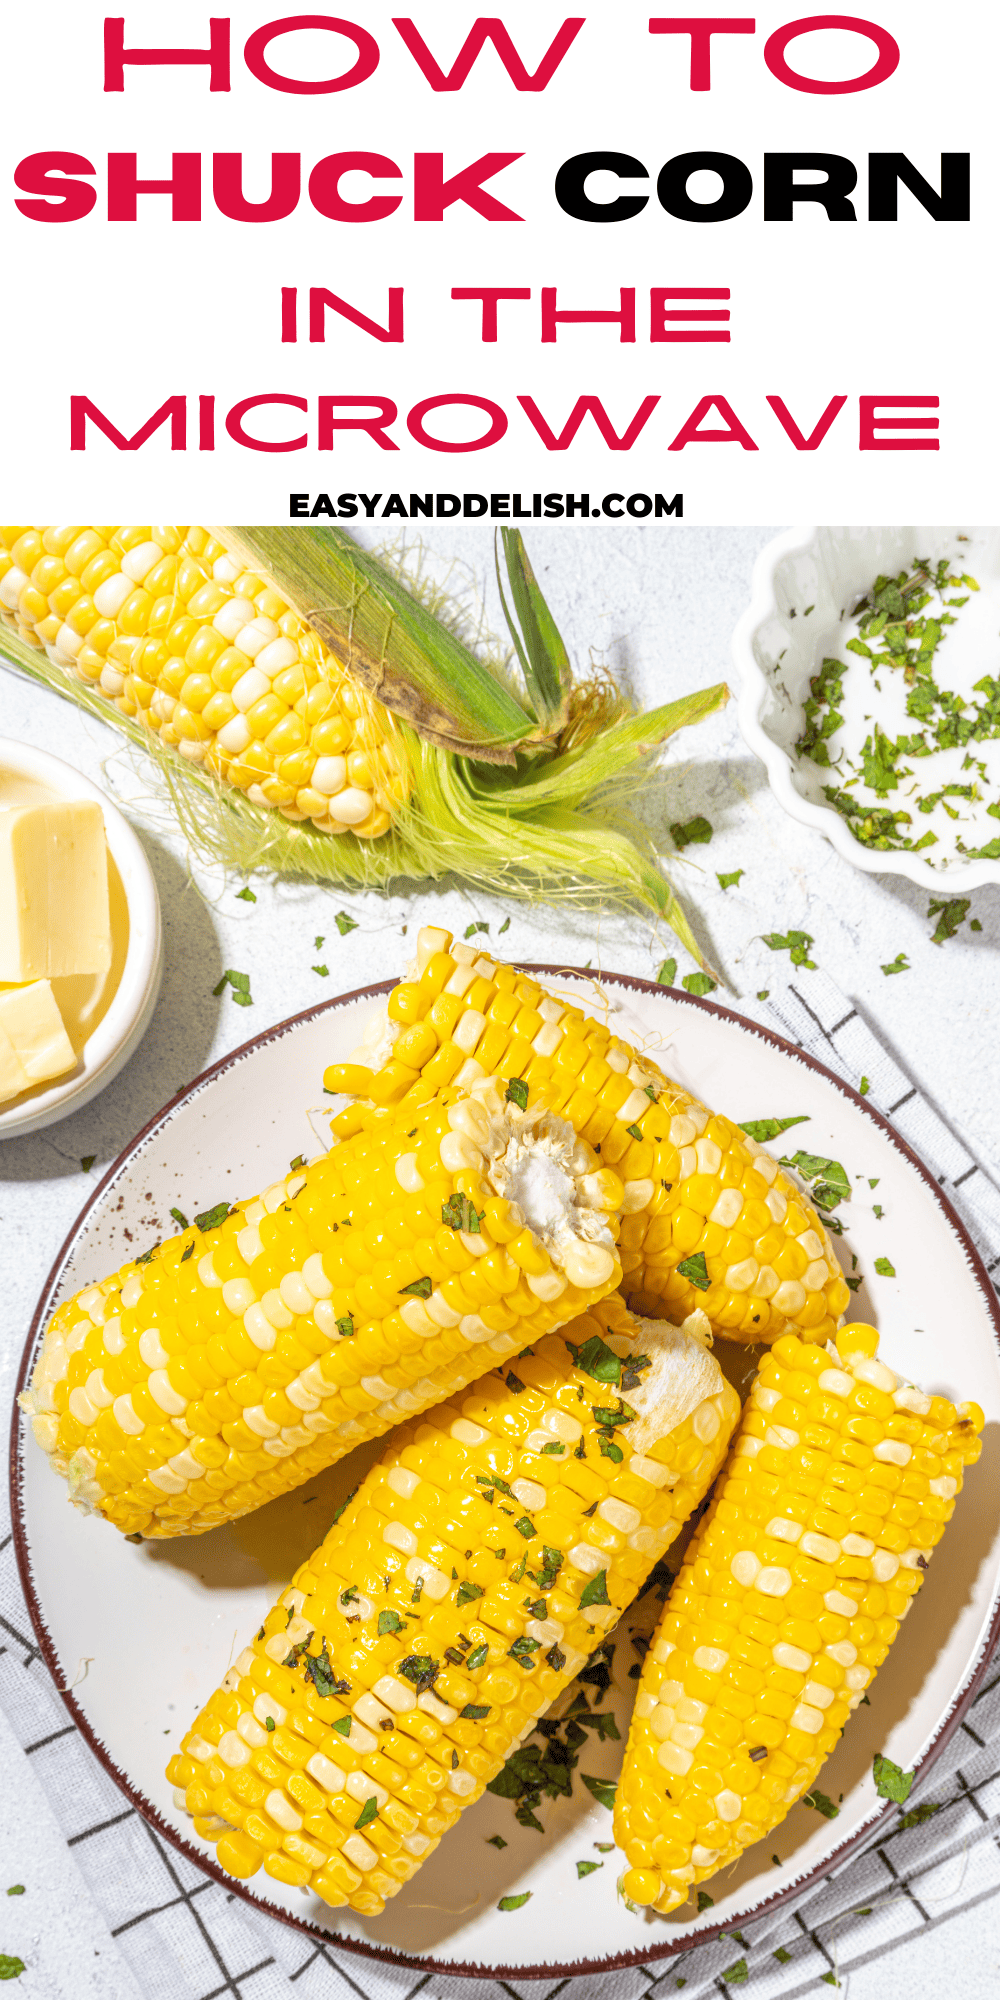
Find out how to shuck corn easily in the microwave, in 2 different ways. Sure, there are several ways to shuck corn on the cob, but here you'll get our quick secret to getting your sweet corn free of husk and silk without any mess or hassle.
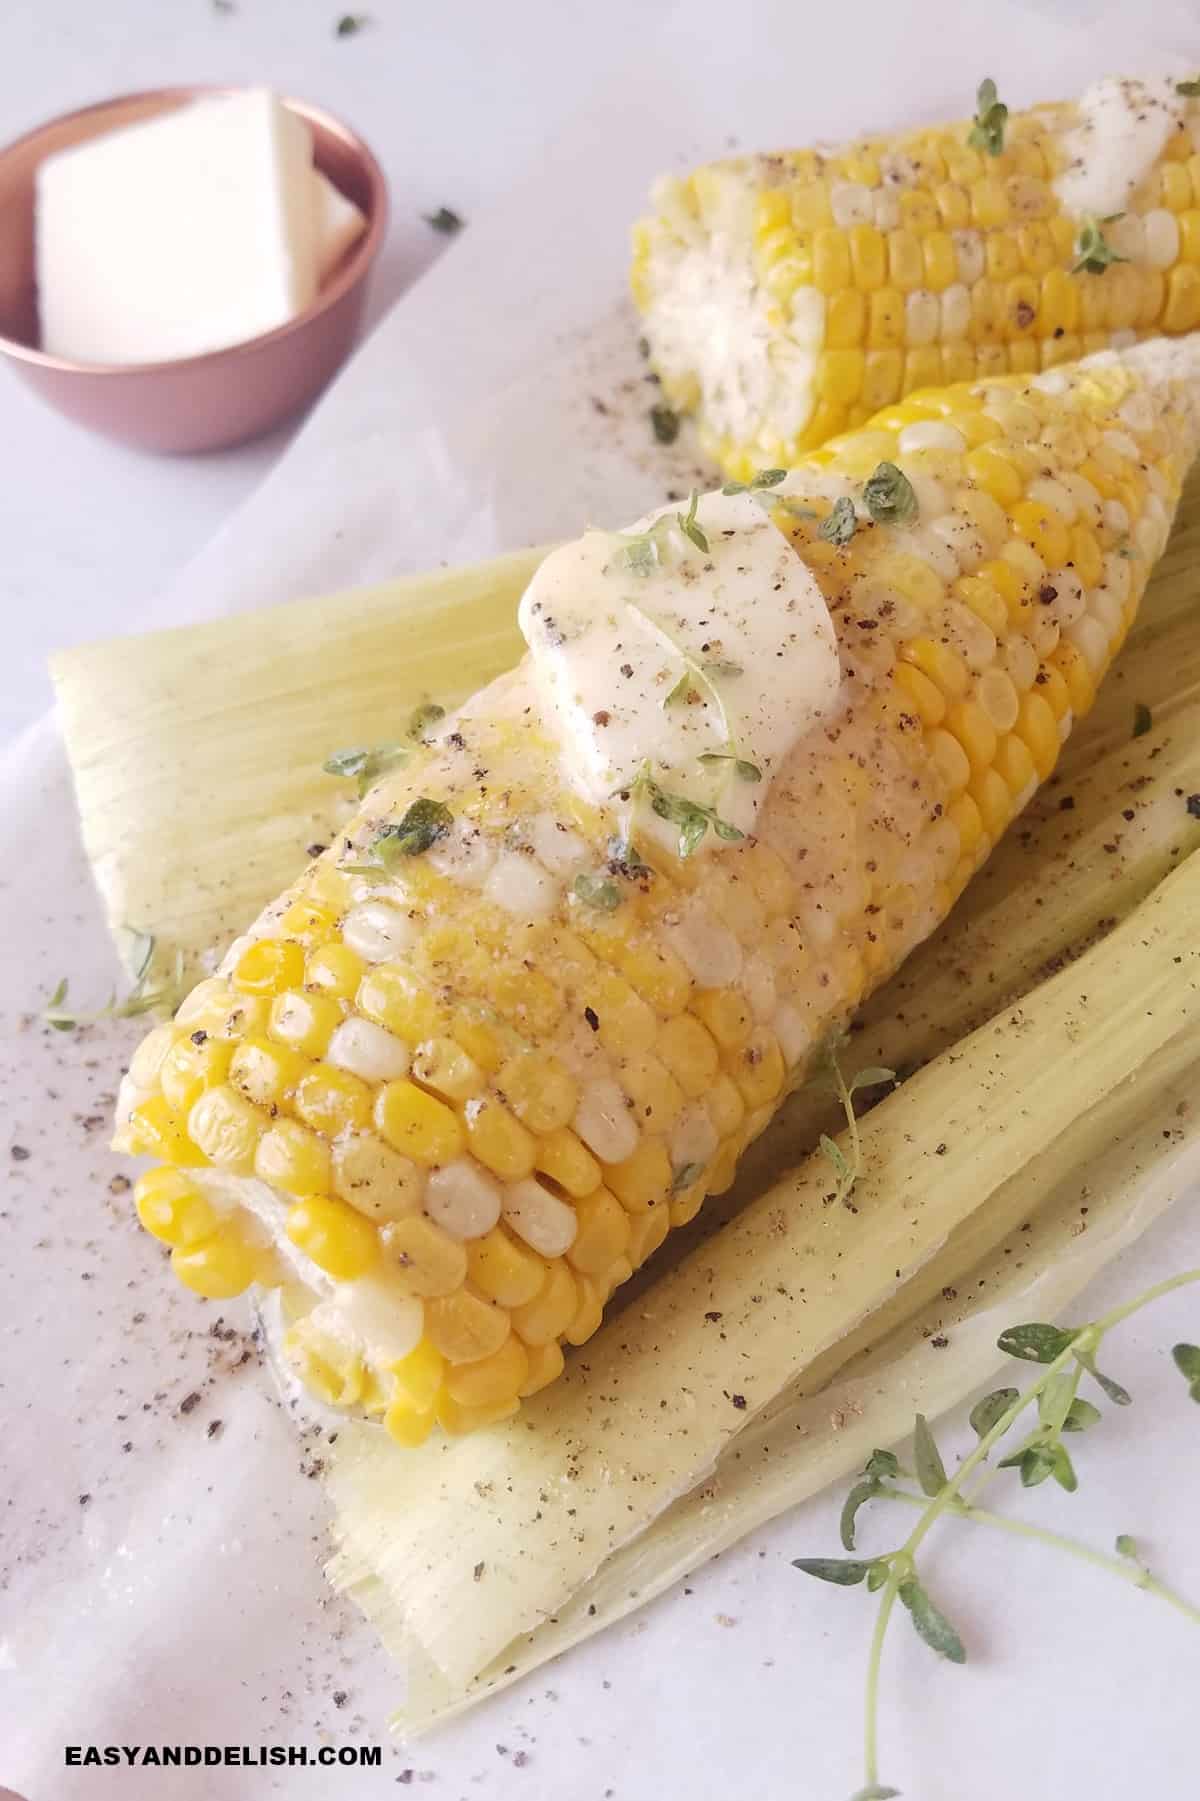
Table of Contents
Corn husk removal (or shucking corn) is a breeze if you know the easiest way to shuck corn, either cooking it in the process or not.
Here we teach you the secret to getting your sweet corn free of the husk and silk without having to clean your kitchen or designated area afterwards.
So come along and learn how to husk corn the easy way!
How to Shuck Corn on the Cob
Sure you can use the traditional method for shucking corn on the cob which consists of separating the husks at the top, pulling down and ripping them off, and then removing the corn silk. But it will take more time and will leave with a messy area to clean afterward.
Here I teach the easiest and quickest way to shuck corn on the cob, without any mess to clean. The best way to do it is in your microwave. Yep!
But there are 2 ways to husk corn on the cob in the microwave:
1. Without Cooking
The first way is to shuck the corn in the microwave without fully cooking it and then use it in recipes that call for uncooked corn.
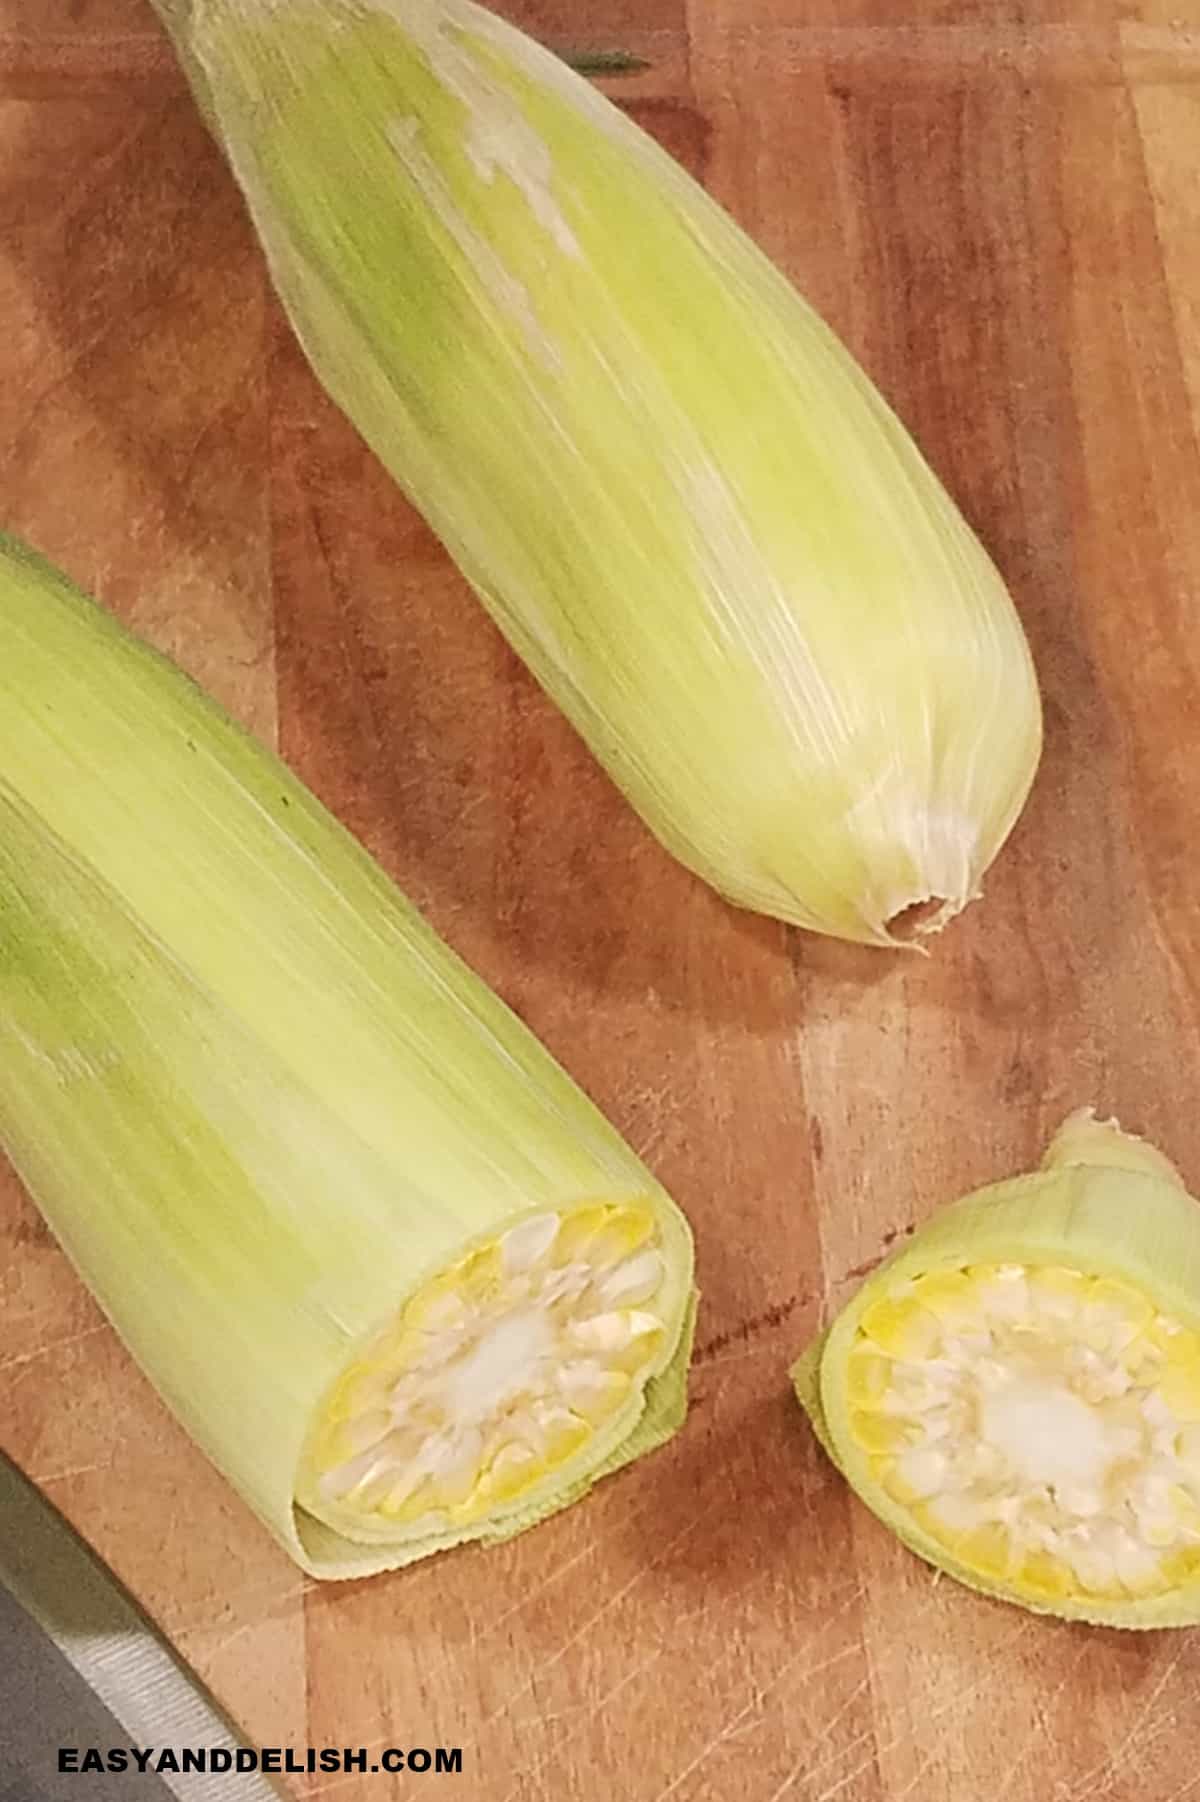
- To do this, use a sharp Chef's knife to cut 1 inch off the end of the corncob on a cutting board.
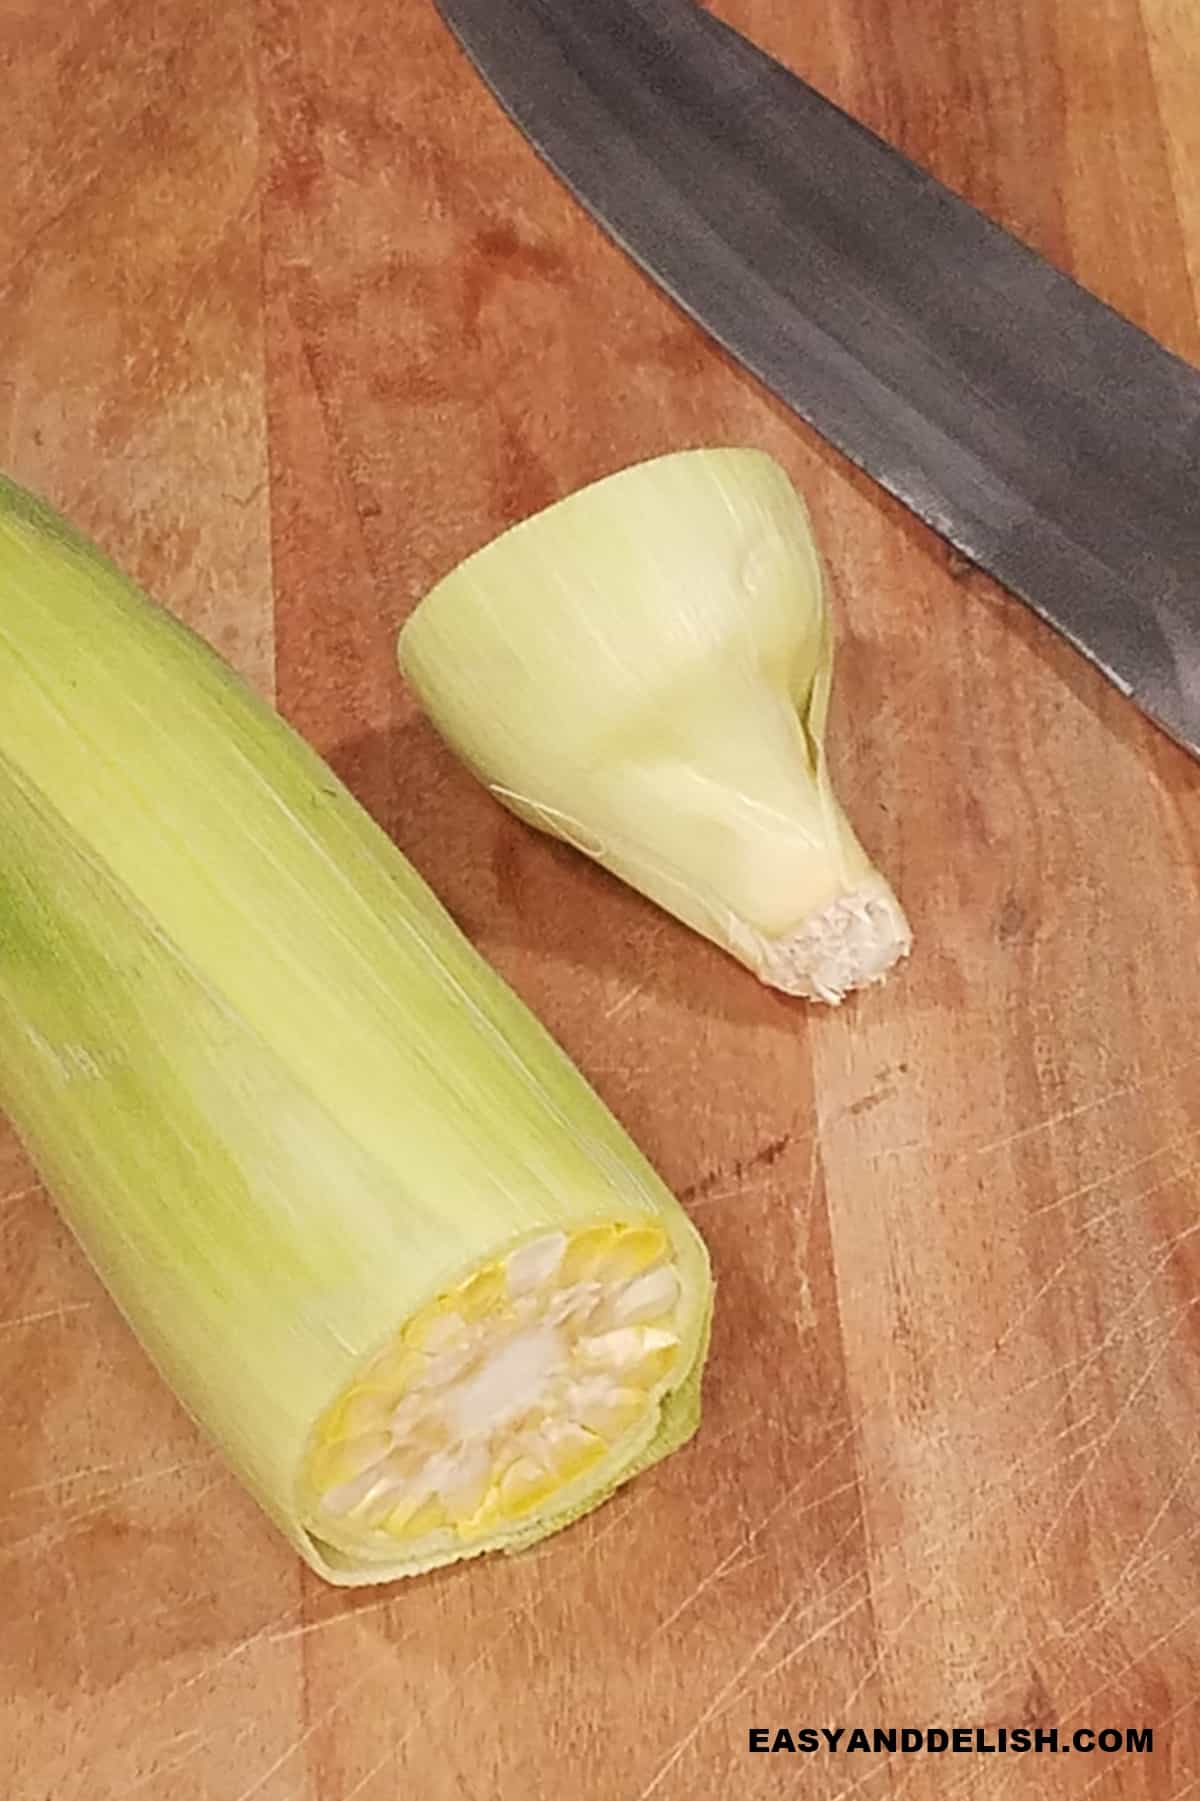
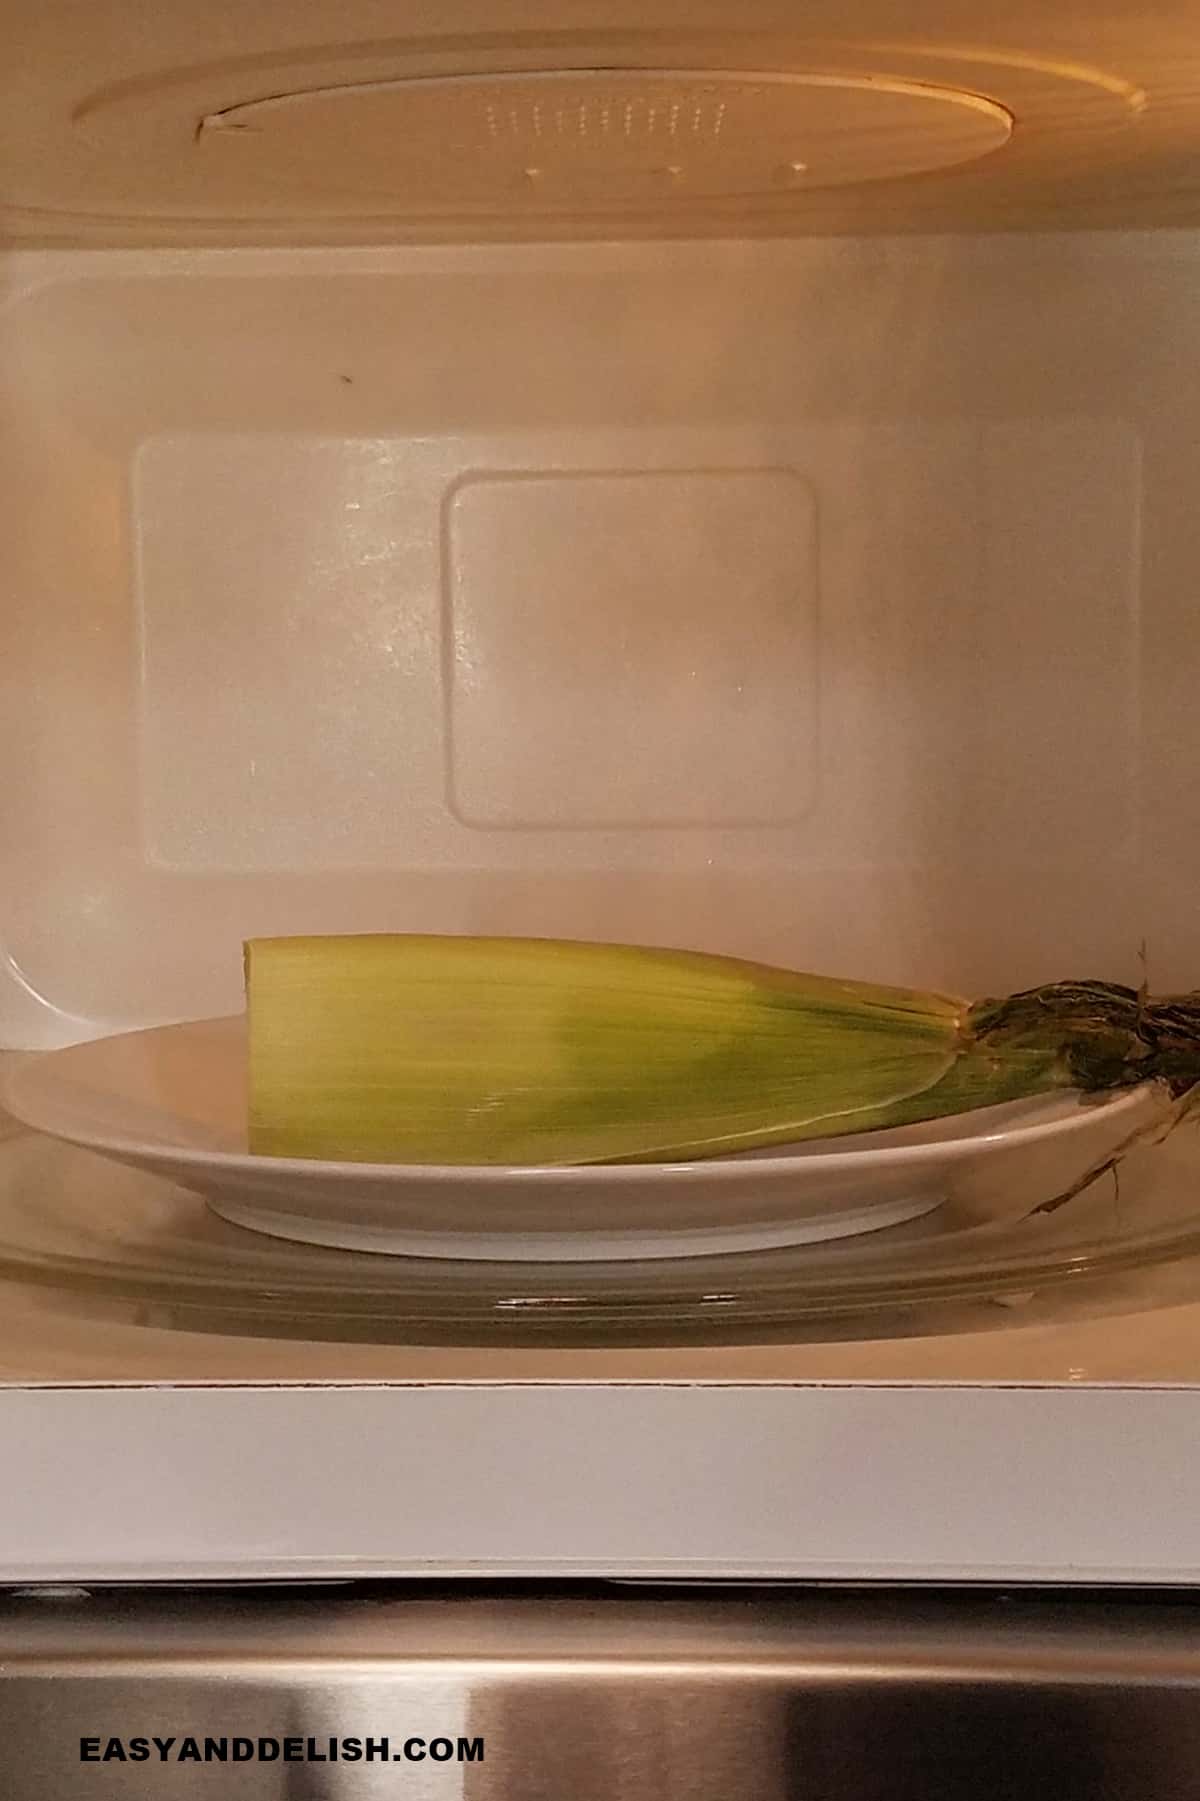
- Place it on a microwave-safe plate, and then microwave corn on the cob for 2 minutes. This helps heat penetrate the husk without steaming your corn.
- Finally, cut a slit into the husk and the corn will come out cleanly. The slit will help release the cob more easily!
2. Fully Cooking
The second way is for when you want to cook the corn.
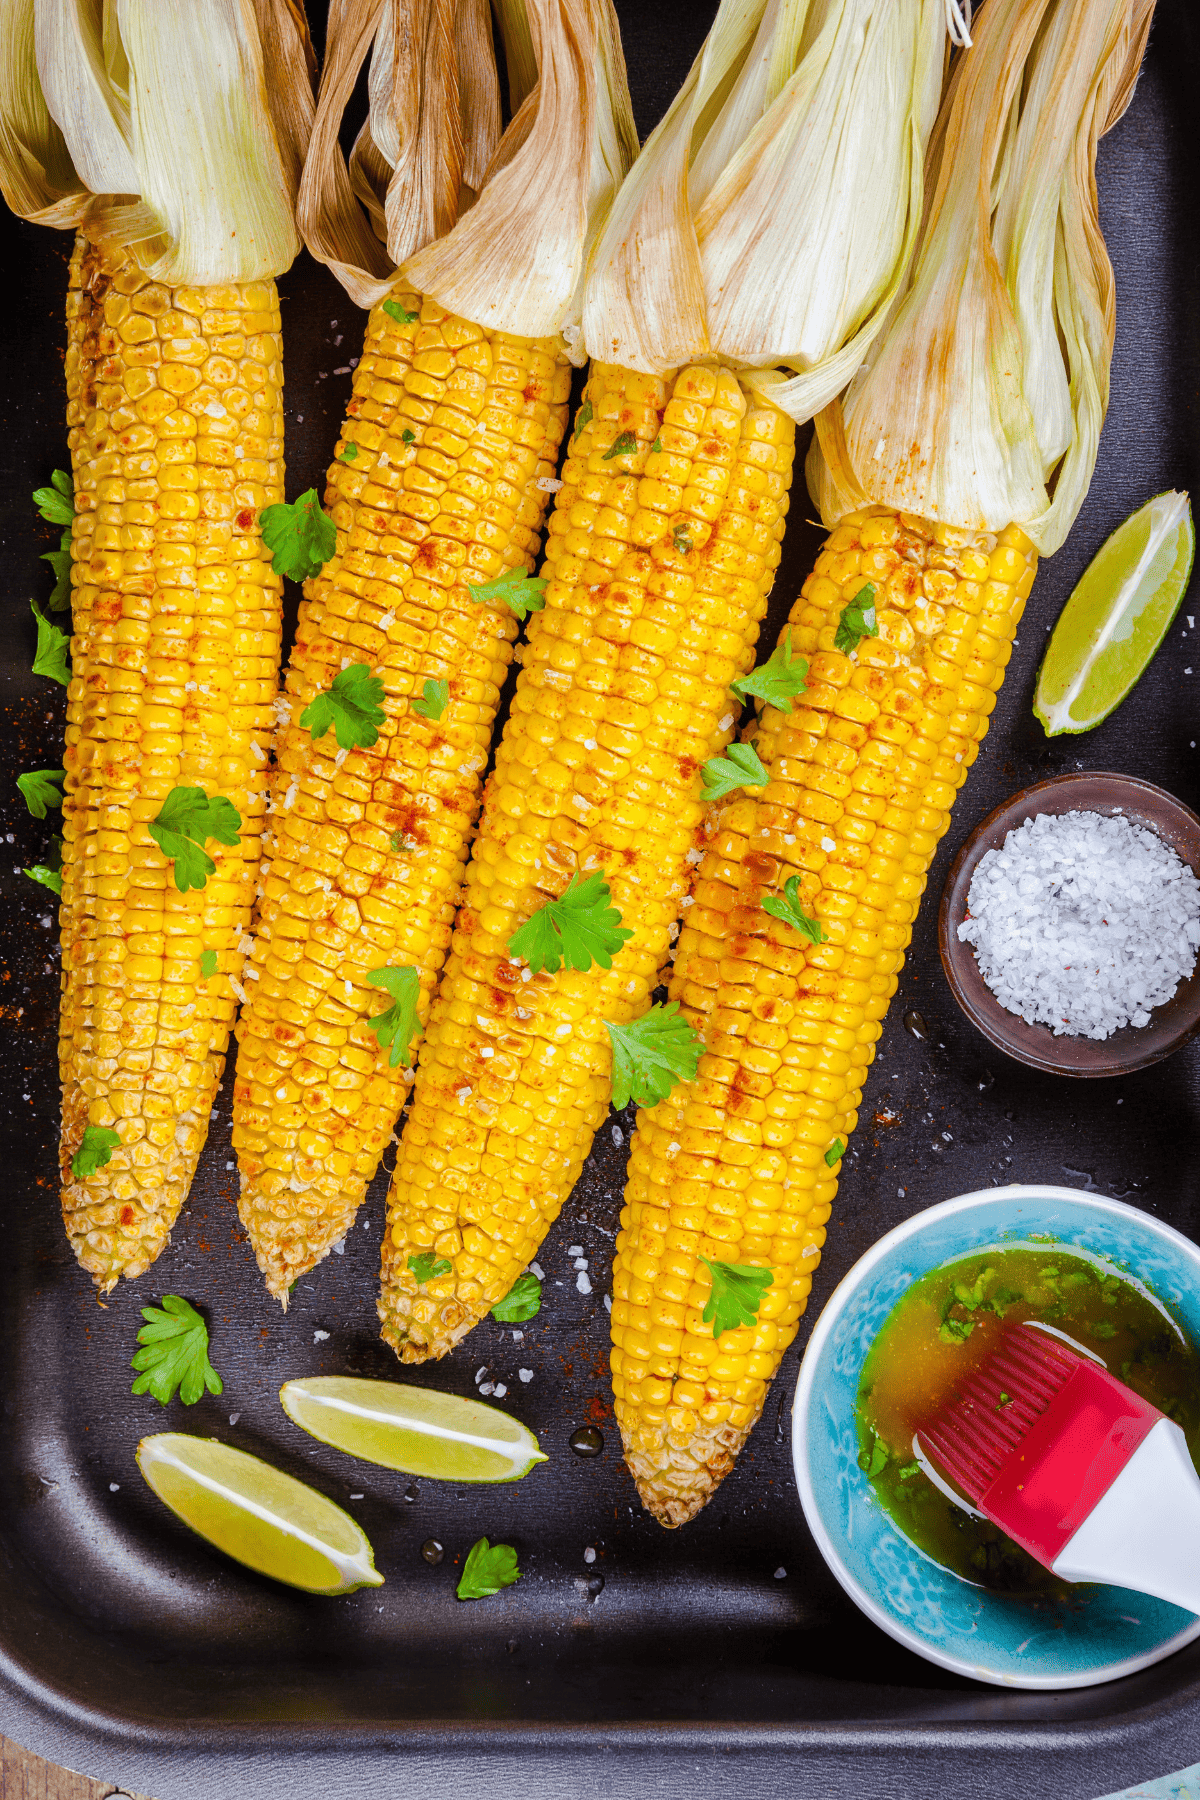
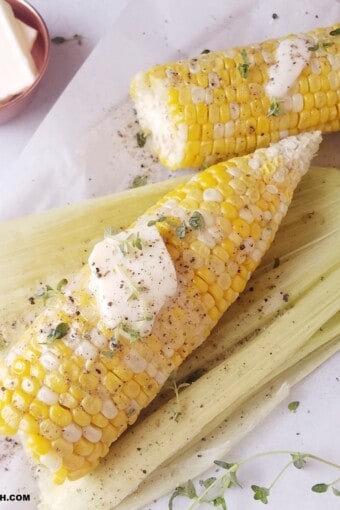
- To do that, microwave the corn in a microwave-safe plate, for 4 minutes with the husk intact. The intact husk where the cob is encased works like a natural pouch where the heat will help to steam the corn (plus cooking the corn in the husk adds an amazing flavor).
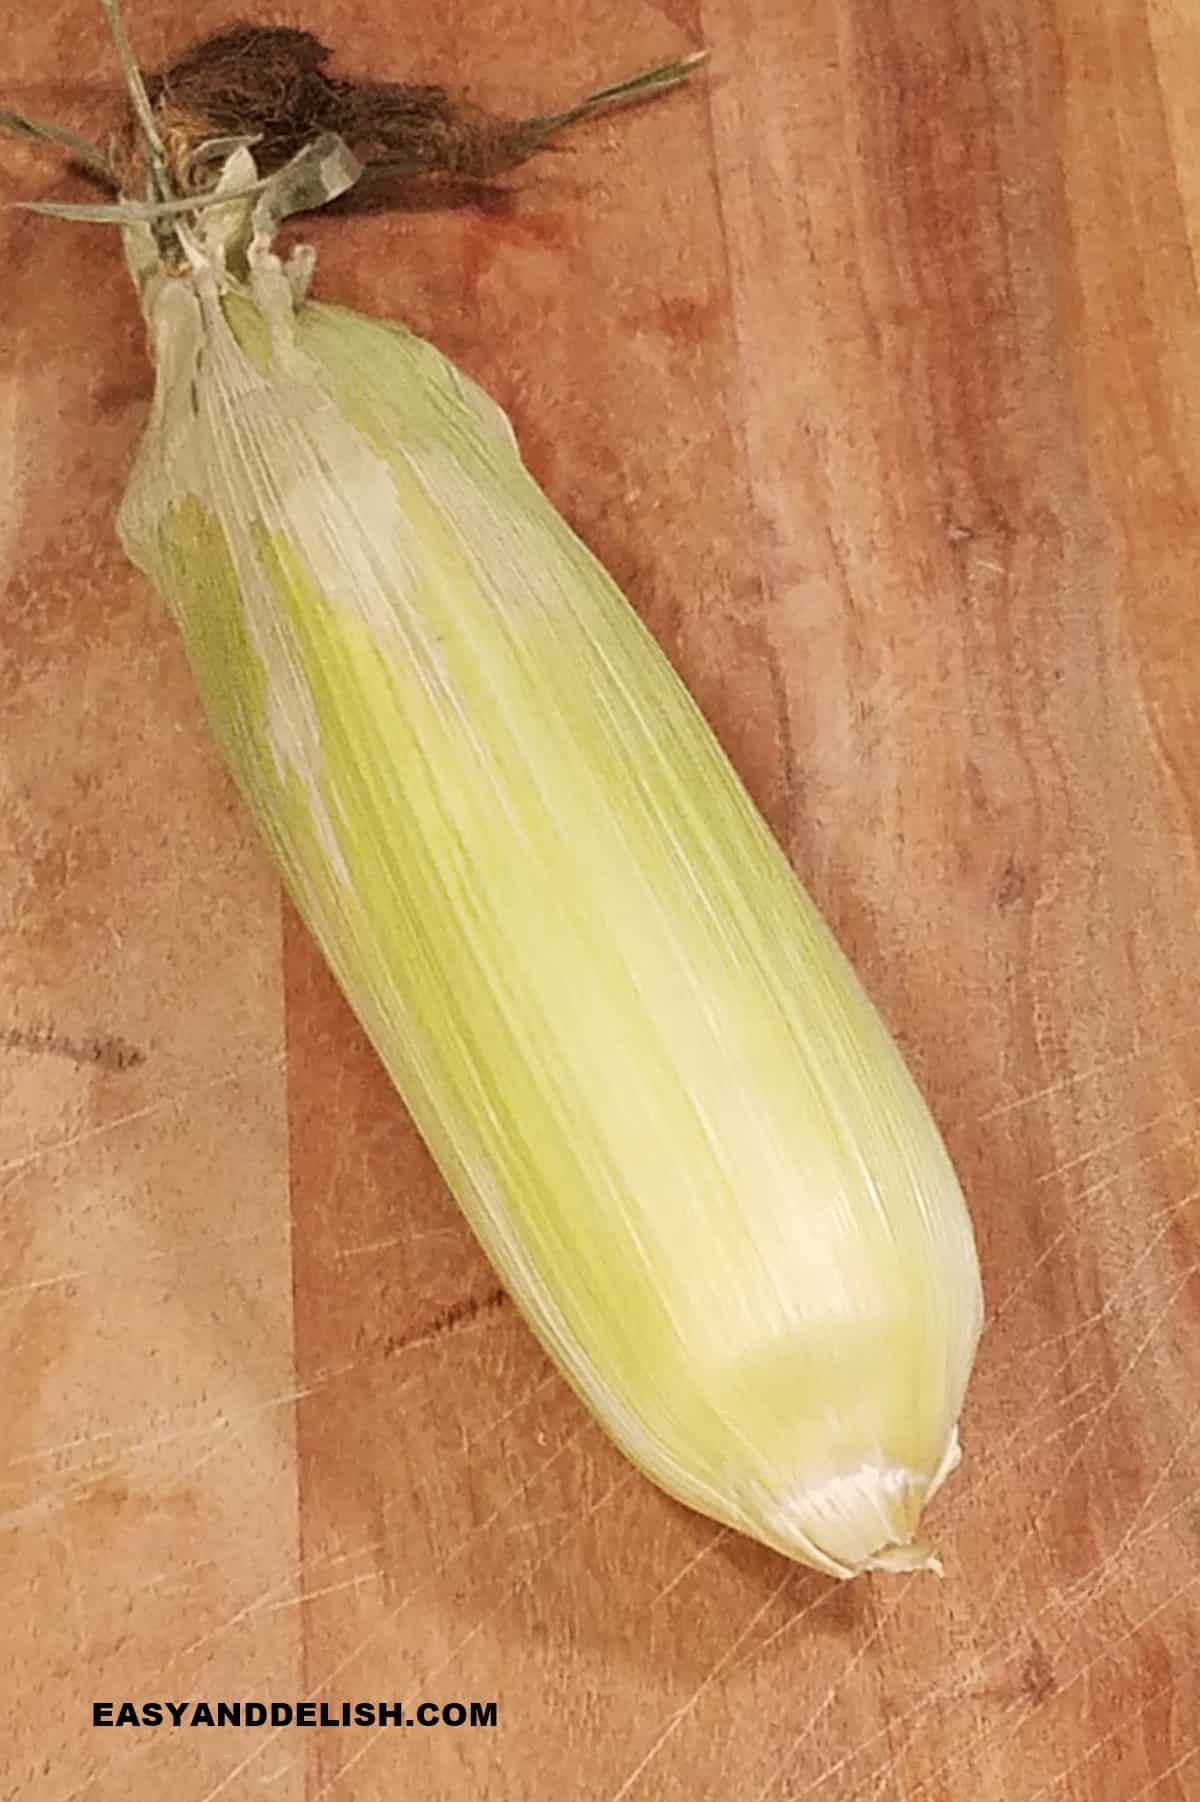
- Then, cut off 1 inch from the end and your corn will come out cleanly. If you prefer, smear on some salted butter and enjoy!
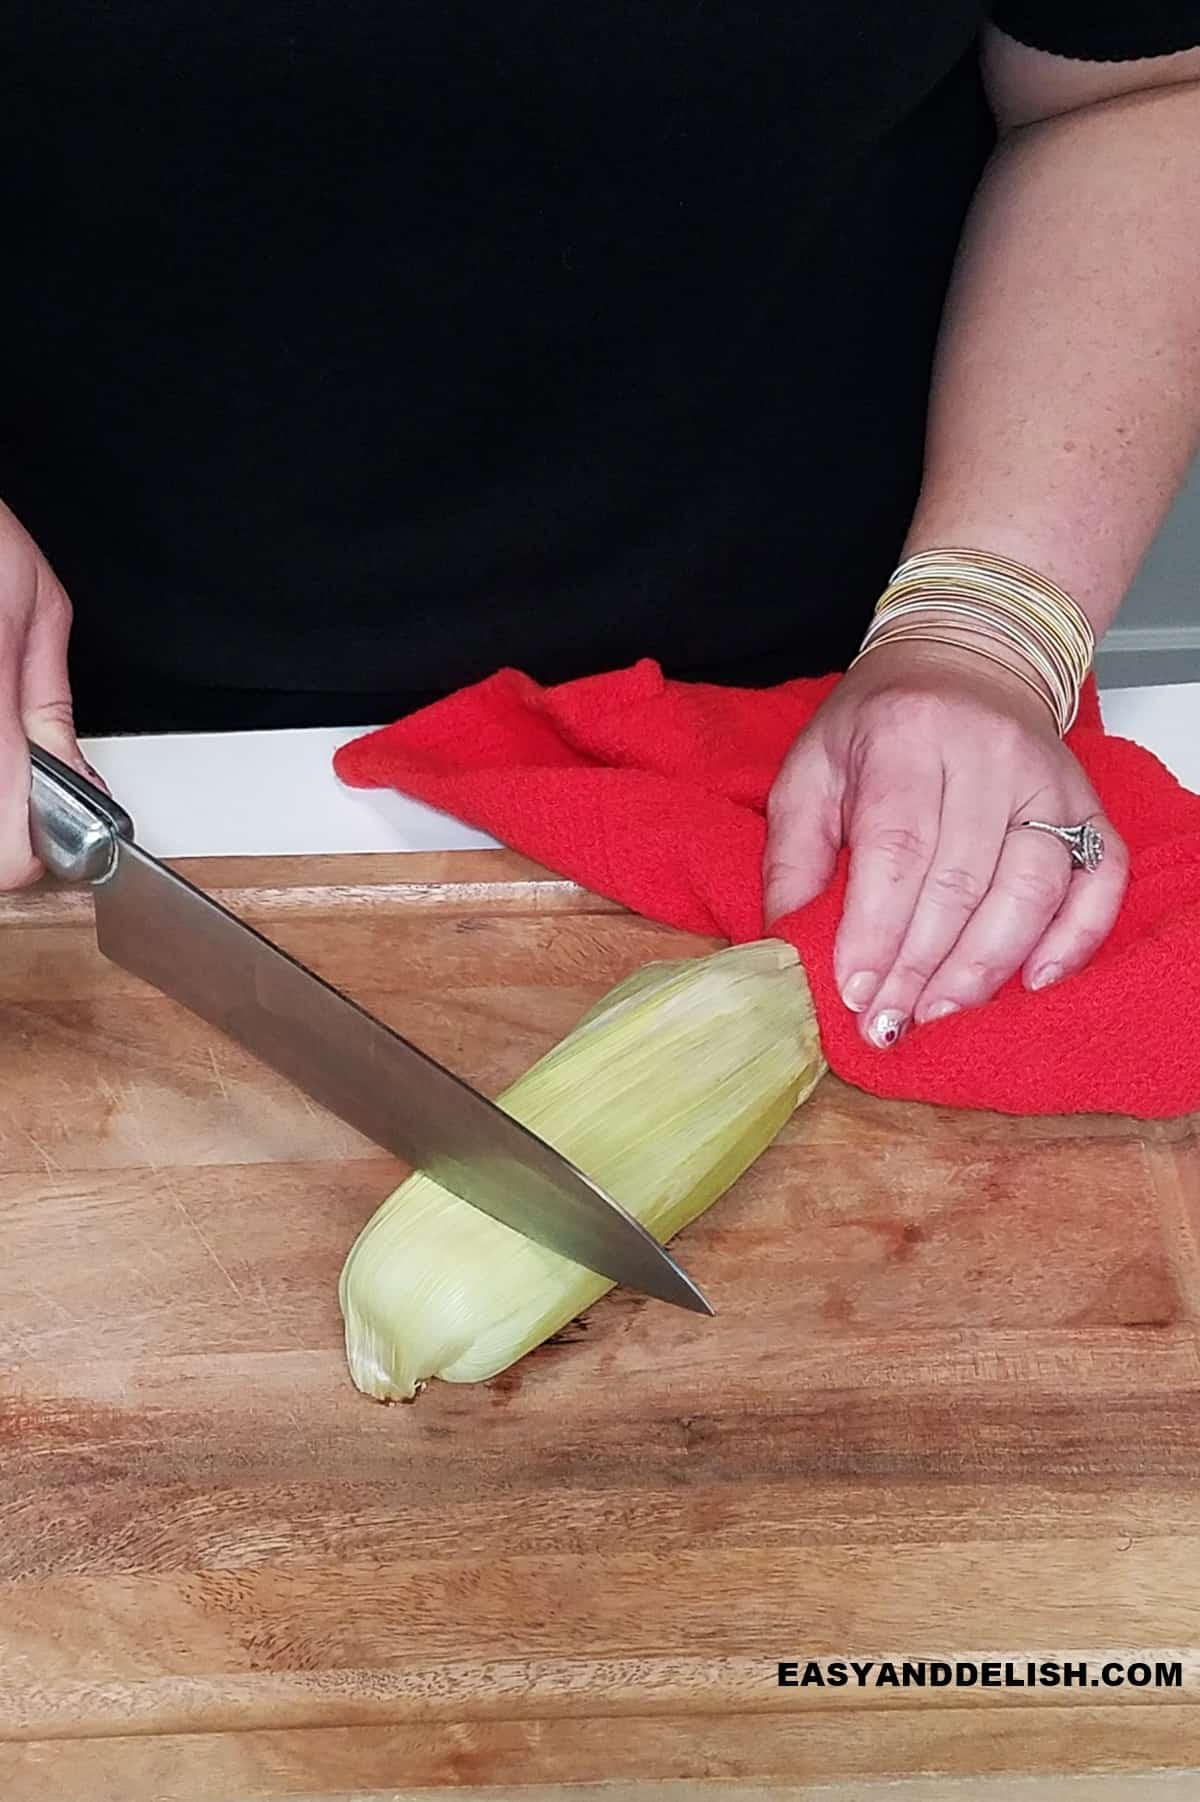
NOTE: When handling hot corn make sure to wear kitchen gloves or use a kitchen towel.
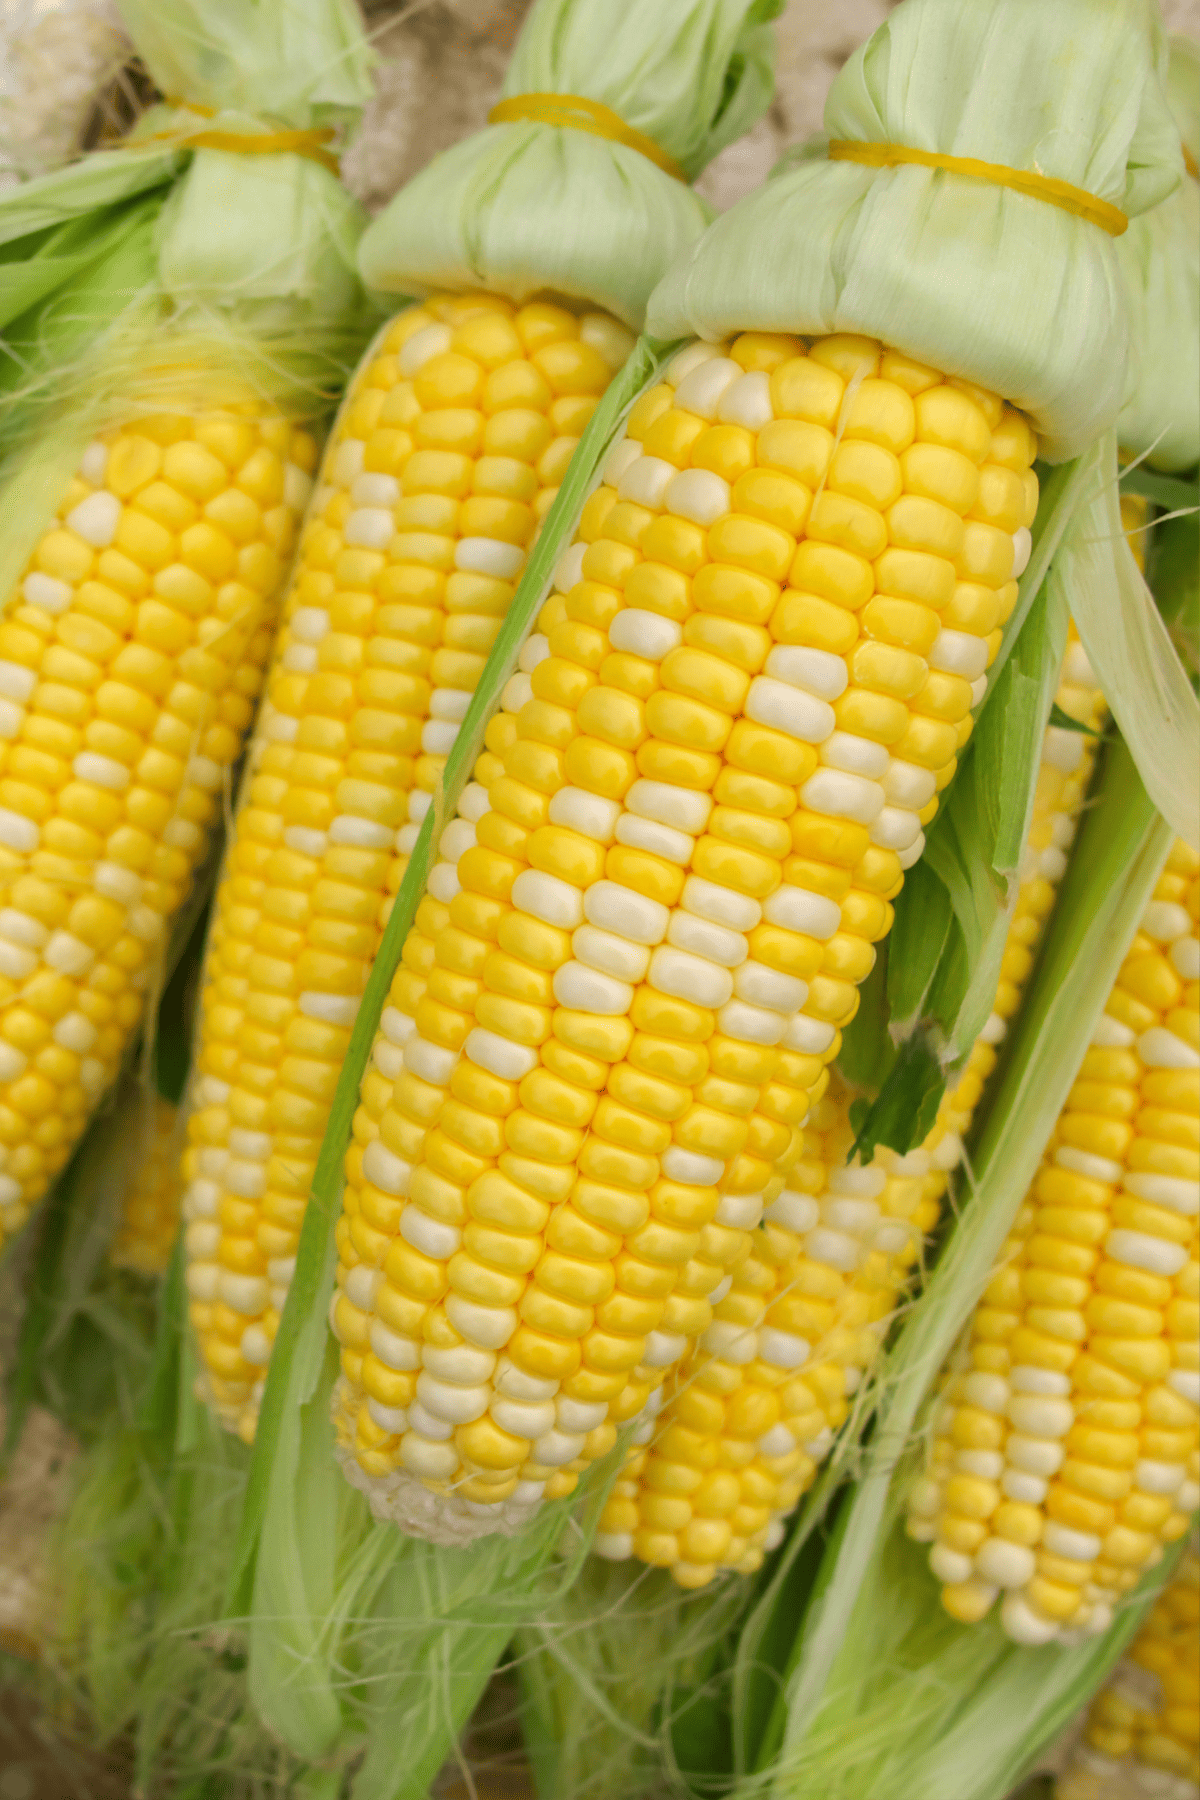
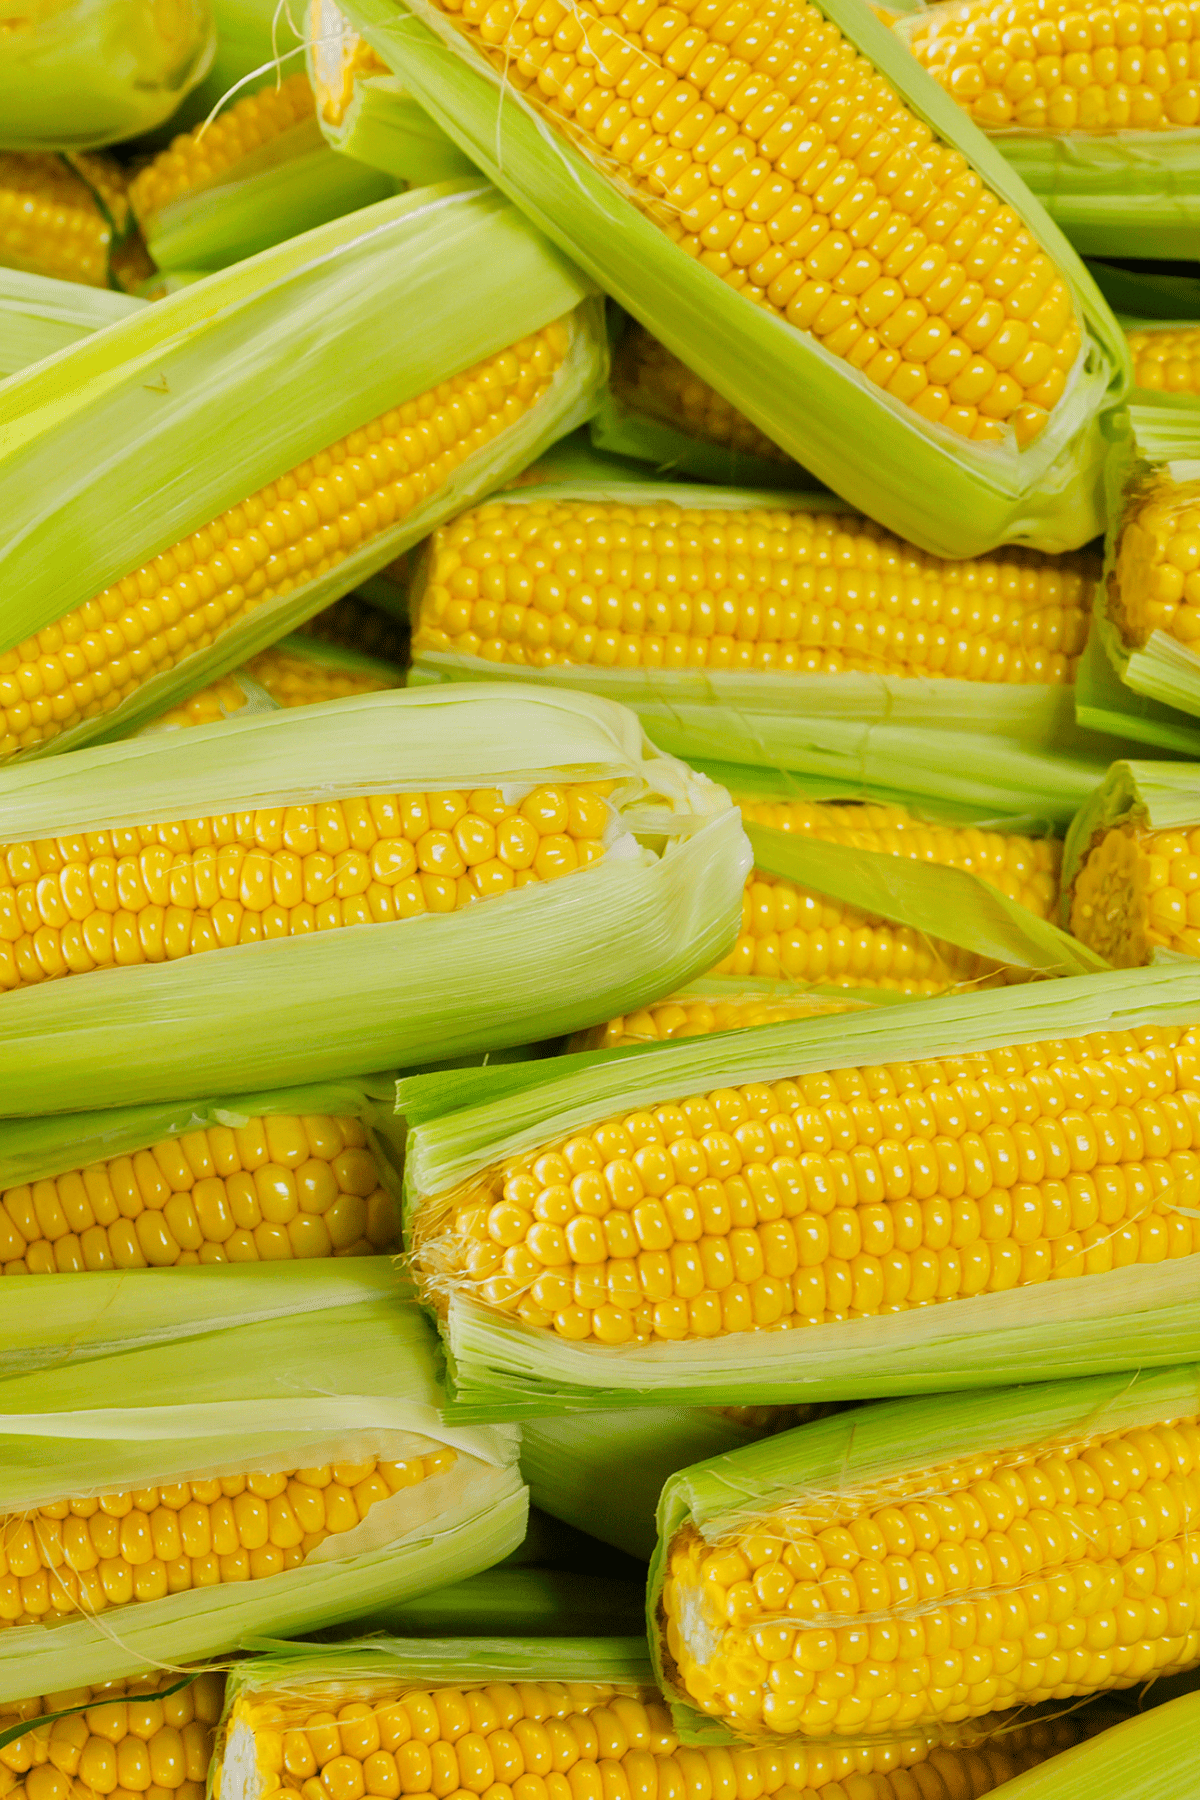
How to pick good corn
Corn on the cob is one of the most delicious and popular summertime side dishes. But how to choose a good corn?
Well, it is easier than you think. Here is how:
Summarize and send this content on
- Seasonality: The sweetest, juiciest, and freshest corn on the cob are available when in season. Its peak season in the U.S. is between May and September.
- Visual clues: Look for husks that are: 1. Bright green and tightly woven; 2. With glossy, light brownish tassels attached. If the silk tassels are either dry or black, don't buy them! Also, smell the corn. Yes, fresh corn smells fresh (not musty).
- Touch clue: Grab the corn and squeeze it. If it is damp to the touch, it means it is juicy, not dry!
- Weight: Lift the corn! If the ear of corn feels heavy, it is plump, not light.
How to Remove Corn Kernels
After shucking corn on the cob in the microwave, you can easily de-kernel corn from the cob either:
- Place the whole corn in the center of a bundt cake pan. Then, cut down or separate the kernels from the cob using a sharp knife.
- However, if you don't have a bundt cake pan, place one small bowl, upside down, inside of a large bowl. Then, position the cob on top of the small bowl and cut down the kernels with a knife.
FAQs
Do you shuck corn before or after cooking?
It depends on the method you use to shuck corn and the purpose. If you use the traditional method, the corn is shucked before cooking. However, if you use the microwave method, you can shuck corn on the cob before or after cooking it. Then, use the shucked corn in recipes that call for uncooked corn or eat the cooked corn right after shucking it in the microwave.
Is it easier to shuck corn before or after cooking?
Cooking corn in their husks, either by boiling or steaming in the microwave, makes shucking much easier than before cooking. After cooking the corn, the husk (and silk) slides right off.

Do you soak corn before shucking?
If cooking the corn in the microwave, you can run water over each ear to soak it completely and then microwave for 2-4 minutes to either partially or fully cook the corn. But it is not necessary! You can microwave your corn without soaking it.
How many ears of corn can I microwave at one time?
It will depend on the size of your corn ears and your microwave capacity. A regular microwave can cook 3 or more big ears at one time.
Do you refrigerate unshucked corn?
Yes! Although corn is best consumed the very same day you buy it, you can store unhusked ears in a sealed plastic bag in the crisper drawer of the fridge for up to 2-3 days. But do not put them together in a plastic bag. If possible, store each individually in a bag.
Can you freeze fresh, unshucked corn?
Yes, absolutely! Because you are freezing the ears in the husk, this will help to prevent freezer burns. However, you still have to place the corn in a plastic bag, remove as much air as possible, and then, freeze it for 6 to 9 months.
Do I have to thaw frozen unshucked corn before cooking?
No, you don't! When you are ready to cook it, just remove the unshucked corn from the freezer and cook it right away, by boiling or microwaving it.
Nutrition
According to Women's Health Magazine, one medium ear of sweet yellow corn contains about 77 calories, 1 g of fat, about 14.6 g of net carbohydrates, and 3 grams of protein. In addition, corn is rich in magnesium, thiamin, and folate.
Corn recipes to enjoy:
- 35 easy corn recipes
- Chocolate popcorn recipe
- Corn chowder recipe
- Grilled corn on the cob
- Portuguese cornbread recipe
- Sweet corn cake recipe
- Corn nachos recipe
- Italian cornbread
- Cornmeal cake recipe
- Corn gratin recipe
- Baked tamale casserole
- Gluten-free creamy corncake
- Sweet popcorn recipe
- Fried polenta
PIN & ENJOY!
How to Shuck Corn | 2 Quick Ways
Equipment
- 1 microwave
- 1 plate
- 1 cutting board
- 1 Chef's knife
Ingredients
- 2 Whole Fresh Corn NOTE: You can consume corn if you are on a low-carb diet but pay attention to the portion you intend to eat. But it is NOT keto-friendly!
- 1 Tablespoon Butter optional (For a vegan, Paleo, and Whole30 recipe, use vegetable oil or coconut butter)
- Table Salt to taste optional
- Fresh Cracked Black Pepper to taste optional
Instructions
Without Cooking
- The first way is to shuck the corn in the microwave without fully cooking it and then use it in recipes that call for uncooked corn.
- To do this, cut 1 inch off the end of the corncob, place it in a microwave-safe plate, and then microwave corn on the cob for 2 minutes. This helps heat penetrate the husk without steaming your corn.
- Finally, cut a slit into the husk and the corn will come out cleanly. The slit will help release the cob more easily!
Fully Cooking
- The second way is for when you want to cook the corn.
- To do that, microwave the corn, in a microwave-safe plate, for 4 minutes with the husk intact. The intact husk where the cob is encased works like a natural pouch where the heat will help to steam the corn (plus cooking the corn in the husk adds an amazing flavor).
- Then, cut off 1 inch from the end and your corn will come out cleanly. If you prefer, smear on some salted butter and enjoy! NOTE: When handling hot corn make sure to wear kitchen gloves or use a kitchen towel.
Recipe Video
Recipe Notes
- After shucking corn on the cob in the microwave, you can easily de-kernel corn from the cob either:
1. By placing the whole corn in the center of a bundt cake pan. Then, cut down or separate the kernels from the cob using a sharp knife.
2. However, if you don't have a bundt cake pan, place one small bowl, upside down, inside of a large bowl. Then, position the cob on top of the small bowl and cut down the kernels with a knife.
- FRIDGE: Although corn is best consumed the very same day you buy it, you can store unhusked ears in a sealed plastic bag in the crisper drawer of the fridge for up to 2-3 days. But do not put them together in a plastic bag. If possible, store each individually in a bag.
- FREEZER: Because you are freezing the ears in the husk, this will help to prevent freezer burns. However, you still have to place the corn in a plastic bag, remove as much air as possible, and then, freeze it for 6 to 9 months.
- THAWING: Do not thaw it! When you are ready to cook it, just remove the unshucked corn from the freezer and cook it right away, by boiling or microwaving it.
Nutrition
** Nutrition labels on easyanddelish.com are for educational purposes only. This info is provided as a courtesy and is only an estimate, since the nutrition content of recipes can vary based on ingredient brand or source, portion sizes, recipe changes/variations, and other factors. We suggest making your own calculations using your preferred calculator, based on which ingredients you use, or consulting with a registered dietitian to determine nutritional values more precisely.
Please note that health-focused and diet information provided on easyanddelish.com is for educational purposes and does not constitute medical advice, nor is it intended to diagnose, treat, cure, or prevent disease. Consult with your doctor or other qualified health professional prior to initiating any significant change in your diet or exercise regimen, or for any other issue necessitating medical advice.


Leave a Reply