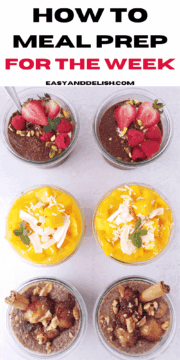
Learning how to meal prep can save you time, reduce food waste, and make healthy eating much easier during busy weeks. Whether you're preparing full meals, portioning ingredients, or stocking your freezer with ready-to-cook options, a simple meal-prep routine can help you stay organized and stress-free. If you're looking for easy recipes to add to your plan, be sure to check out my collection of 30-minute meals.
Learning how to meal prep can save time, reduce food waste, and make healthy eating easier throughout the week. This beginner-friendly guide walks you through choosing recipes, shopping efficiently, preparing ingredients, storing meals safely, and creating a meal-prep routine that fits your lifestyle.
Quick Look: How to Meal Prep
- ⏱️ Planning Time: 15–30 minutes
- 🛒 Shopping Time: 30–60 minutes
- 🍳 Prep Time: 1–3 hours, depending on the number of meals
- 📅 Best For: Busy families, weight management, healthier eating, and saving time during the week
- 💰 Budget Friendly: Yes
- 🧩 Difficulty: Beginner-friendly
- 🥗 Meal Types: Breakfast, lunch, dinner, snacks
- 📦 Storage: Refrigerator and freezer
- ⚡ Main Benefit: Reduces daily cooking time and decision fatigue
- 🧪 Why This Method Works: Preparing meals and ingredients in advance helps you stay organized, reduce food waste, and maintain healthier eating habits throughout the week.
SUMMARIZE & SAVE THIS CONTENT ON
Jump to:
- Quick Look: How to Meal Prep
- What is meal prep?
- Who is meal prepping for?
- Pros and cons of meal prepping
- Different ways to meal prep
- Most common foods to meal prep
- How to meal prep for the week
- How to cut down on cooking time
- Best meal prep containers
- How to meal prep for weight loss
- Tips for easy meal prepping on a budget
- FAQs
- Meal Prep Formulas
- How long do my meal preps stay “good?”
- Some Meal Prep Ideas
- How to Meal Prep | Complete Beginner's Guide
What is meal prep?
Meal prepping is the practice of planning, preparing, and storing meals or ingredients ahead of time so they're ready when you need them. Whether you cook complete meals, portion out proteins and vegetables, or prepare ingredients for quick assembly, meal prep helps streamline your week and reduce time spent in the kitchen. These Baked Chicken Parmesan Meatballs are perfect for meal prep because they reheat beautifully and stay tender for days.
The goal is to make healthy, home-cooked meals more convenient by having food ready to grab, reheat, or finish cooking with minimal effort. It can also help reduce food waste, save money, and make it easier to stick to your nutrition goals.
Who is meal prepping for?
Meal prepping can benefit almost anyone, but it's especially helpful for people with busy schedules who want to spend less time cooking during the week. Working professionals, students, parents, and fitness enthusiasts often rely on meal prep to stay organized and keep nutritious meals readily available.
It's also a great strategy for anyone looking to save money, reduce food waste, simplify grocery shopping, or avoid the daily stress of deciding what to eat. Whether your goal is healthier eating, better portion control, or simply making weeknights easier, meal prepping can be adapted to fit your lifestyle.
Pros and cons of meal prepping
Meal prepping can save time, reduce stress, and make healthy eating more convenient, but it's important to understand both the benefits and potential challenges before getting started.
Pros
- Saves time during busy weekdays.
- Reduces the need for takeout and last-minute meals.
- Helps with portion control and nutrition goals.
- Cuts down on food waste by using ingredients efficiently.
- Makes grocery shopping more organized and predictable.
- Can save money by reducing impulse purchases.
Cons
- Requires planning and a dedicated prep session.
- Some foods don't store well for several days.
- Eating the same meals repeatedly can become monotonous.
- Storage containers take up refrigerator and freezer space.
- It may take some trial and error to find a system that works for your schedule.
Different ways to meal prep
Meal prepping doesn't have to be a one-size-fits-all process. Depending on your schedule, cooking habits, and goals, you can choose a method that works best for your lifestyle.
Make-ahead meals
- How it works: This method involves preparing entire meals ahead of time that you can heat and enjoy throughout the week.
- Example: Cooking a lasagna on Sunday and dividing it into portions to eat for dinner on Monday, Wednesday, and Friday.
Batch cooking
- How it works: Cooking meals or components in large quantities to be used in different dishes throughout the week.
- Example: Making a large pot of chili or stew that can be eaten as-is, over rice, in a wrap, or even as a topping for baked potatoes.
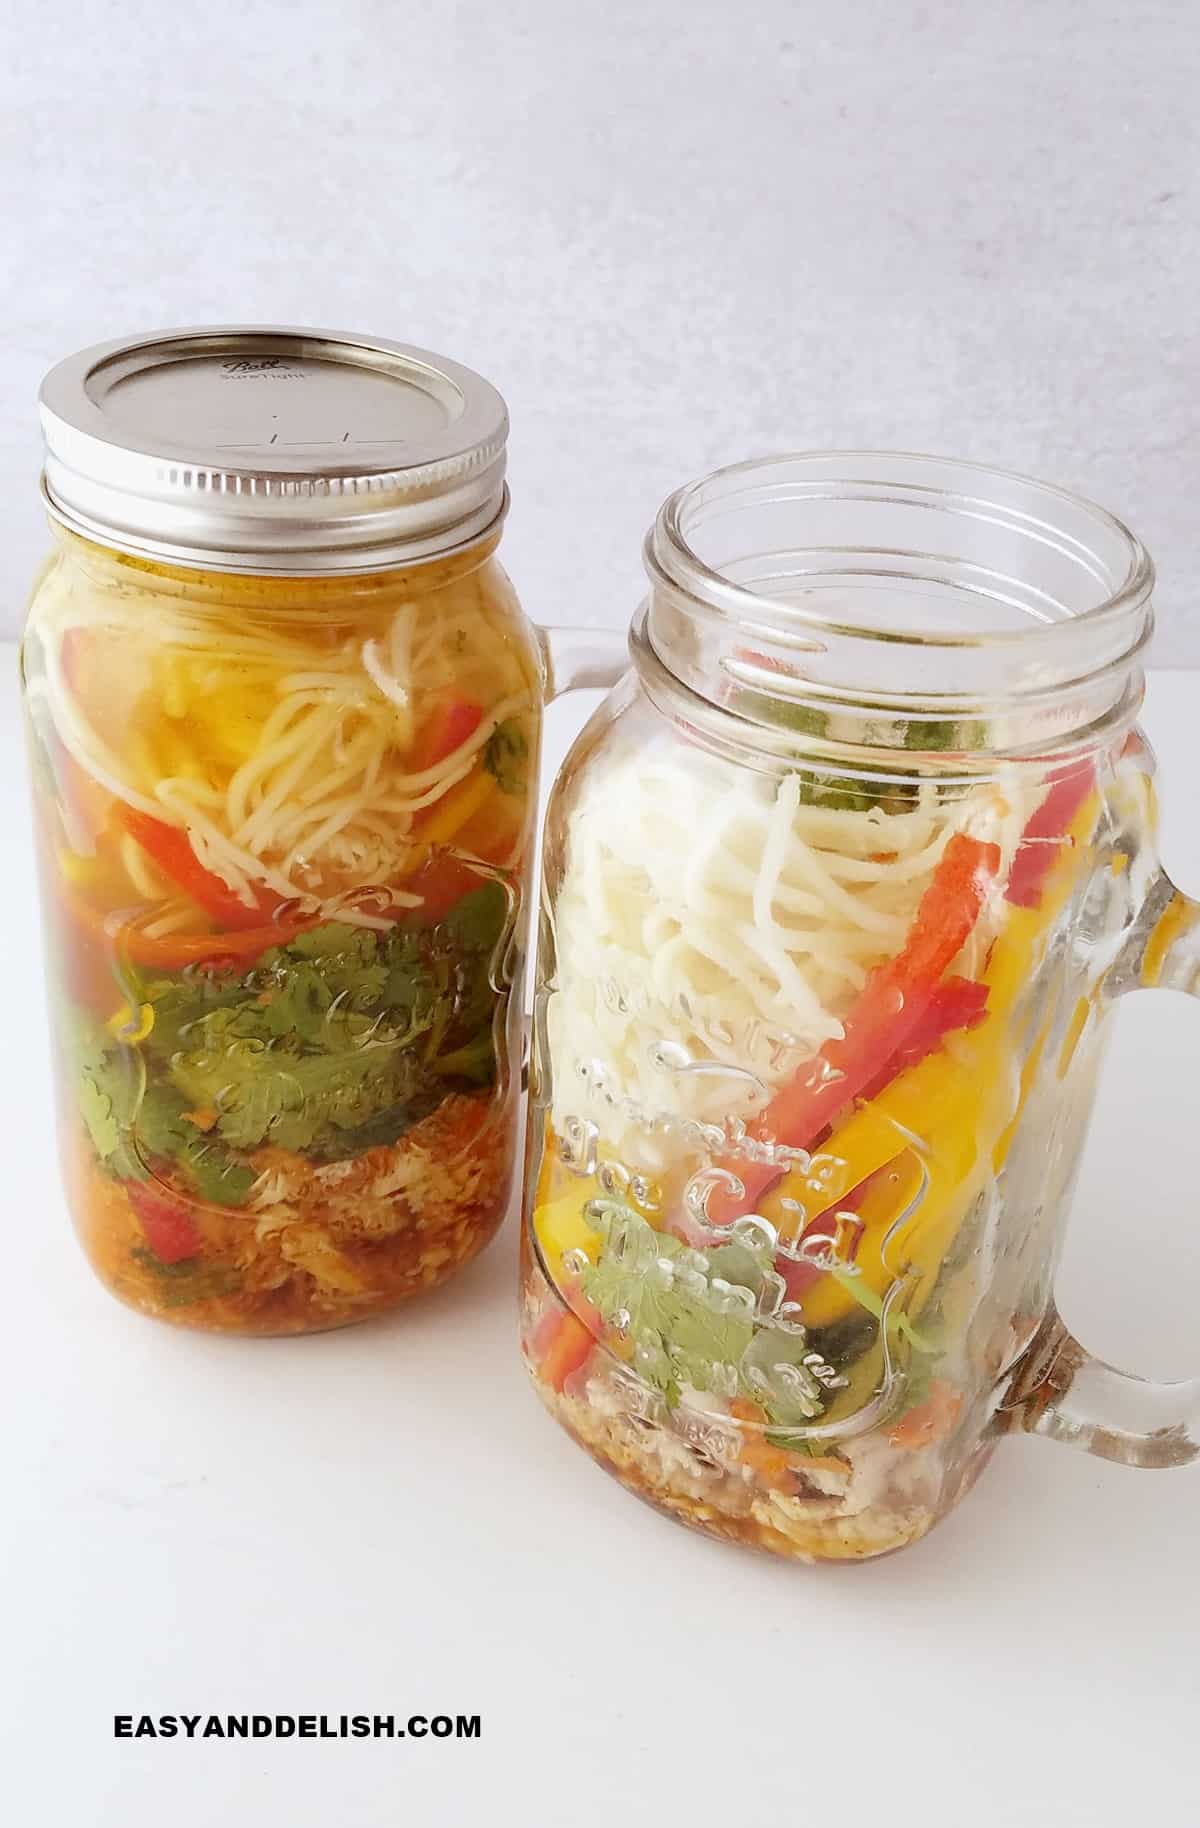
Individually portioned meals
- How it works: Prepare meals and divide them into individual containers, making them easy to grab and enjoy throughout the week.
- Example: Portion sliced chicken breast, steamed quinoa, roasted vegetables, and hummus into separate containers to create ready-to-eat grain bowls for quick lunches.
Ready-to-cook ingredients
- How it works: Prepare ingredients in advance so they're ready to cook or assemble throughout the week, reducing time spent in the kitchen on busy days.
- Example: Wash, chop, and marinate vegetables on Sunday so they're ready to use in stir-fries, sheet pan meals, soups, or roasted vegetable dishes later in the week.
Most common foods to meal prep
Carbs
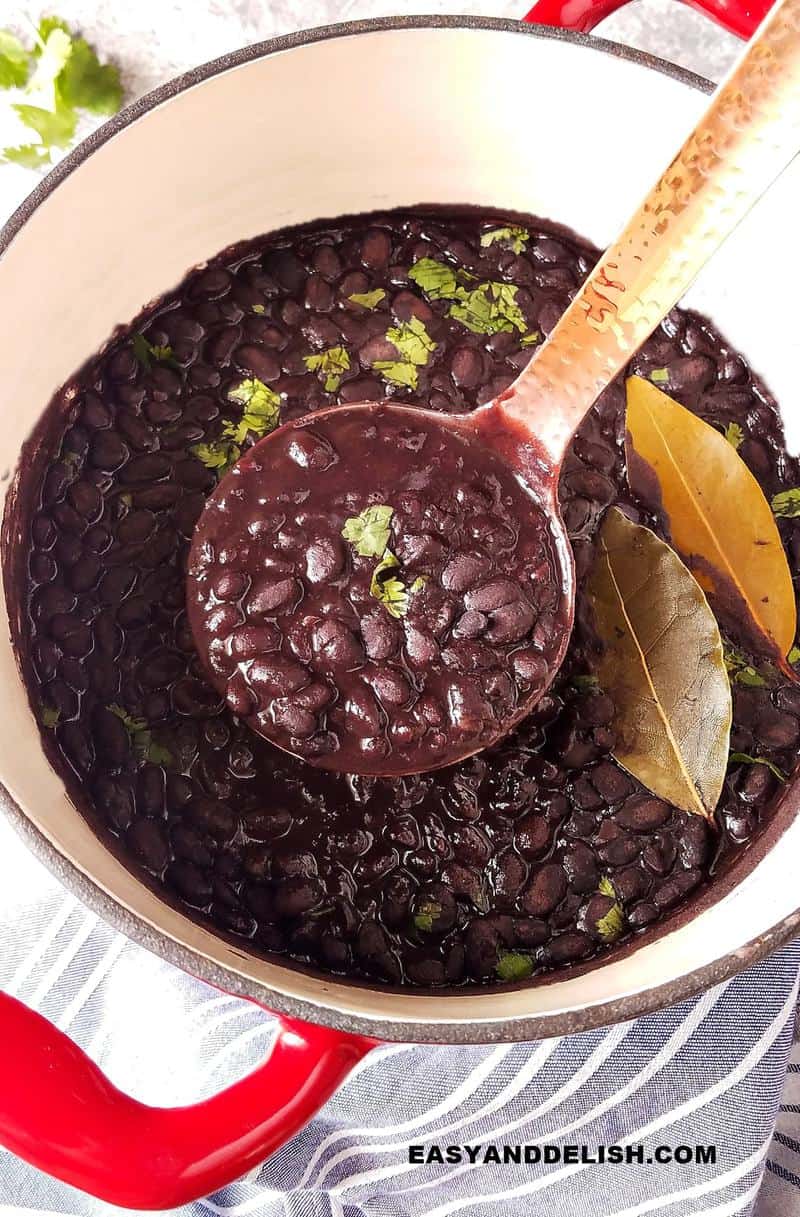
- Beans: Beans, such as black beans, white beans, or chickpeas, can be cooked in bulk and added to salads, soups, stews, grain bowls, or mashed into spreads.
- Lentils: Cook a batch of lentils once and use them throughout the week in soups, salads, curries, or veggie patties.
- Quinoa or Rice: Prepare a large batch of quinoa or rice and use it as a base for grain bowls, stir-fries, meal-prep lunches, or side dishes.
- Sweet Potatoes: Roast or steam sweet potatoes whole or cubed, then enjoy them on their own, mashed, or added to salads and bowls.
- Pasta: Whole wheat, regular, or alternative pasta varieties can be cooked ahead and used in pasta salads, casseroles, or quick weeknight meals.
- Barley or Farro: Prepare these hearty grains in advance and use them as a base for soups, salads, grain bowls, or side dishes.
Protein
- Chicken: Baked or grilled chicken breasts can be sliced and used in sandwiches, salads, wraps, grain bowls, or main dishes.
- Tofu: Pressed and marinated tofu can be grilled, baked, stir-fried, or crumbled into a variety of dishes.
- Eggs: Hard-boiled eggs make a quick snack, protein-packed breakfast, or addition to salads and grain bowls.
- Tempeh: Much like tofu, marinated or pre-cooked tempeh makes a delicious plant-based protein for stir-fries, grain bowls, salads, and wraps.
- Fish: Grilled or baked fish can be flaked into salads, served as a main dish, or used in tacos and grain bowls.
- Legumes: Legumes, such as edamame or green peas, can be cooked ahead and added to salads, stir-fries, grain bowls, or enjoyed as a snack.
Vegetables
- Bell Peppers: Slice and store bell peppers for quick additions to salads, stir-fries, grain bowls, wraps, or snacks.
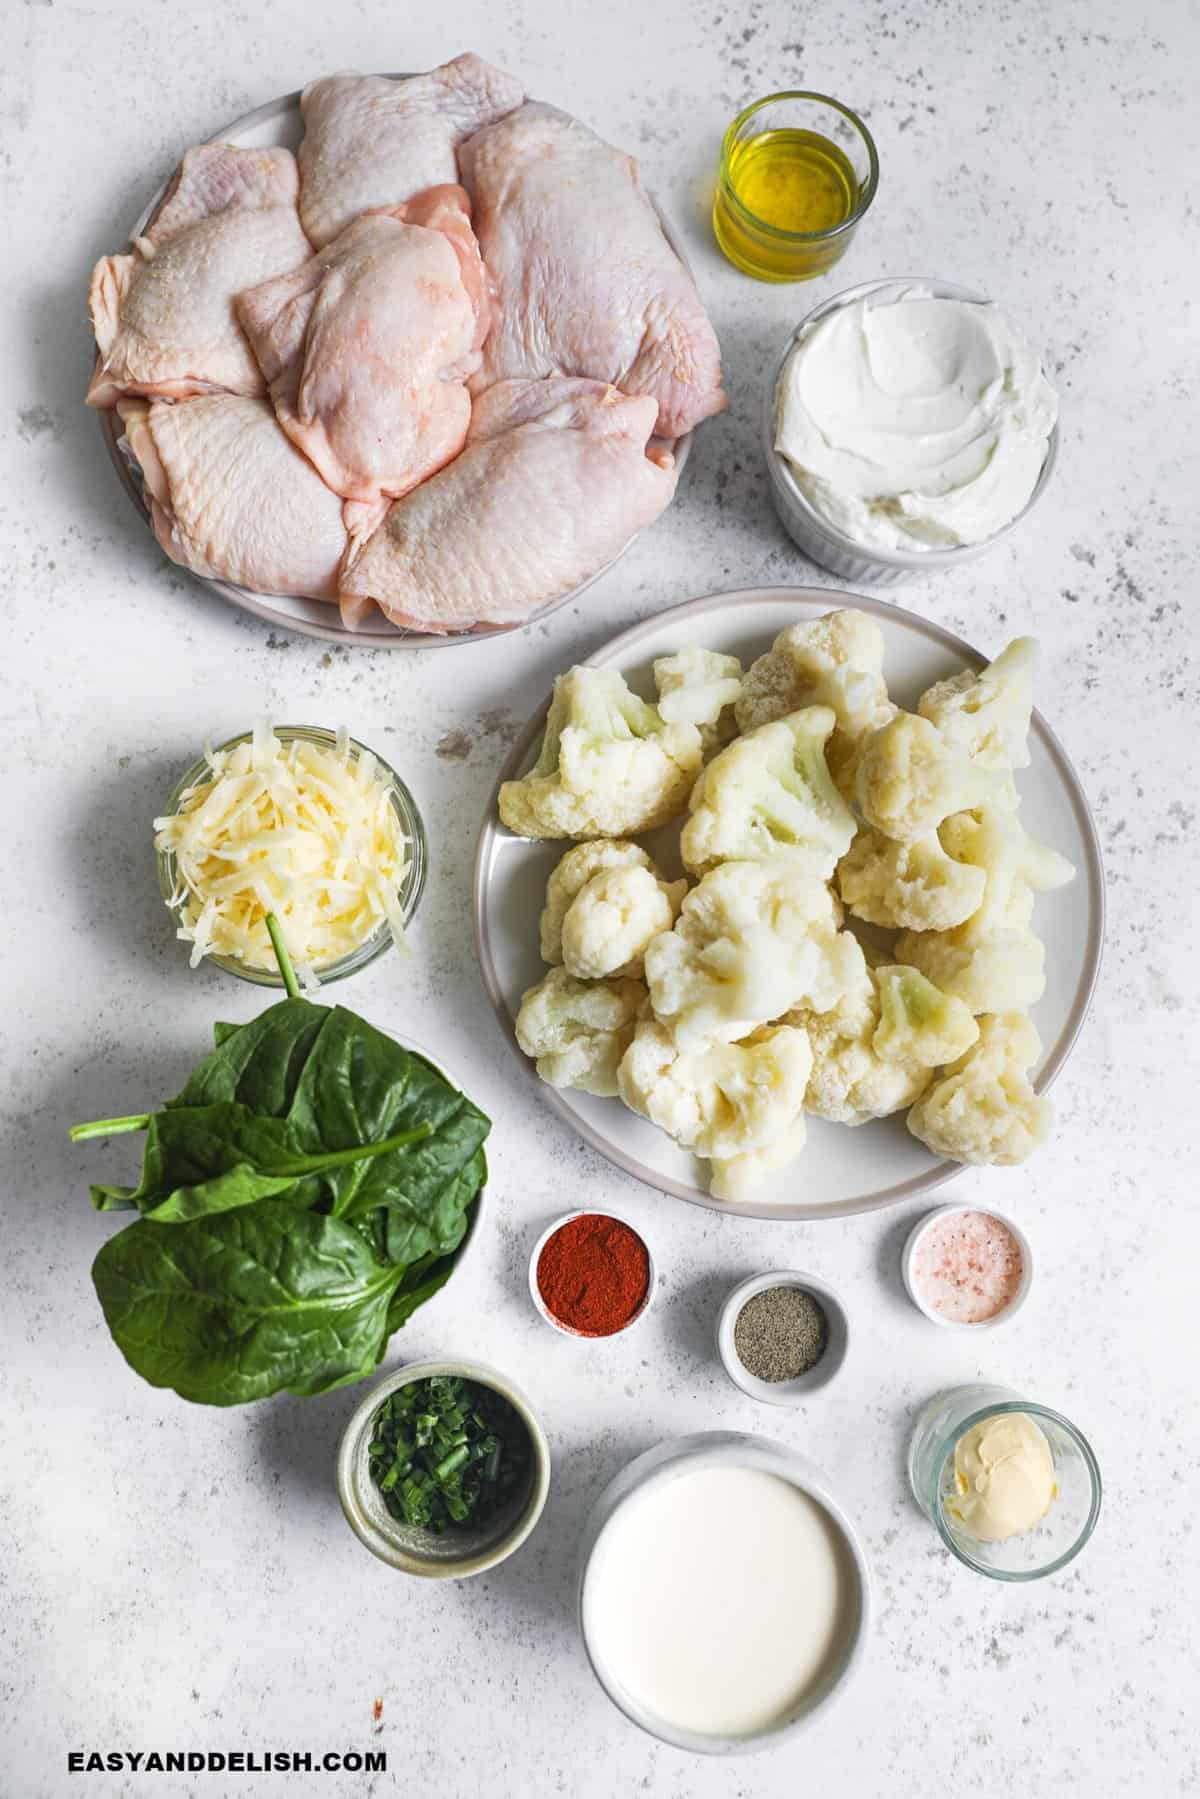
- Broccoli or Cauliflower: Pre-chop broccoli and cauliflower for quick roasting, steaming, sheet pan meals, or easy side dishes.
- Zucchini: Zucchini can be spiralized into zoodles, sliced for grilling, roasted, or added to stir-fries.
- Spinach: Wash and dry spinach ahead of time for salads, smoothies, omelets, soups, and sautés. It can also be frozen for later use.
- Carrots: Peel and slice or julienne carrots for snacks, salads, stir-fries, grain bowls, or meal-prep lunches.
Fruits
- Berries: Wash and portion berries into individual containers for easy snacks, smoothies, oatmeal, yogurt, or breakfast bowls.
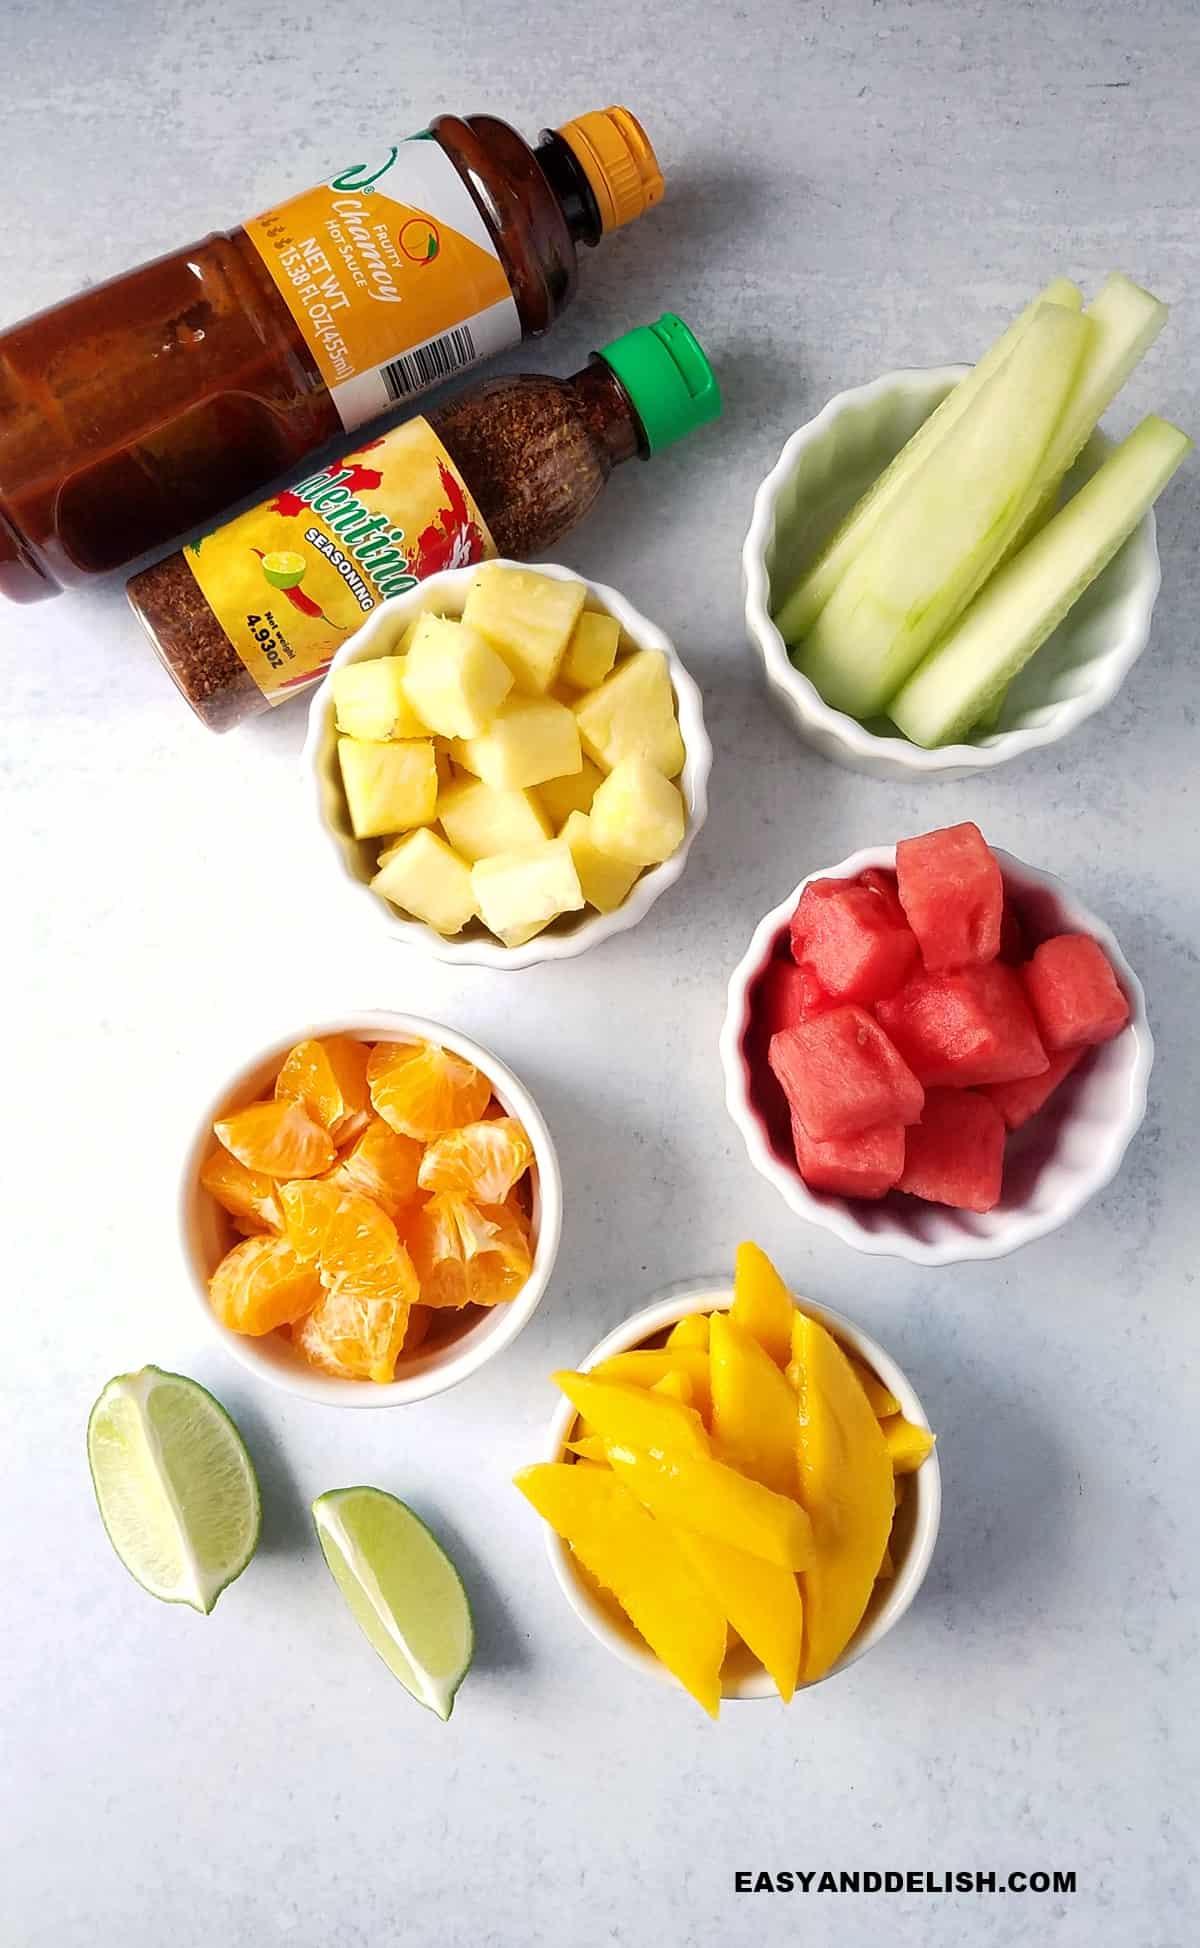
- Melons: Pre-cut cantaloupe, honeydew, or watermelon and store in airtight containers for quick snacks or fruit salads.
- Apples: Slice apples and toss them with a little lemon juice to help prevent browning before storing.
- Grapes: Wash and dry grapes thoroughly, then store them in the refrigerator for easy grab-and-go snacks throughout the week.
Sauces, dressings, and spreads
- Pesto: Easy to make in bulk and store for pasta dishes, sandwiches, grain bowls, or garnishes. The same applies to my chimichurri sauce.
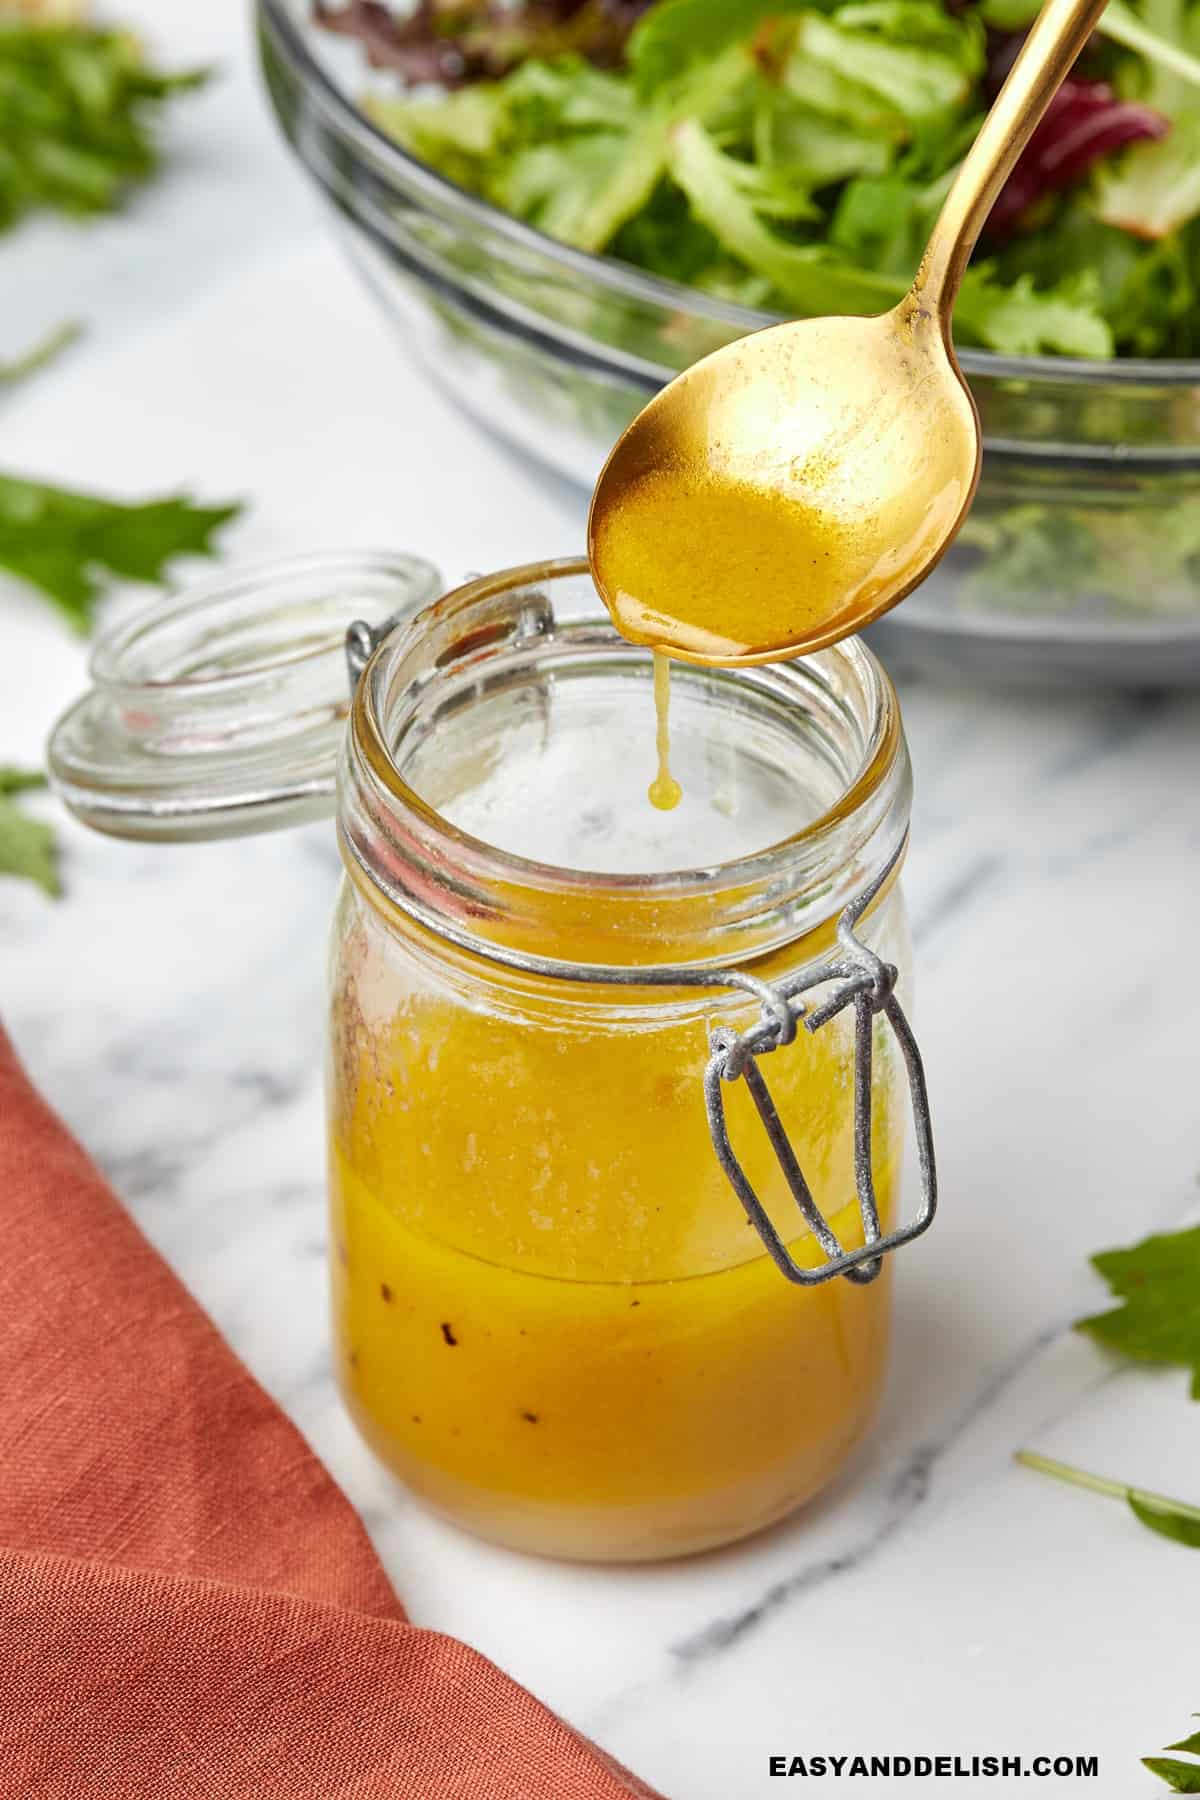
- Vinaigrette: Whisk together oil, vinegar, and your favorite seasonings, then keep it on hand for salads, grain bowls, and roasted vegetables. My apple cider vinaigrette is a great make-ahead option.
- Hummus: Blend cooked chickpeas, tahini, lemon juice, garlic, and seasonings, then store for a quick dip, spread, or protein-rich addition to bowls and salads.
- Tzatziki: This creamy yogurt-based sauce is perfect for dipping vegetables, spreading on wraps, or drizzling over grilled meats and grain bowls.
- Salsa: Fresh or jarred salsa can be used as a dip, topping for proteins, filling for tacos, or a flavorful addition to meal-prep bowls.
How to meal prep for the week
Meal prepping for an entire week may seem overwhelming at first, but a simple plan can make the process much more manageable. Follow these steps to build a meal-prep routine that saves time, reduces stress, and keeps your kitchen organized.
1. Plan Your Meals
Decide what you'll eat for breakfast, lunch, dinner, and snacks throughout the week. Choose recipes that fit your schedule, dietary needs, and goals.
2. Check Your Pantry and Refrigerator
Before shopping, take inventory of ingredients you already have on hand. This helps reduce food waste and saves money.
3. Make a Grocery List
Based on your meal plan, create a detailed shopping list and stick to it when you're at the store.
4. Schedule a Prep Session
Set aside a few hours on a day that works best for you. Many people prefer Sunday, but any consistent day can work.
5. Start with Foods That Take the Longest
Begin cooking grains, beans, proteins, or roasted vegetables first. While they cook, wash, chop, and portion the remaining ingredients.
6. Assemble and Portion
Depending on your preferred meal-prep method, either assemble complete meals or store ingredients separately for easy mixing and matching throughout the week.
7. Store and Label Properly
Allow foods to cool before storing them in airtight containers. Label containers with the contents and date, especially if freezing. To keep meals interesting, rotate different recipes throughout the week instead of eating the same dish every day.
How to cut down on cooking time
If you want to reduce the time you spend in the kitchen without compromising the quality of your meals, try these time-saving strategies:
- Prep ingredients ahead of time: Wash, peel, and chop vegetables on the weekend. Store them in airtight containers so they're ready to use throughout the week.
- Use a pressure cooker or Instant Pot: These appliances can dramatically reduce cooking time for foods that typically take longer, such as beans, stews, soups, and braised dishes.
- Plan one-pan or one-pot meals: Recipes that use a single pan or pot usually require less prep, fewer dishes, and less active cooking time.
- Invest in a food processor: A food processor can quickly chop, slice, shred, and puree ingredients, saving valuable prep time.
- Choose quick-cooking proteins: Fish, shrimp, thin cuts of beef, chicken cutlets, and ground meats cook much faster than larger cuts.
- Thaw frozen foods in advance: Move frozen ingredients from the freezer to the refrigerator the night before so they're ready to cook the next day.
- Keep your workspace organized: A clean, clutter-free kitchen helps streamline meal preparation and improves efficiency.
- Double recipes when possible: Make extra portions and freeze half for future meals, reducing the need to cook from scratch later.
- Use convenience ingredients strategically: Pre-cut vegetables, frozen produce, canned beans, rotisserie chicken, and prepared sauces can save significant time on busy days.
- Learn to multitask: While one component cooks, prepare another. For example, chop vegetables while grains cook or assemble a salad while dinner is in the oven.
Best meal prep containers
Now that you know how to meal prep, investing in the right storage containers can help keep your food fresh, organized, and easy to grab throughout the week. The best choice depends on your budget, storage space, and whether you'll be reheating meals.
Glass containers with airtight lids
- Durable: Glass doesn't absorb stains, flavors, or odors over time.
- Microwave and oven safe: Most glass containers can go directly from the refrigerator to the microwave or oven (without the lid).
- Easy to clean: They typically resist discoloration and clean up easily.
- Best for: Meal-prepped lunches, leftovers, and foods that will be reheated frequently.
Stainless steel containers
- Lightweight and durable: Great for transporting meals without the risk of breaking.
- Eco-friendly: A reusable and long-lasting alternative to plastic containers.
- Odor resistant: Won't absorb food smells or stains.
- Best for: Cold meals, snacks, salads, and lunches on the go
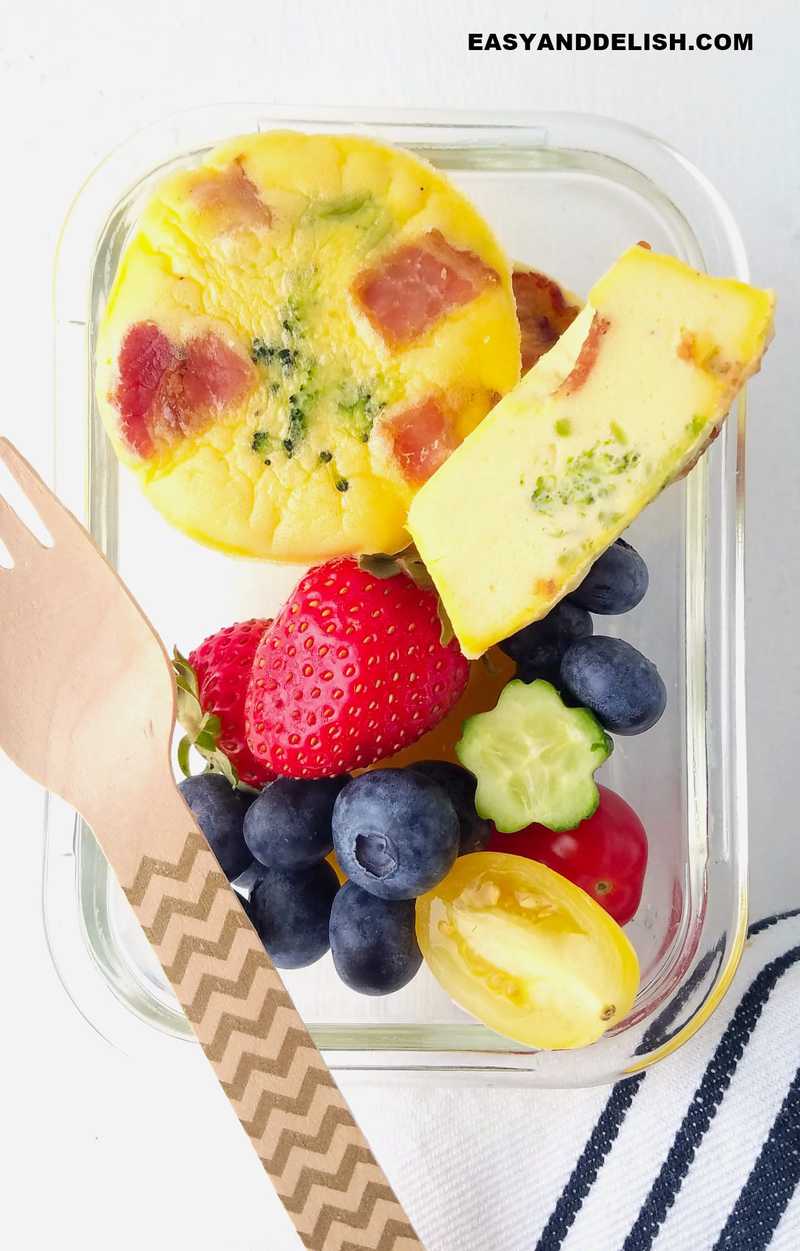
Compartmentalized containers
- Keep foods separate: Also known as bento-style containers, these help keep meal components separate and prevent flavors and textures from mixing.
- Support portion control: Built-in compartments make it easier to portion balanced meals and track serving sizes.
Silicone zip-top bags
- Space-saving: Flexible and easy to store when not in use.
- Versatile: Suitable for both liquids and solids and can be used for freezing, marinating, and even sous vide cooking
Insulated lunch boxes
- Maintain temperature: Help keep meals hot or cold for several hours, making them ideal for work, school, or travel.
- Portable: Designed for easy transport and often include handles, straps, or multiple compartments.
- No microwave needed: Perfect for people who don't have access to a microwave or refrigerator during the day.
How to meal prep for weight loss
Meal prepping can support weight-loss goals by helping you make intentional food choices, manage portions, and reduce reliance on takeout or convenience foods. The key is to focus on balanced, satisfying meals rather than overly restrictive eating.
- Prioritize protein: Include lean protein sources such as chicken, fish, eggs, tofu, Greek yogurt, and legumes to help support muscle maintenance and keep you feeling satisfied.
- Watch portion sizes: Pre-portion meals and snacks into containers to make serving sizes easier to manage.
- Choose fiber-rich foods: Whole grains, beans, lentils, fruits, and vegetables can help you stay fuller for longer.
- Limit highly processed foods: Preparing meals at home gives you greater control over ingredients, added sugars, sodium, and fats.
- Stay hydrated: Keep water readily available throughout the day and drink consistently.
- Prep healthy snacks: Cut vegetables, fresh fruit, Greek yogurt, hummus, nuts, or hard-boiled eggs can help prevent impulsive food choices.
- Include healthy fats: Avocados, olives, nuts, seeds, and olive oil add flavor and can help increase satiety.
- Create balanced meals: Aim to include protein, fiber-rich carbohydrates, healthy fats, and vegetables whenever possible.
- Plan for treats: Allowing room for favorite foods can make healthy habits easier to maintain long term.
- Track your progress if helpful: Some people find it useful to plan meals in advance and monitor portions, while others prefer a more intuitive approach.
Tips for easy meal prepping on a budget
Meal prepping can help stretch your grocery budget while reducing food waste and minimizing last-minute takeout expenses. Here are some simple ways to keep costs under control:
- Plan before you shop: Create a weekly menu and grocery list to avoid impulse purchases and unnecessary items.
- Buy staples in bulk: Rice, oats, dried beans, lentils, pasta, and spices are often more affordable when purchased in larger quantities.
- Choose budget-friendly proteins: Beans, lentils, eggs, canned tuna, tofu, and chicken thighs are often less expensive than premium cuts of meat.
- Freeze extras: Take advantage of sales by buying extra ingredients and freezing what you won't use right away.
- Reduce food waste: Use ingredients across multiple meals and repurpose leftovers whenever possible. For example, broccoli stems can be added to soups, stir-fries, or salads.
- Shop seasonal produce: Fruits and vegetables that are in season are often fresher and more affordable.
- Limit convenience foods: Pre-cut vegetables, individually packaged snacks, and heavily processed foods typically cost more than preparing them yourself.
- Cook once, eat twice: Make larger batches of soups, casseroles, grains, or proteins and enjoy them in multiple meals throughout the week.
- Keep a stocked pantry: Maintaining a supply of versatile staples makes it easier to build meals around sale items and ingredients you already have at home.
FAQs
Avoid prepping dishes that can become soggy or lose texture quickly, like salads with dressing or crispy items.
A beginner should start with simple recipes, focusing on versatile ingredients and aiming to prep for 2-3 days to avoid overwhelming themselves.
Root vegetables, grains, and canned goods typically have a longer shelf life than fresh produce or meats.
Cooked chicken can be safely stored in the refrigerator for 3-4 days.
Cooked rice can be stored in the refrigerator for 4-6 days.
The riskiest step in food prep is cross-contamination, especially between raw meats and ready-to-eat foods.
Vegetable-based dishes without dairy or meat are generally safer for longer storage.
HOW MANY TIMES PER WEEK SHOULD I MEAL PREP?
Ideally, you should meal prep once or twice a week to ensure freshness and variety in meals.
What day is best for meal prep?
Sunday is popular for meal prep as it allows for planning meals ahead of the typical workweek.
What is the difference between meal prep and food prep?
Meal prep refers to preparing whole meals in advance, while food prep involves getting individual ingredients ready for cooking.
Should meal prep go in the fridge or freezer?
Store your meal prep meals in the fridge if you’ll be consuming them within 3-5 days. Otherwise, use the freezer for longer storage.
Meal Prep Formulas
These simple formulas can help you build balanced meals based on your dietary preferences and goals:
Balanced Meal Prep
Lean Protein + High-Fiber Carbohydrate + Vegetables + Healthy Fat
Examples: Chicken + brown rice + roasted broccoli + avocado
Keto Meal Prep
Protein + Low-Carb Vegetables + Healthy Fat
Examples: Salmon + cauliflower rice + asparagus + olive oil
Vegetarian Meal Prep
Plant-Based Protein + Whole Grain + Vegetables + Healthy Fat
Examples: Lentils + quinoa + roasted vegetables + tahini
Paleo Meal Prep
Protein + Starchy Vegetables + Non-Starchy Vegetables + Healthy Fat
Examples: Chicken + sweet potatoes + green beans + avocado
Mix and Match
Once you understand the formula, you can easily swap ingredients to create variety without needing a new recipe every week.
Protein: Chicken, turkey, fish, tofu, eggs, beans, lentils
Carbohydrates: Rice, quinoa, barley, sweet potatoes, beans
Vegetables: Broccoli, peppers, carrots, spinach, zucchini
Healthy Fats: Avocado, nuts, seeds, olive oil, nut butters
Expert Tip
Sauces, dressings, nuts, and seeds are an easy way to add flavor, texture, and healthy fats while keeping meal-prepped meals interesting throughout the week.
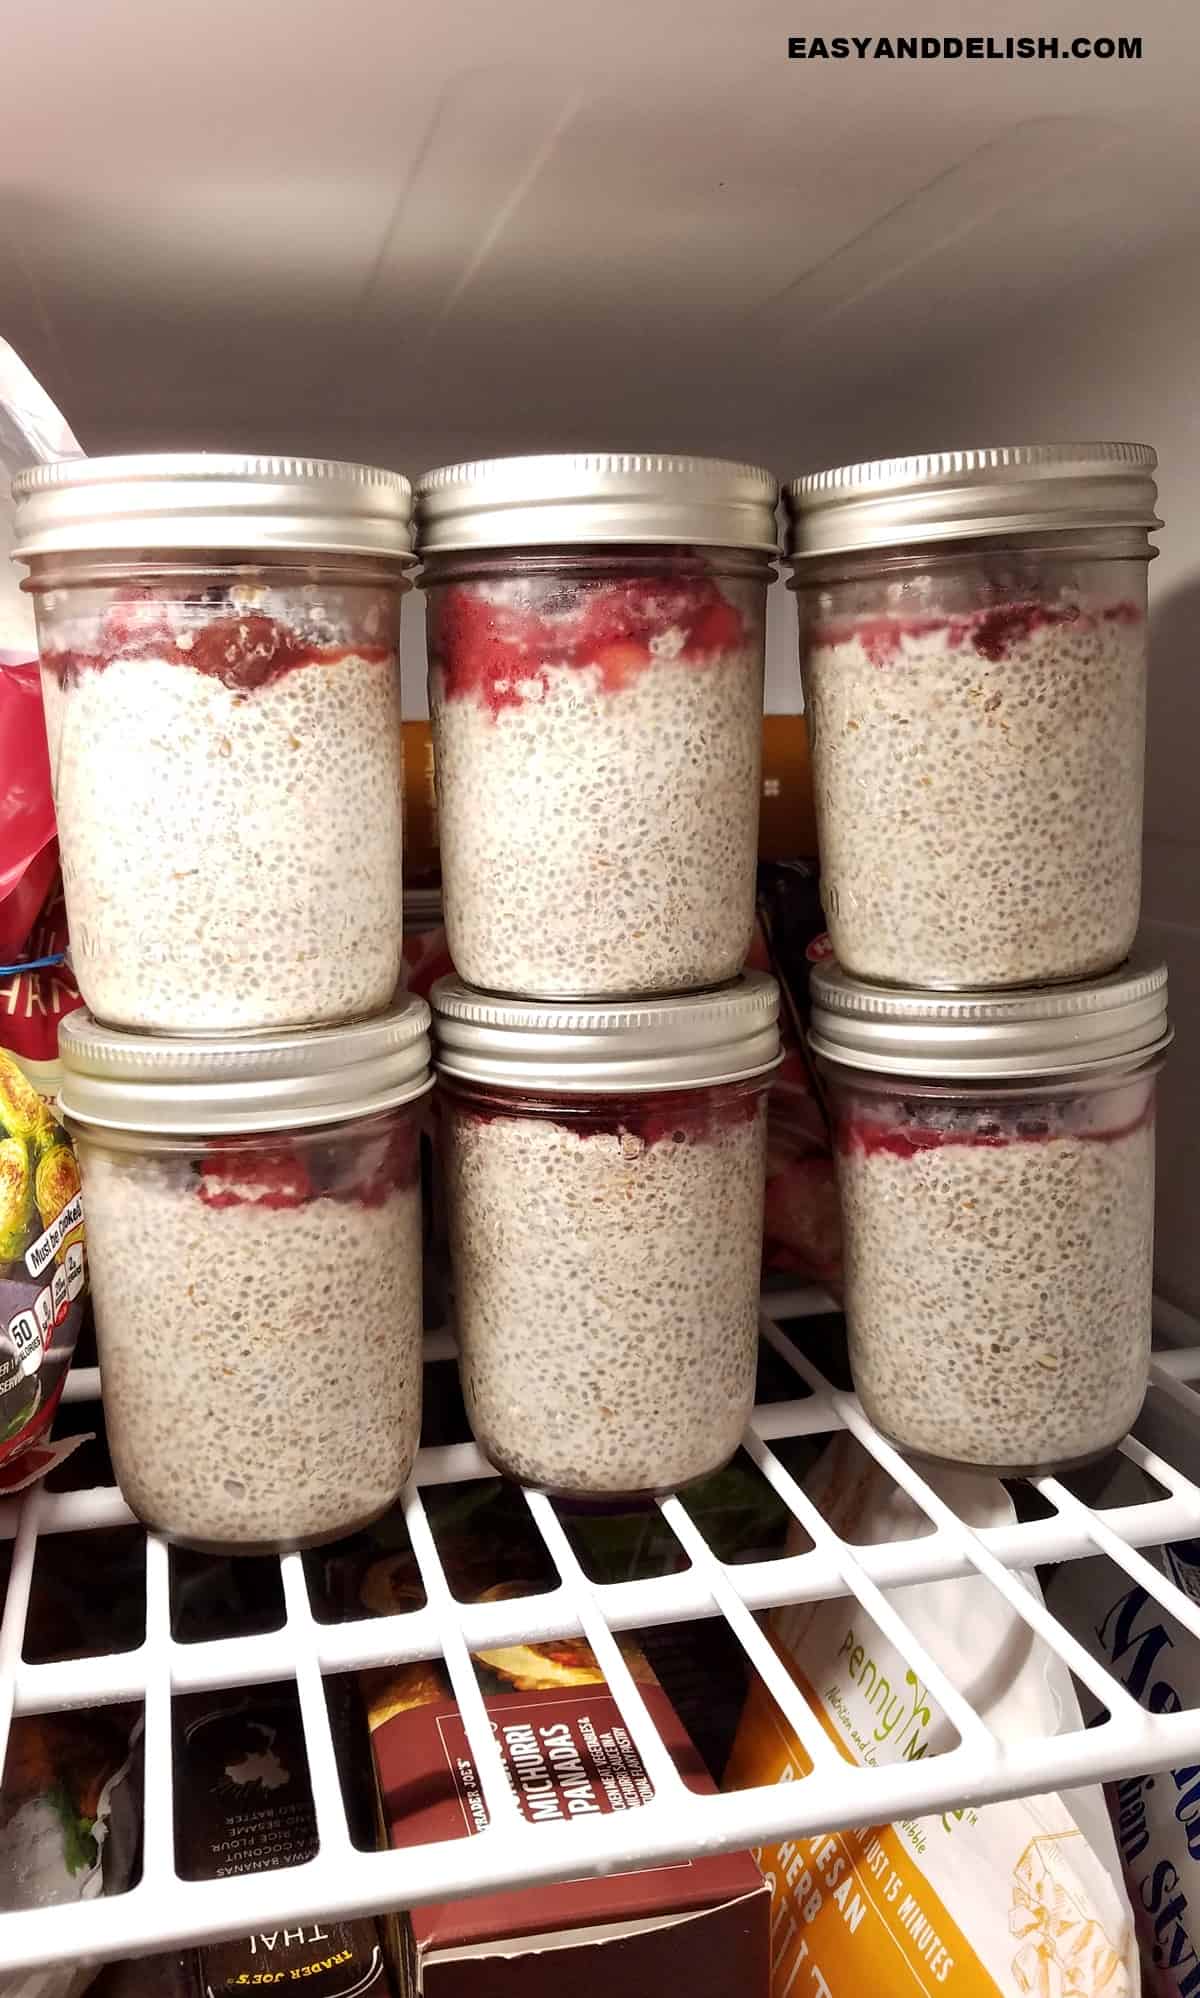
How long do my meal preps stay “good?”
The longevity of your meal preps largely depends on where youstore them and the type of ingredients used. However, here are some general timelines:
- Refrigerator: Most meal-prepped meals stay fresh for 3–5 days when stored in airtight containers. Foods with higher moisture content or lightly cooked ingredients may have a shorter shelf life. For food safety, keep your refrigerator at 40°F (4°C) or below.
- Freezer: If you won't be eating your meals within a few days, freezing is the best option. Properly stored meal-prepped foods can typically last 2–3 months in the freezer. While freezing helps maintain food safety, the texture and flavor of some foods may gradually decline over time.
- Expert Tip: Label containers with both the contents and the date they were prepared. This makes it easier to use older meals first and avoid unnecessary food waste.
Some Meal Prep Ideas
Need some inspiration? Here are easy meal-prep ideas for breakfast, lunch, dinner, and snacks to help you stay organized and eat well throughout the week.
- 21 high-protein meal preps for lunches
- Chicken noodle soup
- Keto egg muffins
- Starbucks egg bites
- Air fryer chicken thighs
- Instant Pot ground beef
- Mediterranean cucumber chickpea salad
- Hard-boiled eggs
- Caprese pasta salad recipe
- Basmati rice recipe
- Mushroom curry recipe
- Black beans recipe
- Chicken fajitas recipe
- Lentil soup recipe
- Oatmeal breakfast cookies
- Protein overnight oats recipe
- Cookie Dough Protein Balls
- Protein Cookie Dough
- Healthy Homemade Energy Bars
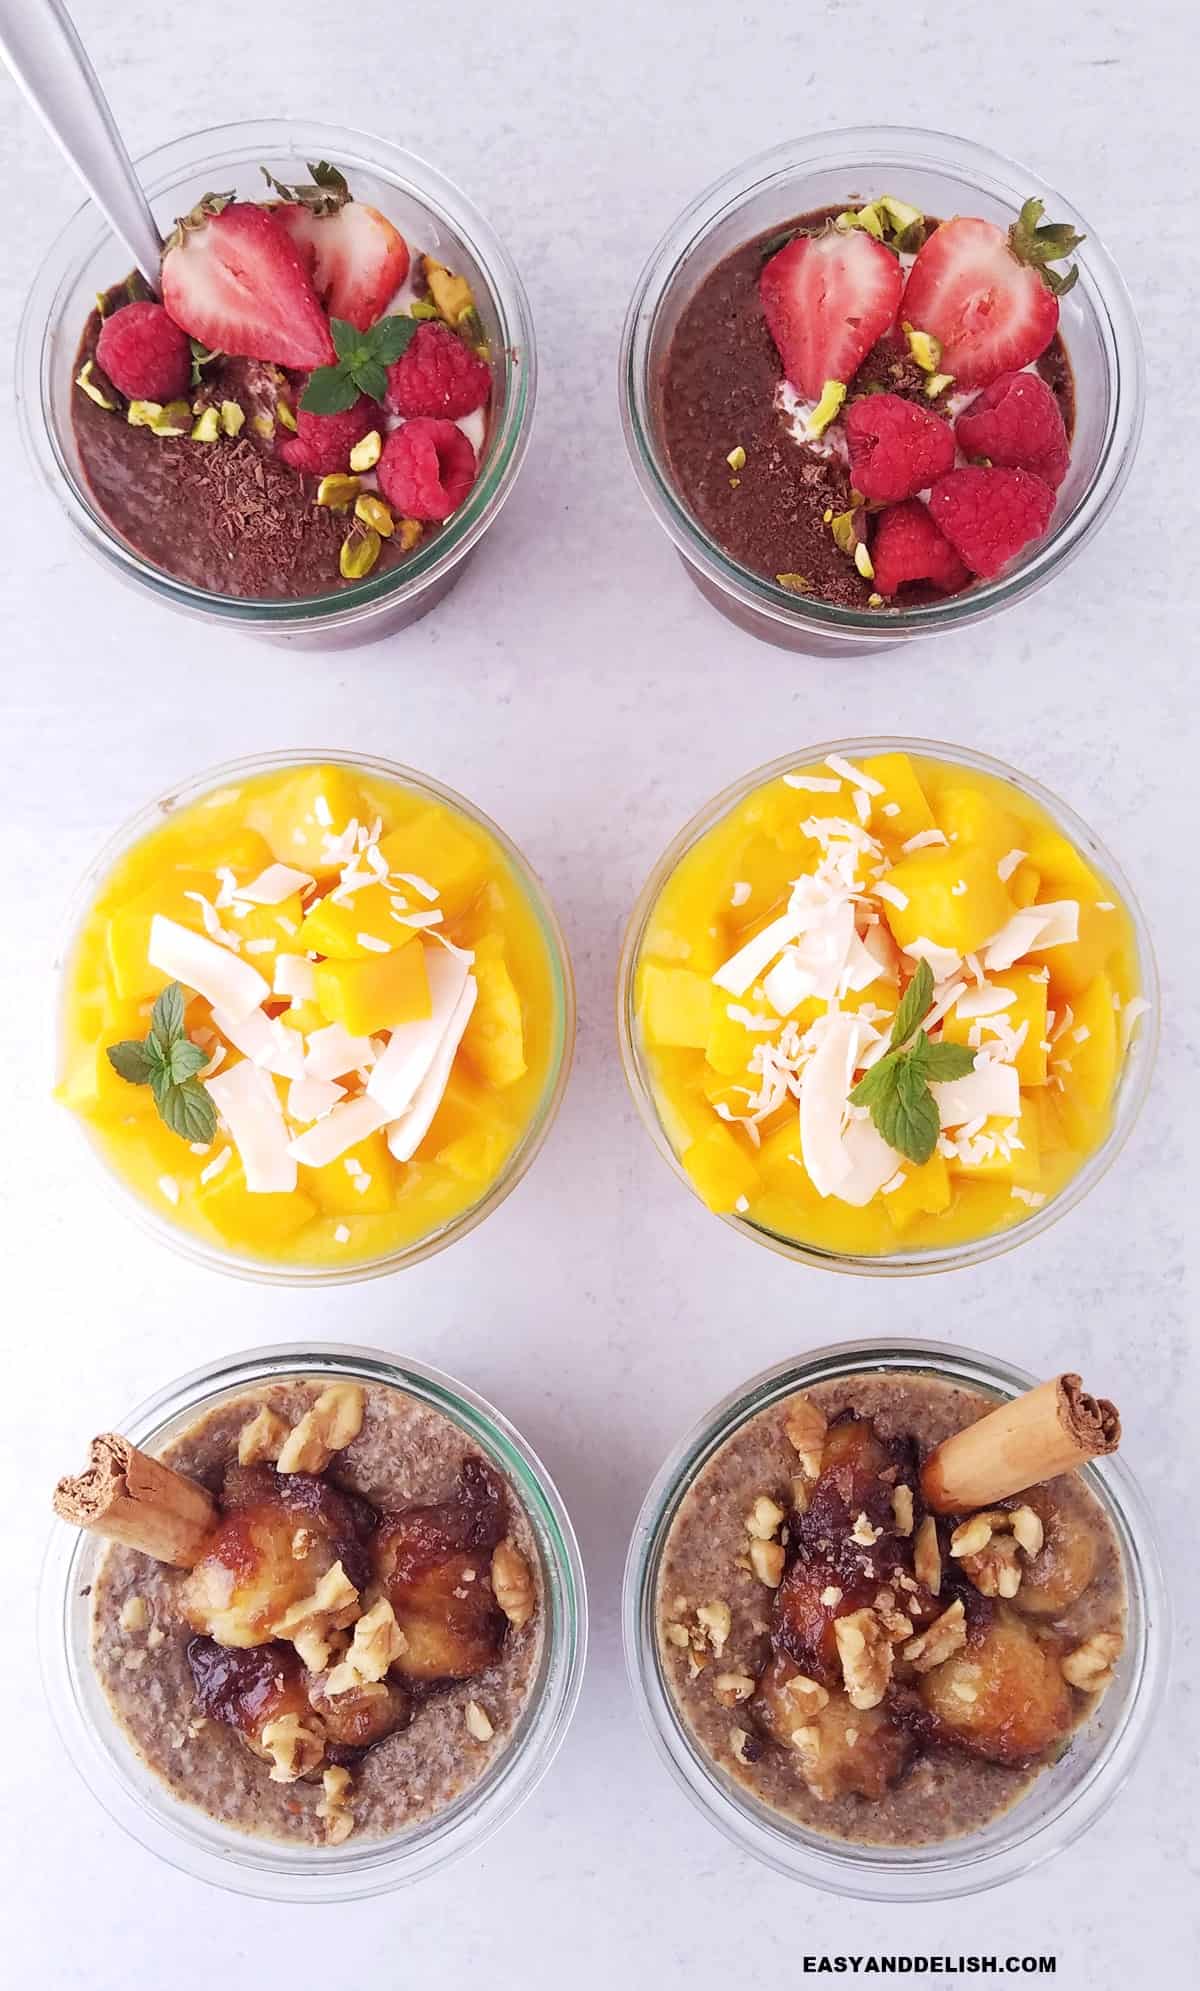
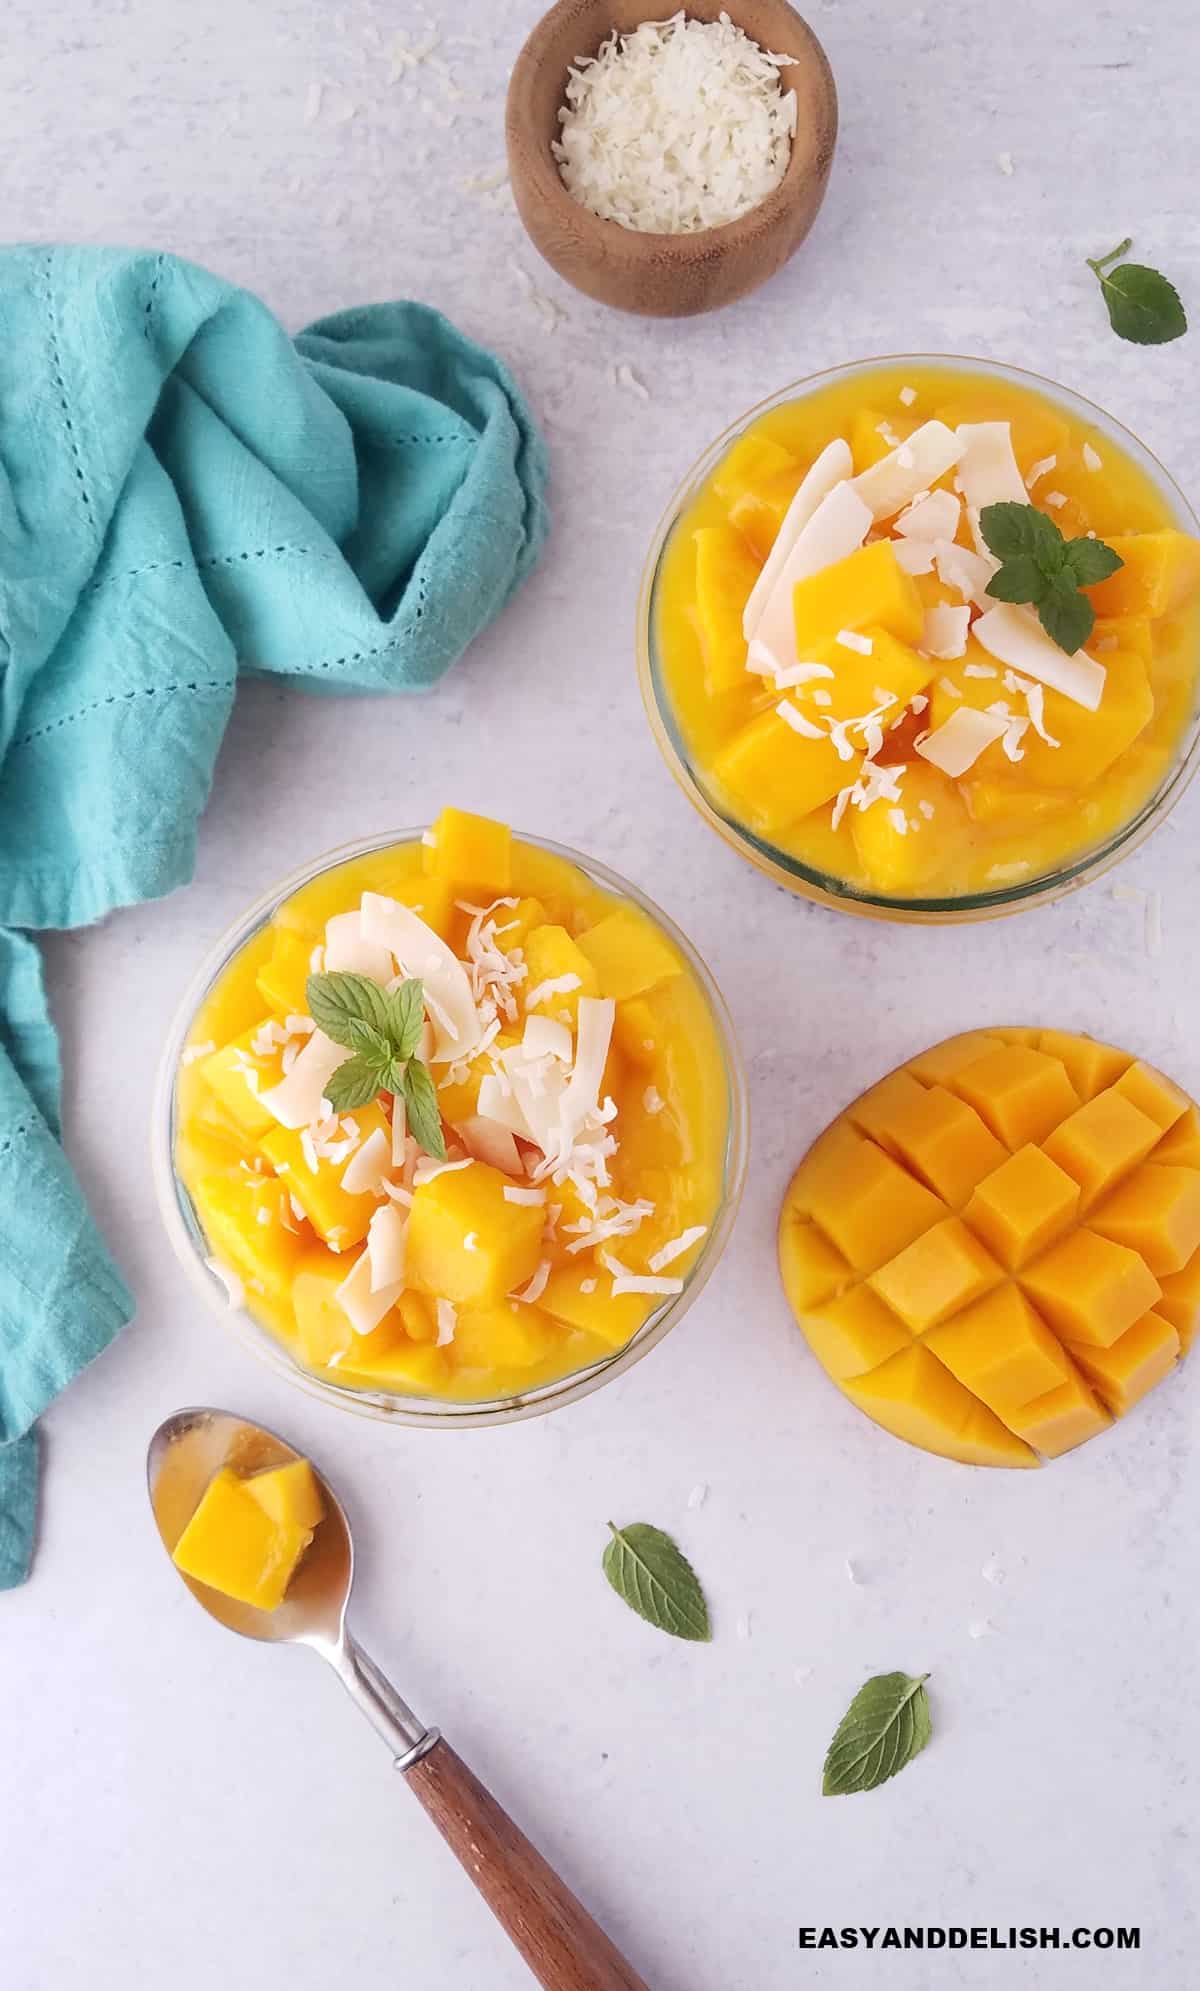
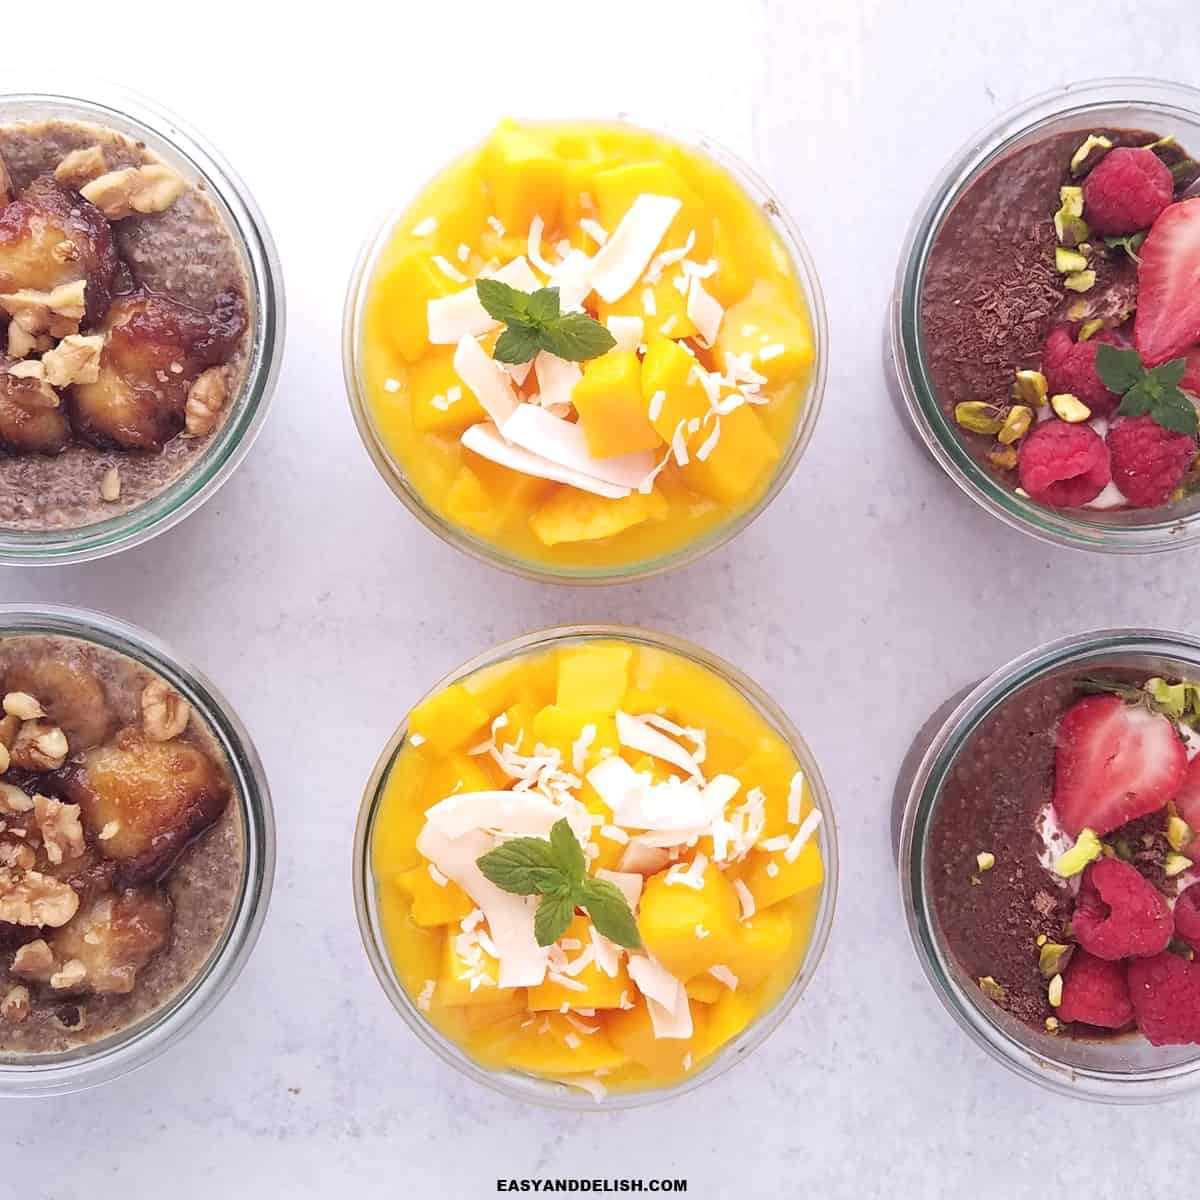
- Mango coconut chia pudding
- Chocolate chia pudding recipe
- Banana chia pudding recipe
How to Meal Prep | Complete Beginner's Guide
Equipment
Ingredients
- 12 tablespoon chia seeds
- 6 tablespoon ground flaxseed meal optional
- 3 cups plant-based milk such as unsweetened coconut or almond milk, or any other milk of your choice
- 6 tablespoon maple syrup or honey or another sweetener of choice such as stevia, monk fruit, or brown sugar
- 1 teaspoon pure vanilla extract optional (or almond extract, etc)
- 1 ½ cups frozen or fresh berries or other fruit of choice such as mango
Instructions
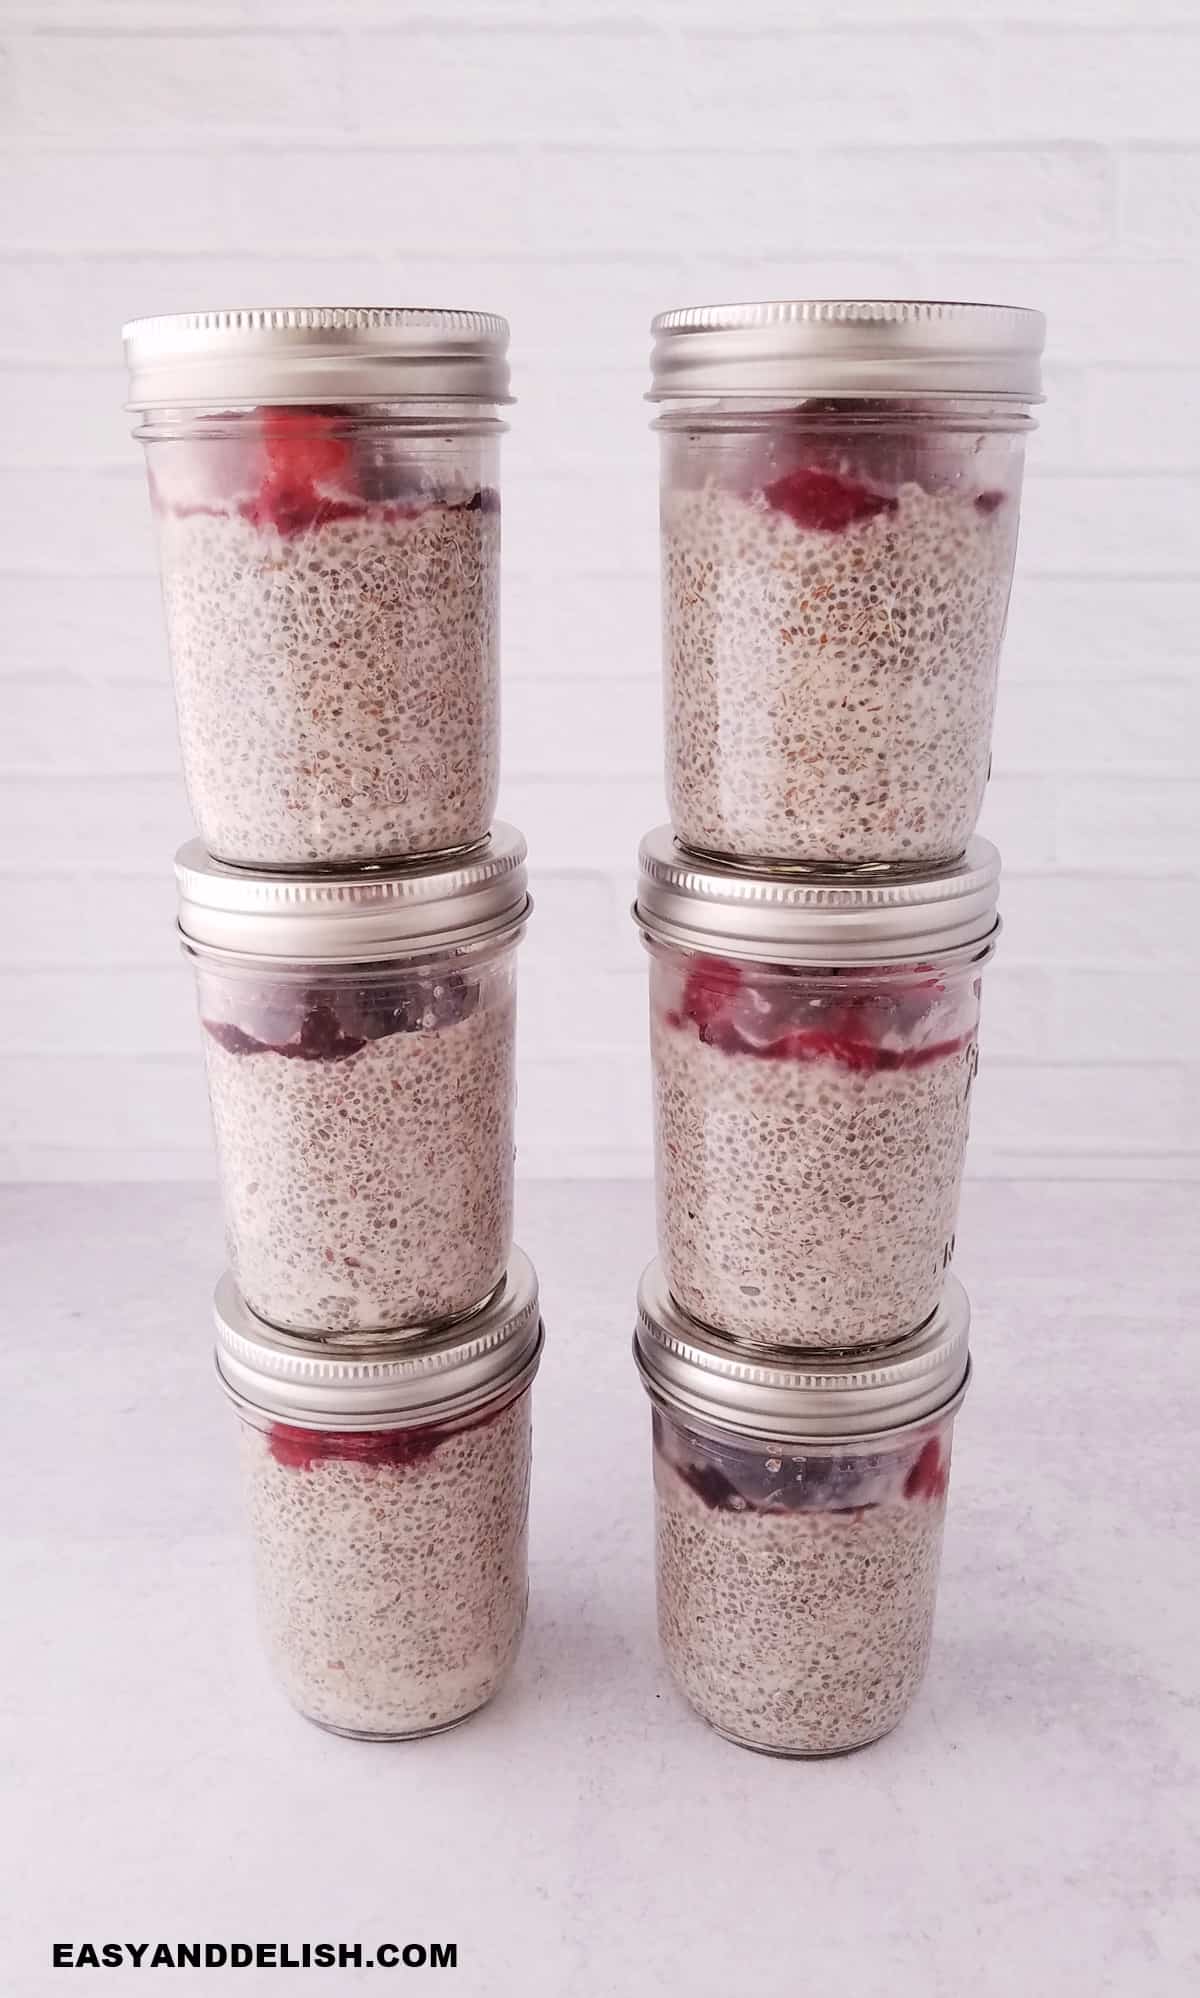
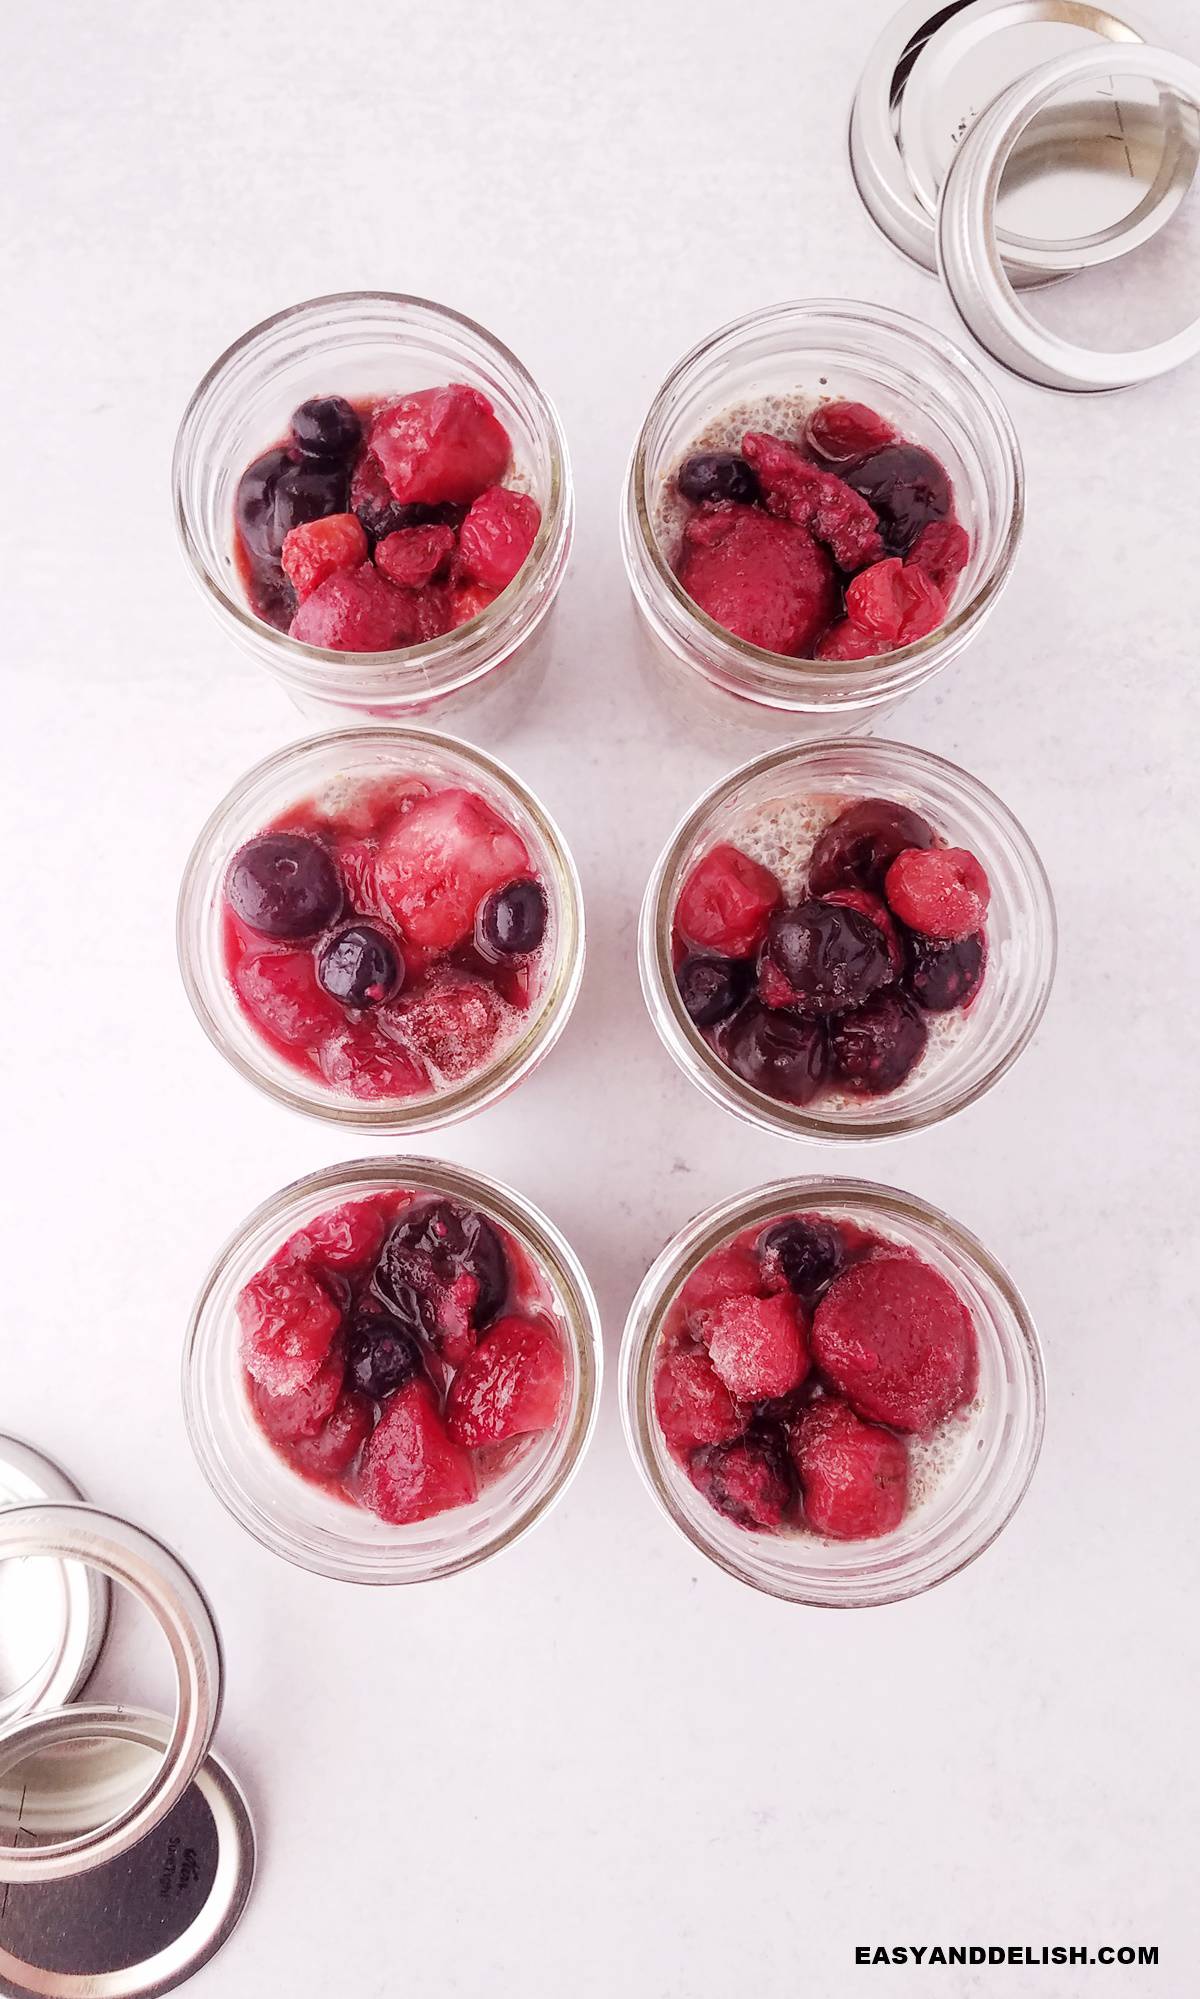
- Place 6 medium-size mason jars on a flat surface. Fill each with 2 tablespoon chia seeds, 1 tablespoon ground flax seed meal, ½ cup milk, 1-2 tablespoon maple syrup, and vanilla extract.
- Stir well and let the mixture sit for 10-15 minutes or until the chia seeds start to thicken and gel.
- Stir it again and top with ¼ cup of berries. Secure each jar with a lid and store them either in the fridge or freezer.
Recipe Video
Recipe Notes
- If your chia seeds don't gel and thicken after 15 minutes, you probably have gotten dud chia seeds. They can go bad if they've been sitting in your pantry for too long or not stored properly in an air-tight container. But don't throw your chia pudding away. You can blend the entire mixture with the fruit in a blender, adding a little more of the liquid and fruit, to make a smoothie.
- Yes, you can freeze chia pudding, but opt for containers with straight sides that won't risk shattering in the freezer. Also, make sure to defrost your chia pudding in the fridge about 2 days ahead of eating it.
- RATIO: The ratio of chia seeds to milk is 1 tablespoon of chia for every ¼ cup of milk.
- If you are in a hurry, you can heat your milk in the microwave and then mix in the chia seeds. Let it rest with the lid on for 5 minutes and then open the jar and stir in again. It will save about 10 minutes of your time as opposed to prepping with cold milk.
- Fridge: Most meal preps stored in the refrigerator remain fresh for 3-5 days. Foods high in moisture or lightly cooked might have a shorter shelf life. It’s important to note that your fridge's temperature should be below 40 F to prevent bacterial growth.
- Freezer: If you're planning to eat your meal preps much later, they should be frozen. When properly stored, they can last for 2-3 months. However, while freezing can preserve food safety, the quality in terms of texture and flavor will degrade over time.
Nutrition
** Nutrition labels on easyanddelish.com are for educational purposes only. This info is provided as a courtesy and is only an estimate, since the nutrition content of recipes can vary based on ingredient brand or source, portion sizes, recipe changes/variations, and other factors. We suggest making your own calculations using your preferred calculator, based on which ingredients you use, or consulting with a registered dietitian to determine nutritional values more precisely.
Please note that health-focused and diet information provided on easyanddelish.com is for educational purposes and does not constitute medical advice, nor is it intended to diagnose, treat, cure, or prevent disease. Consult with your doctor or other qualified health professional prior to initiating any significant change in your diet or exercise regimen, or for any other issue necessitating medical advice.
