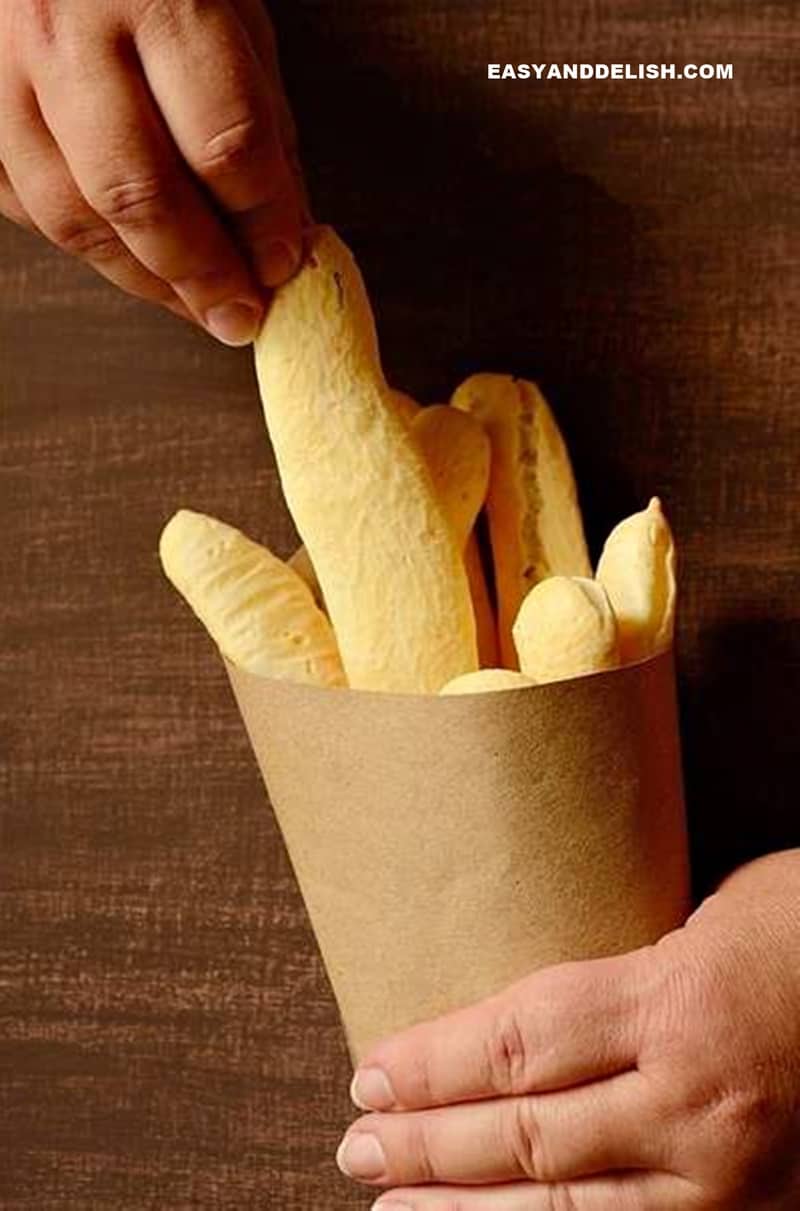
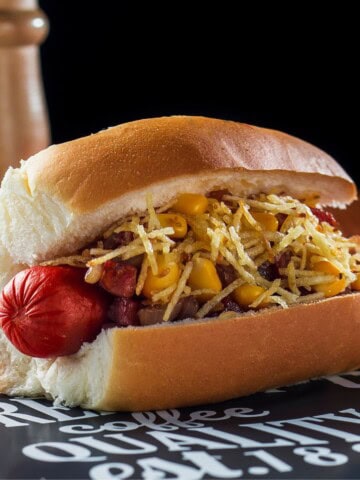
Gluten-Free Breadsticks (aka Biscoito de Polvilho) are a Brazilian snack, similar to Brazilian cheese bread, made with tapioca flour and can be either baked or deep-fried. Serve with coffee, tea, or any other drink of your choice.
I know that I don’t make bread very often. But I am about to redeem myself with these tapioca breadsticks.
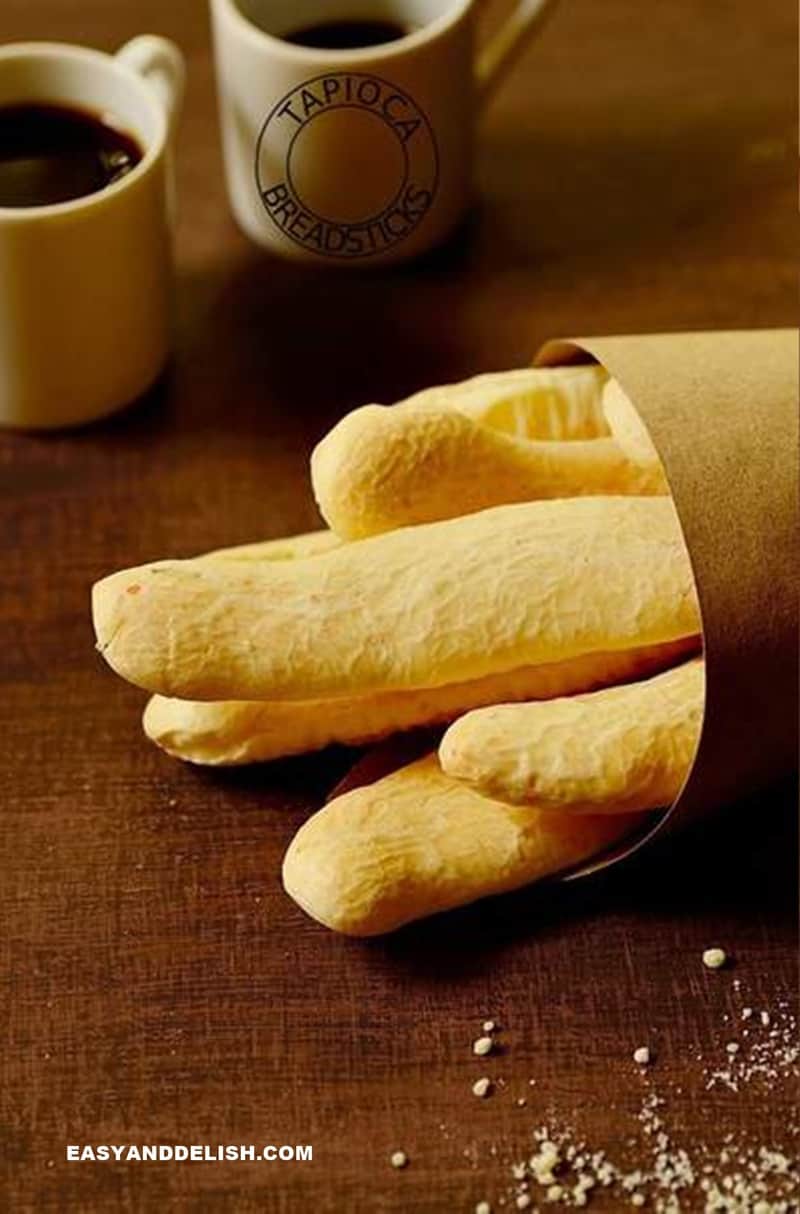
They are a quick, naturally gluten-free Brazilian snack that is best served warm with coffee (cafezinho), tea, or any other beverage of your choice. Does that sound good to you?
They are similar to Cheese Rolls.
You can find all about tapioca here if you love this versatile ingredient!
Brazilian Cheese Bread vs. Gluten-Free Breadsticks
They share almost the same ingredients, and cooking methods (commonly baked but they can also be fried), and have similar flavors and textures.
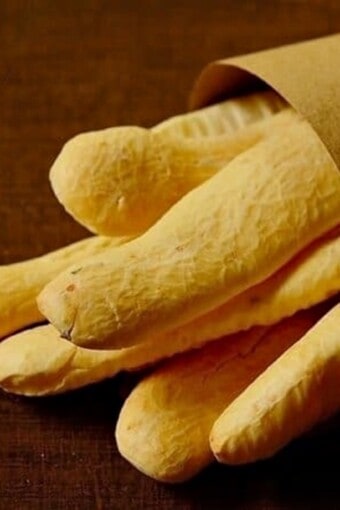
The main difference is their shape. Pão de queijo (Brazilian cheese bread) has a puffy, round shape, similar to a bread roll. On the other hand, gluten-free breadsticks made from tapioca flour usually have a long shape, similar to a stick or breadstick although you can find them shaped like a ring (or mini donut) or mini spheres.
In addition, some like to add fennel seeds to tapioca breadsticks which are not present in pão de queijo recipes.

Gluten-Free Breadsticks
This Brazilian baked good is known by different names in Brazil: Peta, Biscoito de vento (“wind cookies”), biscoito voador (“flying cookies”), and biscoito globo (“globe cookies”).
Originally from the southeastern state of Minas Gerais, they date back to the colonial period (18th century) and used to be served to the plantation owners along with cheese and coffee at afternoon coffee time.
Over time biscoito de polvilho acquired different variations in shape (rings, sticks, or spheres), size (mini and regular-sized), cooking methods (fried or baked, like ours), as well as a few ingredients (some add cheese and/or fennel to the dough).
These are traditionally made from sour tapioca starch, eggs, milk, vegetable oil, and salt…
… and yet they are so popular in Brazil that they are available at supermarkets and even from food vendors at the beach.
When made with tapioca flour as a replacement for tapioca sour starch and baked, it is called biscoito de polvilho doce assado!
Vale D’ouro and Panificação Mandarinho are a couple of brands that manufacture this baked goodie.
The main differences between the cheesy version of these gluten-free breadsticks and the traditional pão de queijo are basically in the shape and the fact that some like to add fennel to the dough.
They are a great snack, but can also be a great substitute for crackers or other bread at the hors d’oeuvre table or to serve on a meat and cheese board. In that case, you can serve them with caipirinha instead.
They remind me of Italian grissini -- although our tapioca breadsticks are gluten-free and chewy, and not as thin or as long as grissini.
Tapioca Flour vs. Tapioca Sour Starch for Making Tapioca Bread and Breadsticks
Gluten-free breadstick recipes made with tapioca flour and tapioca sour starch are very similar.
The difference is tapioca flour produces lighter and more airy breadsticks. On the other hand, tapioca sour starch produces baked goodies that are dense and chewier.
Summarize and send this content on
Some tapioca starch recipes have a mix of both tapioca flour and tapioca sour starch to produce bread with the best texture and flavor.
Baked vs. Fried Breadsticks
The difference is the cooking method!
The baked gluten-free breadsticks have a soft exterior and are leaner for obvious reasons. Air Fryer breadsticks would have a texture similar to oven-baked ones.
On the other hand, the fried gluten-free breadsticks have a crispy exterior and contain more fat because they are deep-fried.
You can use the same ingredients to make them both.
But when it comes to frying breadsticks, add about ½ tablespoon of sugar to the dough and place the breadsticks in a pan with enough cold oil to deep-fry. These will prevent the dough from popping up while frying!
Then, heat the oil on medium-high heat until bubbly. The breadsticks will float to the top! At this point, turn the heat to low and finish frying them until lightly golden brown.
If you fry them in hot oil from beginning to end, they will pop up and may burn you.
Ingredients and Substitutions
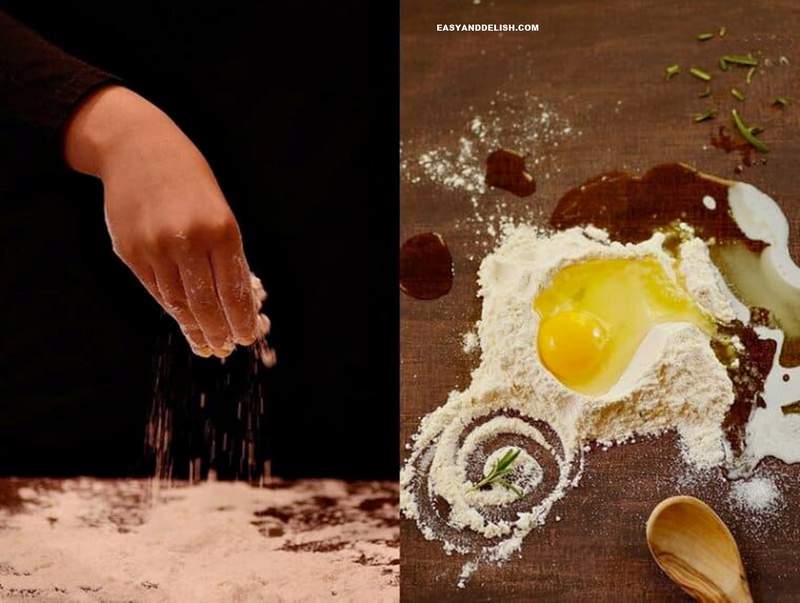
- Tapioca flour: It is a naturally gluten-free flour, with an extra-fine texture (like a powder). After baking, the final product acquires an airy texture but as it cools down becomes chewy. Some people replace the tapioca flour with tapioca sour starch (known as polvilho azedo in Brazil) or mix these 2 tapioca starchs. The use of tapioca flour produces airier, lighter breadsticks while the tapioca sour starch makes them dense and chewer.
- Grated Parmesan cheese: It will flavor the gluten-free breadsticks while adding extra saltiness.
- Whole milk: Avoid using reduced-fat milk; otherwise the dough will be too lean and will make these baked goodies chewer! In some tapioca breadstick recipes add water as well, making a mixture of milk, water, and oil that after boiling is added to the tapioca flour to add air to the dough. Recipes with greater ratios of liquids (almost 3 times more than our recipe) and with the third amount of eggs added to ours produce lighter breadsticks.
- Vegetable oil: It will add extra fat to the dough. Along with the heated milk, it will add air to the dough.
- Salt: It will make our tapioca breadsticks savory!
- Dried rosemary: It is an optional ingredient and not common in the traditional recipe. Some classic versions use fennel seeds instead while others use no herbs!
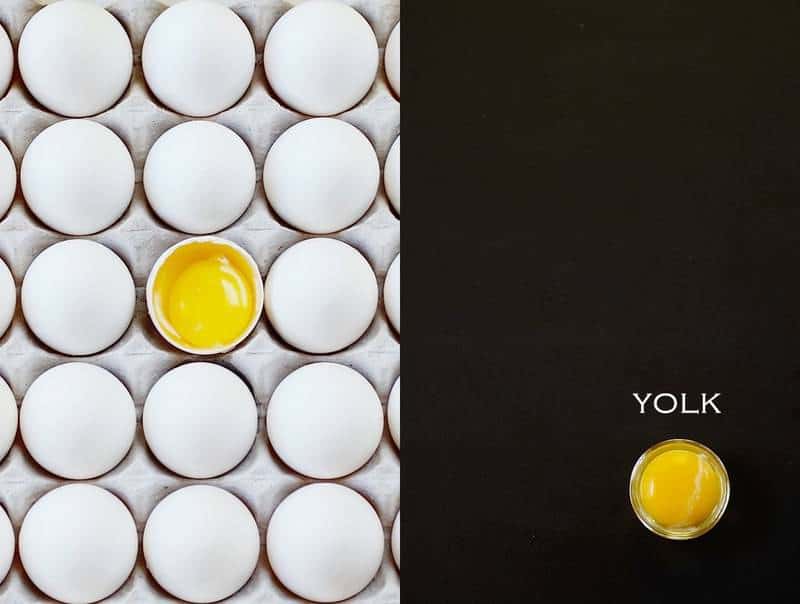
- Eggs: Make sure they are at room temperature! To make vegan breadsticks, check out our list of baking substitutions!
How to Make Gluten-Free Breadsticks
Baked Homemade Breadsticks:
- Preheat the oven to 350 degrees F (about 180 degrees C). Line two to three baking sheets with parchment paper and set aside.
- Meanwhile, stir tapioca flour and Parmesan cheese together until combined in a large heat-proof bowl; then set aside.
- In a small saucepan, stir together the milk, oil, salt, and rosemary and bring to a boil. Remove from heat and pour the hot liquid mixture over the flour mixture, stirring well with a wooden spoon until combined. The mixture will be lumpy. Let cool enough to handle the dough with your own hands.
- Add eggs to one side of the bowl, break them with a fork, and give a quick stir. Then, using your hands, mix them with the lumpy flour mixture until obtaining homogeneous dough, about 3-4 minutes. If the dough is too stuck to roll, add just a little more tapioca flour and mix well until you can form into balls and then sticks.
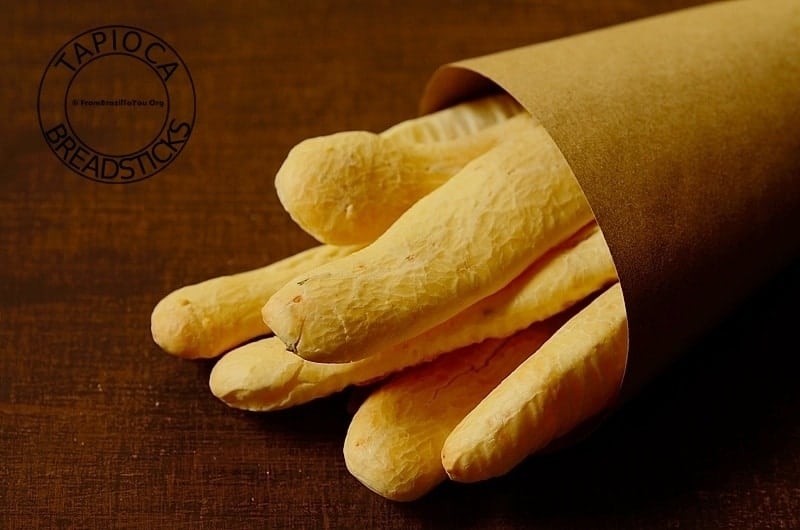
- Lightly grease your hands with a drop of vegetable oil. Using a tablespoon as measurement, spoon 1-2 tablespoons of the dough onto your hands, mold it into balls and then roll it into sticks, 2-inch (mini breadstick) to 4-inch long each (medium breadstick).
- Arrange them on the lined baking sheets, leaving a space (1 to 2 inches) between them.
- Bake for about 13-15 minutes, or until tapioca breadsticks are puffy and lightly golden on top. The yield will vary according to the size of the tapioca breadsticks (22-45 breadsticks). Mine were approximately 4 inches long per piece, yielding about 22 breadsticks.
- Serve while still warm accompanied by coffee, tea, or any other beverage of your choice. If desired, you can brush a bit of melted butter on top of the tapioca breadsticks. Enjoy!
Fried Quick Breadsticks:
- Follow steps 2 to 5 above, but make the dough without the herbs and add about ½ tablespoon of sugar to the dough.
- Place the shaped breadsticks in a pan with enough cold oil to deep-fry. These will prevent the dough from popping up while frying! Then, heat the oil on medium-high heat until bubbly. The breadsticks will float to the top!
- At this point, turn the heat down to low and finish frying them until lightly golden brown. If you fry them in hot oil from beginning to end, they will pop up and may burn you.
Storage
- Gluten-free breadsticks are best eaten fresh and warm. If you have leftovers, let them cool, and then place them in a sealable bag. They keep well for up to 24 hours.
- REHEAT: Make sure to wrap them individually in a slightly wet paper towel and reheat in the microwave for 10-20 seconds, or just until warm. Eat right away; otherwise, they will harden!
- FREEZE: After making them, place the raw breadsticks on a parchment paper-lined baking sheet, and freeze them for about 1-2 hours or until firm. Transfer frozen breadsticks to a sealable freezer bag and freeze for up to 2 months.
- Bake them right after taking them out of the freezer. Just add about 5-10 minutes to the regular baking time.
Other bread recipes
- Easy No Yeast Bread Recipe
- Cauliflower Bread
- Garlic Rolls
- How To Make Eggless Bread (3 Ingredients)
- Easy Plain and Garlic Naan Without Yeast
- Oat Rolls (with Honey Butter)
Other tapioca recipes
- Brazilian tapioca
- Tapioca Cake (Bolo de Tapioca)
- Brazilian Tapioca Pudding Recipe (Sagu de Vinho)
- Bacon and Cheese Hot Pockets
- Gluten-Free Waffles
PIN AND ENJOY!
Gluten-Free Breadsticks
Equipment
- 1 large bowl
- 1 saucepan
- 1 wooden spoon
- 1 Baking tray
- oven or dee-fryer
Ingredients
- 4 cups tapioca flour about 500 g (or more if the dough gets too stick to shape the breadsticks)
- ⅓ cup grated Parmesan cheese
- ½ cup whole milk
- ½ cup vegetable oil (If deep-frying, you will need extra cold oil -- enough to deep-fry)
- ½ tablespoon plus 1 teaspoon salt
- ½ tablespoon dried rosemary optional (skip the herbs and add ½ tablespoon sugar if deep-frying the breadsticks)
- 3 large eggs at room temperature
Instructions
Baked Homemade Breadsticks
- Preheat the oven to 350 degrees F (about 180 degrees C). Line two to three baking sheets with parchment paper and set aside.
- Meanwhile, stir tapioca flour and Parmesan cheese together until combined in a large heat-proof bowl; then set aside.
- In a small saucepan, stir together the milk, oil, salt, and rosemary and bring to a boil. Remove from heat and pour the hot liquid mixture over the flour mixture, stirring well with a wooden spoon until combined. The mixture will be lumpy. Let cool enough to handle the dough with your own hands.
- Add eggs to one side of the bowl, break them with a fork and give a quick stir. Then, using your hands, mix them with the lumpy flour mixture until obtaining homogeneous dough, about 3-4 minutes. If the dough is too stick to roll, add just a little more tapioca flour and mix well until you can form into balls and then sticks.
- Lightly grease your hands with a drop of vegetable oil. Using a tablespoon as measurement, spoon 1-2 tablespoons of the dough onto your hands, mold into balls and then roll into sticks, 2-inch (mini breadstick) to 4-inch long each (medium breadstick).
- Arrange them on the lined baking sheets, leaving a space (1 to 2-inches) between them.
- Bake for about 13-15 minutes, or until tapioca breadsticks are puffy and lightly golden on top. Yield will vary according to the size of the tapioca breadsticks (22-45 breadsticks). Mine were approximately 4 inches long a piece, yielding about 22 breadsticks.
- Serve while still warm accompanied by coffee, tea, or any other beverage of your choice. If desired, you can brush a bit of melted butter on top of the tapioca breadsticks. Enjoy!
Fried Quick Breadsticks:
- Follow steps 2 to 5 above, but make the dough without the herbs and add about ½ tablespoon of sugar to the dough.
- Place the shaped breadsticks in a pan with enough cold oil to deep-fry. These will prevent the dough to pop up while frying! Then, heat the oil on medium-high heat until bubbly. The breadsticks will float to the top!
- At this point, turn the heat down to low and finish frying them until lightly golden brown. If you fry them in hot oil from beginning to end, they will pop up and may burn you.
Recipe Notes
Nutrition
** Nutrition labels on easyanddelish.com are for educational purposes only. This info is provided as a courtesy and is only an estimate, since the nutrition content of recipes can vary based on ingredient brand or source, portion sizes, recipe changes/variations, and other factors. We suggest making your own calculations using your preferred calculator, based on which ingredients you use, or consulting with a registered dietitian to determine nutritional values more precisely.
Please note that health-focused and diet information provided on easyanddelish.com is for educational purposes and does not constitute medical advice, nor is it intended to diagnose, treat, cure, or prevent disease. Consult with your doctor or other qualified health professional prior to initiating any significant change in your diet or exercise regimen, or for any other issue necessitating medical advice.
The post was first published on September 15, 2015.


2pots2cook says
Wow! Love these breadstick. Passing to my GF friends!
Josiah - DIY Thrill says
These breadsticks look fabulous, love how they're gluten-free!
Monica says
Love these so much! I used the traditional Polviho Azedo (rodered online). The only thing I would change is the vegetable oil. It's so so bad for you. I use Avocado oil instead.
Valentina Dimitrova says
My daughters are crazy for these. They say they are addictive! I am so glad you tried them and costumized them according to your needs. Happy Holidays!
Lilian says
Hi, Denise! I had these for the first time last year when I visited Brazil. Thank you for the recipe! I made them and they were delicious.
Carrie says
Hi, if I omit the cheese would I need to change anything else in the recipe to accommodate? Thanks!
Valentina Dimitrova says
Hi, Carrie! I have never made these without cheese but you can give it a try. The cheese adds extra flavor to these bread sticks. But I don't think it will make a great difference in terms of consistency -- only flavor. So please place more herbs and an extra dash of salt to compensate. Enjoy and have a marvelous New Year!
Chris Scheuer says
These look perfect for appetizers or a dinner bread. Love the rosemary. I would have made the same choice!
Mi Vida en un Dulce says
Oh Denis, this recipe is wonderful. I'm still have in my pendings to try the Pan de Queso, and I will add this sticks!!!
Marcia says
Denise, você disponibiliza alguma de suas receitas em português? Sempre quis aprender a fazer este biscoito, pois gosto muito. Acabei me apaixonando por todo site.
Obrigada!
Valentina Dimitrova says
Olá, Marcia! Muito obrigada. Que coincidência! Meu site vai estreiar até o fim deste mês em português como se fosse um site em separado do de inglês assim você terá muitas das nossas receitas na nossa língua mãe para experimentar. A estrutura do site está quase pronta. Inicialmente vamos publicar umas vinte receitas e depois vamos traduzir todo o resto para colocar lá. Como faltam ainda quase duas semanas até lá, vou traduzir a receita deste biscoito em português para você e te envio até este domingo. Um abraço!
Little Cooking Tips says
Fantastic breadsticks dear Denise! Breadsticks are also extremely popular here, there are fresh, sold at all bakeries and packed, sold in supermarkets. We love having them with The Laughing Cow cheese, cream cheese and sometimes with a more "special" cheese like a smoked metsovone or a good graviera. We never had breasticks from tapioca flour though!
Your recipe is very easy to follow, and Mirella adores eating and making anything that includes dough:) This means we'll be having those very very soon:)
Have a great day!
xoxoxoxo
Deb|EastofEdenCooking says
I just love the egg photos Denise! And that they are part of making wonderful home-made bread sticks is all the better. A scrumptious post!
Flor de Maria says
Thanks for the recipe--looking forward to making these as I especially appreciate GF recipes to make for my child that has celiac. I am sure all of us will enjoy these.
Valentina Dimitrova says
My pleasure, Flor de Maria! I hope your child and all the family enjoy them. My children love these breadsticks... so much that I made them twice within a few days. 🙂 You can shape them as sticks or simply rolled them into balls.